


Make sure to always use the latest version of this service document, available at:
Please proceed first with the installation steps by:
3
1. GENERAL STEPS
No.
Name
Description
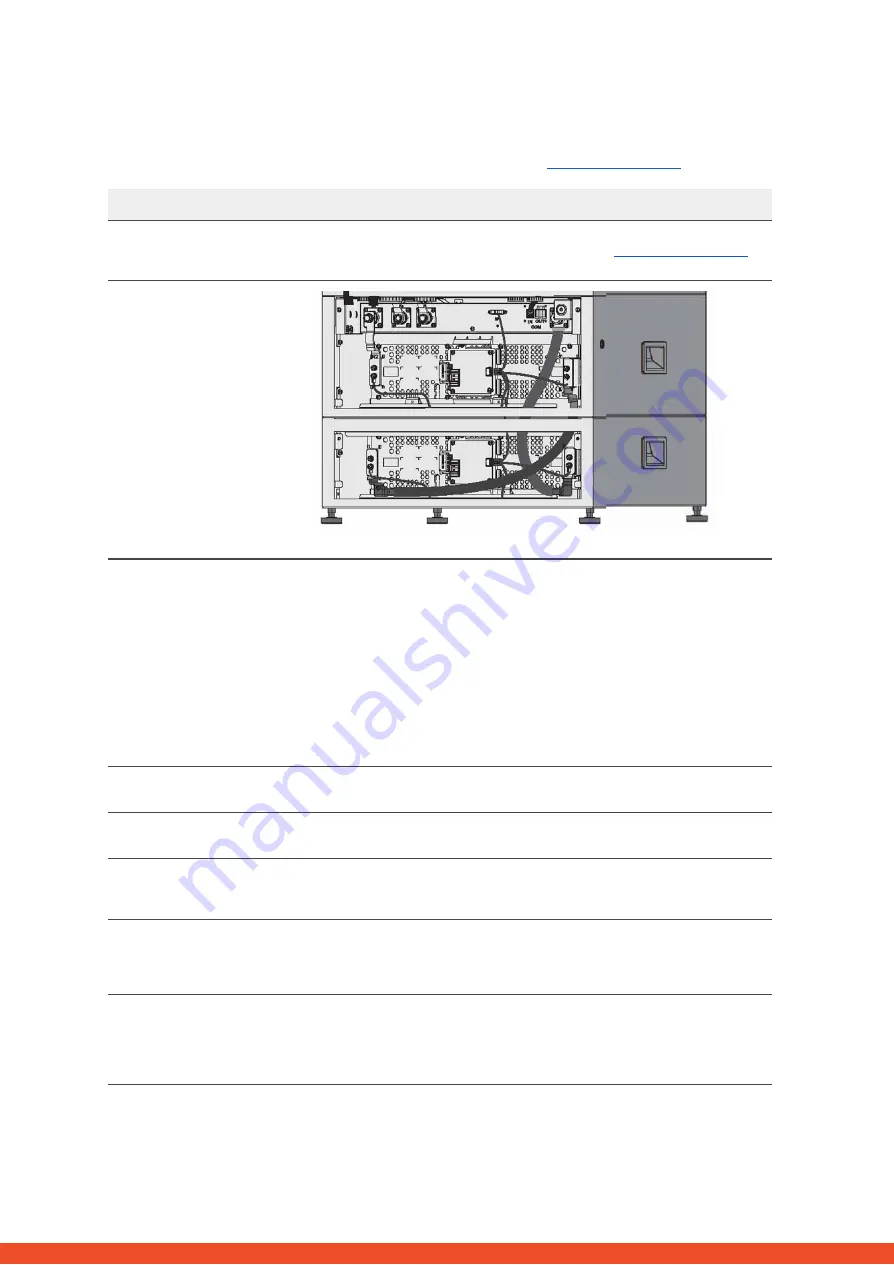
1
Configuration
Check if the configuration is correct. Refer to latest “BYD Battery-Box Premium LVL
Minimum Configuration List” (V1.3 or above) available at:
Make sure the inverter is configured correctly.
2
Correct internal
cabling
Please double check, referring to the manual
3
Correct external
cabling
1.
Communication to inverter
a.
Depending on the choice of inverter the cable between the BMU
port and the inverter must be specially made. Please check the
specifications in the installation manual.
b.
Recommended CAT5 or higher;
c.
Check the cables and replace them if necessary
2.
Grounding
a.
Battery-Box connected directly to the ground-bus of the house.
b.
The battery must not be earthed via the inverter! Otherwise,
communication problems are possible.
3.
Ethernet-Cable for Internet (strongly recommended!)
4.
DC-Ports - Make sure that + and - are properly connected.
5.
Correct parallel connection cabling if applicable
4
Latest Firmware
Always update the newest Firmware! (with using the latest App Version)
Note: If not stated otherwise, wifi password is BYDB-Box
5
App Configuration
To complete the commissioning, the configuration of the battery via “BYD Be
Connect” App is mandatory!
6
Restart
After app configuration, please perform a proper restart of the system by switching off
the battery correctly (press LED Button on BMU for 5 sec). Make sure all LEDs of the
battery are completely off. Then follow the correct switch on procedure (see step 7)
7
Switch on procedure
Correct switch on procedure is important for a correct operation!
1.
Switch on the fuse between Inverter and Battery (if there is any)
2.
Switch on the Battery-Box (button on LVL)
3.
Activate the inverter after the battery
8
Checking the correct
operation
The system runs properly if:
- Inverter displays battery SOC correctly
- System charges / discharges
Note: If you can not complete the commissioning, then turn off the battery before
you leave the site and make sure all LEDs are off to avoid a discharge of the battery.


