background image

1300 720 299

Installation and Service Guide

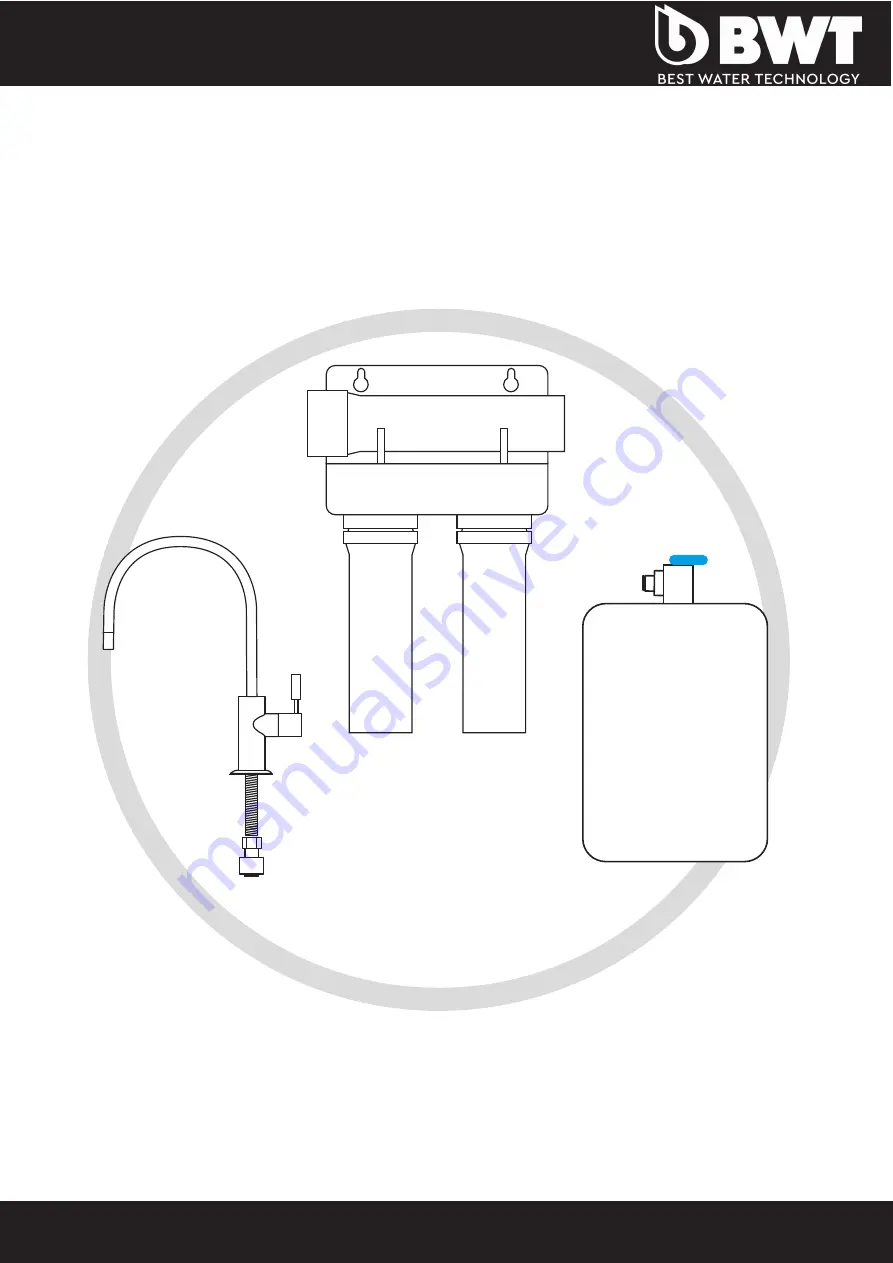
Domestic R.O. System | RO300

N1UG05

N1IS35

1.

2.

RO300

N1IS35

1.

2.

RO300

N1IS35

1.

2.

RO300

Please read this manual carefully before attempting installation.

[email protected]     

www.bwtaustralia.com.au

Summary of Contents for Domestic R.O. System RO300

Page 1: ...0 720 299 Installation and Service Guide Domestic R O System RO300 N1UG05 N1IS35 1 2 RO300 Please read this manual carefully before attempting installation sales bwtaustralia com au www bwtaustralia com au ...

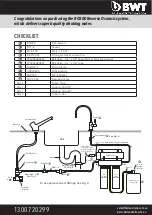
Page 2: ... superb quality drinking water Faucet Tap connector Bench top Sink Typical RO300 Installation and Checklist N1IS35 Cold water tap To use quick connect fittings See Fig D See Fig B See Fig C See Fig A 10 6 8 4 3 5 2 9 Drain 1 4 x 1 4 Ball Valve Speedfit Hydro Pneumatic Storage Tank Grey adaptor Water Flow Cold water Stop valve Cold water Inlet S S braided hose Drain Clamp Flow Restrictor Out In Whi...

Page 3: ... 1 Power drill and drill bits 2 Phillips head screwdriver 3 Adjustable wrench 4 Hammer and center punch Installing the Faucet 1 Ensure the faucet location is suitable for your kitchen A 2 diameter foot print is required 2 Mark the centre with centre punch for the 1 4 pilot hole 3 Drill the pilot hole 4 Continue to enlarge hole with larger size drill bit until it is 1 2 12mm 5 Clean up any sharp ed...

Page 4: ...ys be installed before above the p trap and on a vertical or horizontal drain Do not install the drain clamp near a garbage disposal to avoid clogging the drain line with debris 1 Position the drain clamp at selected location and mark for the opening 2 Drill 1 4 hole at mark through one side of pipe 3 Position the drain clamp on the drain pipe so the opening aligns with drilled hole Use a small dr...

Page 5: ...of the cabinets 2 Cut tubing to correct length using tube cutter provided 3 Make sure there are no crimps in the tubing 4 Keep tubing from the R O unit to the tank and faucet as short as possible for good flow 5 Connect blue tube from R O to tap connector or point of use 6 Leave the yellow tube to flow to atmosphere into a small bucket so all air is purged through the system The isolating valve or...

Page 6: ...nsert tube 1 Push up to tube stop 2 Pull to check secure 3 Disconnecting 4 1 Fitting grips before it seals Ensure tube is pushed into the tube stop Push the tube into the fitting to the tube stop The collet gripper has 2 stainless steel teeth which hold the tube firmly in position while the O ring provides a permanent leak proof seal 3 Pull on the tube to check that it is secure It is a good pract...

Reviews: