21
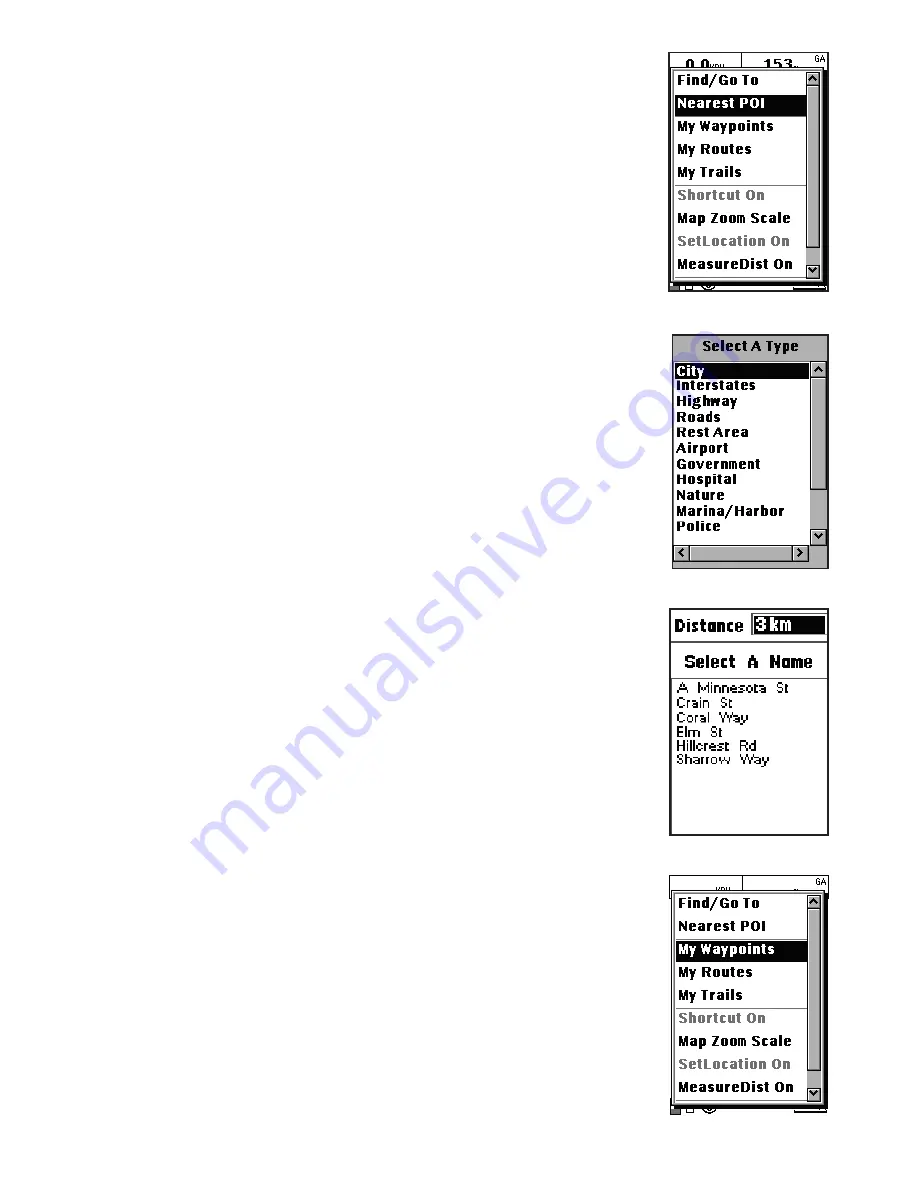
1. On the map page, press the
Menu
button to
display the Menu options.
2. Use the navigation keys to select the
Nearest POI
option and press
OK
(
Fig. 18
)
.
3.
Select A Type
first, using the navigation keys to
select the type and then press
OK
(
Fig. 19
)
.
4. Select the
Distance
and
Select A Name
, you can
use the navigation keys to highlight your selection
and press
OK
(
Fig. 20
)
. Then use the up/down keys
to move to what you want to select and press
OK
.
Finally you will see the object on the map page.
Using Waypoints
Read the following sections to learn how to utilize the
waypoint function.
NOTE:
The
ONIX 110 can save up to 1000 waypoints.
Creating Waypoints
To create a new waypoint using the map:
1. On the map page, position the cursor at the
location where you want to set a waypoint.
2. Press the
Menu
button to display the menu
options.
3. Use the navigation keys to select the
My
Waypoints
option and press
OK
(
Fig. 21
)
.
4. The waypoint screen is displayed. Highlight
the name column and press
OK
to display the
alphanumeric keyboard and enter a name for the
new waypoint.
5. Press the
Menu
button and select
New
from the
drop down box (
Fig. 22
)
. Press
OK
to confirm. A
waypoint of the chosen location is created and its
location information is displayed.
6. You can specify the name and add a comment for
the waypoint you just created. Use the navigation
Fig. 18
Fig. 19
Fig. 20
Fig. 21


