background image

29 

Aux in Mode 

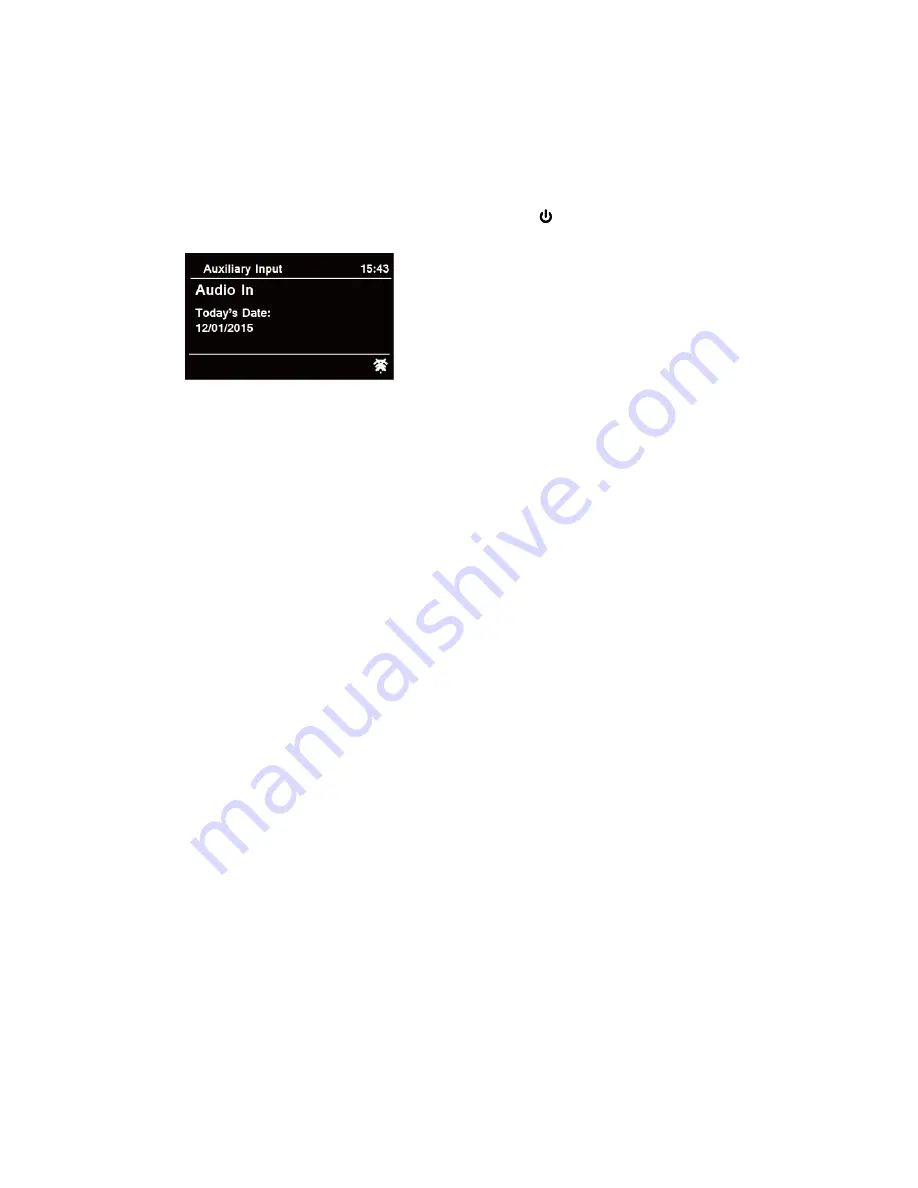
AUX IN allows for quick and easy connection to an MP3 player or other external audio sources. 
1.  Before connecting to the mains socket, use a 3.5mm audio cable (not supplied) to connect to 

your external audio device through the 

AUX IN

 socket on the back of unit.   

2.  Connect power adapter to mains socket, press 

POWER /VOLUME

 knob to switch unit on. 

3. Press 

MODE

 button repeatedly to select

 Auxiliary Input

 mode.   


4.  In Aux in mode, you may operate your audio device directly for playback features. 
5.  To gain optimal volume levels, adjusting the output volume level on the audio device as well 

is recommended. 

#


Note: the unit will automatically switch to standby mode after 10 minutes if the source device 

is disconnect, switched off or the volume is too close to mute. 


Summary of Contents for Heritage 2

Page 1: ...USER MANUAL DAB FM Radio Spotify Connect Enabled Bluetooth NFC Connect WiFi Network Enabled Multi Room Audio Streaming Smartphone App Control Digital Radio CONNECTED...

Page 2: ...ectric service cords that have become frayed or otherwise damaged immediately Do not use a cord that shows cracks or abrasion damage along its length the plug or the connector end 10 To prevent fire o...

Page 3: ...Preset Station 16 Spotify 17 Using Spotify Connect 17 Controlling Spotify Connect 18 Using another Spotify account with your radio 18 Music player Mode 19 Sharing Media with Windows Media Player 19 Pl...

Page 4: ...ld Communication 28 Aux in Mode 29 General Operation 30 Setting Sleep 30 Setting Alarm 30 Setting Equaliser 31 Network Setup 31 Setting Time Date 32 Setting Language 32 Factory Reset 32 Software Updat...

Page 5: ...wireless network is configured to use Wired Equivalent Privacy WEP or Wi Fi Protected Access WPA data encryption then you need to know the WEP or WPA code so you can get the Internet Radio to communi...

Page 6: ...term exposure to loud music may cause hearing damage It is best to avoid extreme volume when using headphones especially for extended periods of time Turning the Unit On Off Connect the plug at the e...

Page 7: ...tion Press to recall preset station 8 button z Press to skip to previous track in Spotify and Music player mode z Press and hold to fast reverse current playing track in Music player and Bluetooth mod...

Page 8: ...8 Unit Top View 1 NFC sensor Unit Back View 1 DAB FM antenna 2 Headphones socket 3 AUX IN socket 4 DC IN socket 5 Update port For service professional only...

Page 9: ...needed Keep network connected Keeps network connected especially in non internet mode i e DAB FM Bluetooth or Aux in mode to enable you can use Spotify and Multi room features all the time Select YES...

Page 10: ...OOZE knob to confirm Push Button You must start the WPS scan on the remote station e g router Consult the manual for your router or Access Points AP to learn how to do this After you have done this pr...

Page 11: ...o to a stronger signal position is necessary c Make sure your password is correct input Local Country Local Country will change according to your current location e g Local Australia It displays local...

Page 12: ...ion will be broadcast Genre enables you to choose radio stations according to their content for example Classic Rock Sport News etc a While Genre is highlighted press SELECT SNOOZE knob to confirm b T...

Page 13: ...then press SELECT SNOOZE knob to confirm d Turn SELECT SNOOZE knob to select All Shows or By Genre and then press SELECT SNOOZE knob to confirm e Turn SELECT SNOOZE knob to select the podcast you wan...

Page 14: ...r radio on portal www wifiradio frontier com Refer to section Adding station to My Favourites FAQ Turn SELECT SNOOZE knob to select question and then press SELECT SNOOZE knob to listen the FAQ Adding...

Page 15: ...ing a factory reset cannot erase my favourites stations Adding station to My Added Stations Even though the Internet radio portal contains thousands of stations you may want to listen to stations not...

Page 16: ...Sampling Rate Playback Buffer and Date Storing Preset Stations Your radio can store up to 10 of your favourite Internet stations This will enable you to access your favourite stations quickly and easi...

Page 17: ...droid 2 Connect your radio to the same WiFi network as your smartphone or tablet and then press MODE button on your radio repeatedly to select Spotify Connect mode 3 Open the Spotify app on your smart...

Page 18: ...p and use Spotify Connect please visit www spotify com connect Controlling Spotify Connect You can now control Spotify from the app like normal search for and play your tracks change the volume and ad...

Page 19: ...Player The most common UPnP server is Windows Media Player 10 or later Viewing version from Help About Windows Media Player Alternatively other UPnP platforms and servers may be used To set up WMP fo...

Page 20: ...CT SNOOZE knob to confirm 3 Available media servers will be listed Turn SELECT SNOOZE knob to select and press to confirm and then step by step to your selecting music 4 When a track is playing you ca...

Page 21: ...y Mode Press MENU button on the unit and then turn SELECT SNOOZE knob to select Shuffle play Off then press SELECT SNOOZE knob repeatedly to shift repeat play On or Off Clearing My Playlist This featu...

Page 22: ...ively while a program is playing press MENU button on the unit turn SELECT SNOOZE knob to select Station list and then press SELECT SNOOZE knob to confirm 3 Turn SELECT SNOOZE knob to select the stati...

Page 23: ...show a tuning meter with the signal strength and the multiplex name after a few seconds The new stations will be added to station list automatically 3 To playing the station first press BACK button r...

Page 24: ...Ensemble Program Frequency Signal Quality Signal Strength Bitrate Codec Channel and Date Showing Signal Strength While you selected signal strength a signal bar with the strength of the current statio...

Page 25: ...Recalling a Preset Station 1 Press PRESET button to show the saved preset stations 2 Turn SELECT SNOOZE knob to select the preset station you want to play and then press the SELECT SNOOZE knob to conf...

Page 26: ...any available station This may result in a poor signal to noise ratio hiss from weak stations 1 To change the scan settings to stop only at stations with good signal strength press MENU button on the...

Page 27: ...nit until diaplay shows as below 2 Turn SELECT SNOOZE knob to cycle through the preset numbers 1 10 3 Select one preset number and then press the SELECT SNOOZE knob display will show Preset stored 4 P...

Page 28: ...rd current playing track 8 To disconnect the Bluetooth connection press MENU button on the unit turn SELECT SNOOZE knob to select BT disconnect and then press SELECT SNOOZE knob to confirm The display...

Page 29: ...power adapter to mains socket press POWER VOLUME knob to switch unit on 3 Press MODE button repeatedly to select Auxiliary Input mode 4 In Aux in mode you may operate your audio device directly for p...

Page 30: ...o select Alarm 1 or Alarm 2 and then press SELECT SNOOZE knob to confirm 3 Turn SELECT SNOOZE knob to select options and then press SELECT SNOOZE knob to confirm the setting Enable Alarm active day Of...

Page 31: ...will show Save changes Turn and press SELECT SNOOZE knob to select YES to save changes Network Setup Users encountering networking issue may find these options useful for diagnosing and fixing networ...

Page 32: ...rm 2 Turn SELECT SNOOZE knob to select your language and then press SELECT SNOOZE knob to confirm Factory Reset Doing a factory reset resets all user settings to default values so time date and preset...

Page 33: ...ENU button on the unit Main menu System settings Setup wizard press SELECT SNOOZE knob to confirm 2 Turn SELECT SNOOZE knob to select YES and then press SELECT SNOOZE knob to confirm Viewing System In...

Page 34: ...t alphanumeric code is the MAC address of your radio to connect to 4 Now playing screen is shown Playing Internet radio mode for example 5 Multi room capable devices can be connected to play synchrono...

Page 35: ...group Refer to Figure 6 f Group will synchronously play the program which the master device is playing You can drag the volume control bar to change the master volume for all grouped devices You also...

Page 36: ...36 Figure 5 Figure 6 Figure 7 Figure 8 Figure 9 Figure 10...

Page 37: ...roup which your radio belong to List current clients Clients in the group which your radio belong to will be listed Select the client you want to remove from group Leave group Remove your radio from g...

Page 38: ...38 Menu Map...

Page 39: ...39...

Page 40: ...my Bluetooth device z Ensure the Bluetooth function is activated on your Bluetooth device z Re pair the unit with your Bluetooth device If any functional abnormality is encountered unplug the unit fro...

Page 41: ...r failure and for compensation for any other reasonably foreseeable loss or damage You are also entitled to have the goods repaired or replaced if the goods fail to be of acceptable quality and the fa...

Reviews: