Ready? Let’s begin...
Please read these instructions carefully. They contain
important information which will help you get the best
from your TV and ensure safe and correct installation
and operation.
If you require any further assistance, our technical experts
are happy to help. For full details, refer to the product
support section at the end of these instructions.
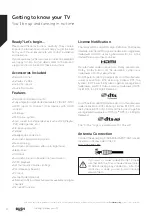
Accessories Included
Ŕ
Remote Control
Ŕ
Batteries: 2 x AAA
Ŕ
Instruction Book
Ŕ
Quick Start Guide
Features
Ŕ
Remote controlled colour TV
Ŕ
Fully integrated digital terrestrial/cable TV (DVB-T-T2/C)
Ŕ
HDMI inputs to connect other devices with HDMI
sockets
Ŕ
USB input
Ŕ
OSD menu system
Ŕ
Scart socket for external devices (such as DVD Players,
PVR, video games, etc.)
Ŕ
Stereo sound system
Ŕ
Teletext
Ŕ
Headphone connection
Ŕ
Automatic programming system
Ŕ
Manual tuning
Ŕ
Automatic power down after up to eight hours.
Ŕ
Sleep timer
Ŕ
Child lock
Ŕ
Automatic sound mute when no transmission.
Ŕ
NTSC playback
Ŕ
AVL (Automatic Volume Limiting)
Ŕ
PLL (Frequency Search)
Ŕ
PC input
Ŕ
Game Mode (Optional)
Ŕ
Ethernet (LAN) for interactive services available on digital
channels
Ŕ
Picture off function
License Notification
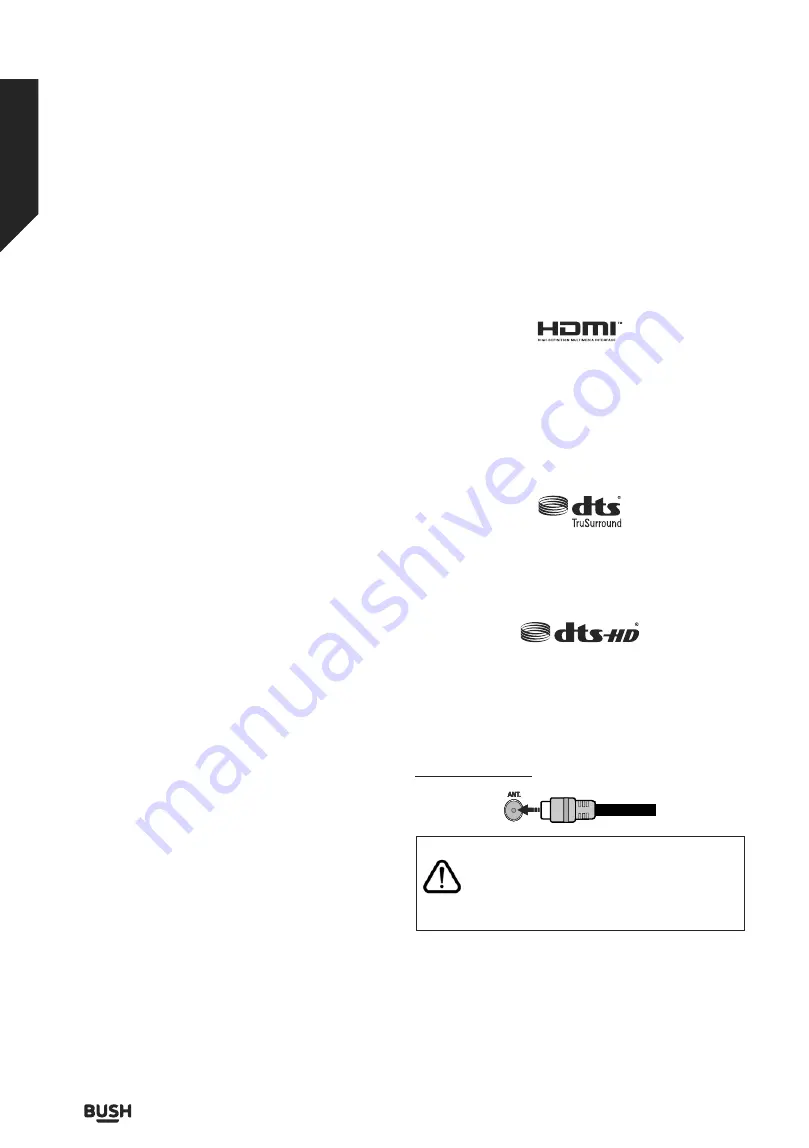
The terms HDMI and HDMI High-Definition Multimedia
Interface, and the HDMI Logo are trademarks or registered
trademarks of HDMI Licensing Administrator, Inc. in the
United States and other countries.
Manufactured under license from Dolby Laboratories.
Dolby, Dolby Audio and the double-D symbol are
trademarks of Dolby Laboratories.
For DTS patents, see http://patents.dts.com. Manufactured
under license from DTS Licensing Limited. DTS, the
Symbol, & DTS and the Symbol together are registered
trademarks, and DTS TruSurround is a trademark of DTS,
Inc.© DTS, Inc. All Rights Reserved.
For DTS patents, see http://patents.dts.com. Manufactured
under license from DTS Licensing Limited. DTS, DTS-HD,
the Symbol, & DTS or DTS-HD and the Symbol together
are registered trademarks of DTS, Inc.
©
DTS, Inc. All Rights
Reserved.
The “CI Plus” Logo is a trademark of CI Plus LLP.
Antenna Connection
Connect the aerial plug to the AERIAL INPUT (ANT.) socket
located on the rear side of the TV.
Rear side of the TV
If you want to connect a device to the TV, make
sure that both the TV and the device are turned
off before making any connection. After the
connection is done, you can turn on the units
and use them.
Getting to know your TV
You’ll be up and running in no time
Getting to know your TV
10
If you require any technical guidance or find that your TV is not operating as intended, a simple solution can often be found in the
Troubleshooting
section of these instructions,
Summary of Contents for DLED49FHD
Page 1: ......
Page 2: ......
Page 4: ......
Page 5: ...Safety information 1 ...
Page 11: ...Getting to know your TV 2 ...
Page 15: ...Connections 3 ...
Page 18: ......
Page 19: ...Standard features 4 ...
Page 21: ...Advanced features 5 ...
Page 31: ...Other information 6 ...
Page 37: ...Product support 7 ...
Page 42: ......
Page 43: ......
Page 44: ......


