Page 8
User instructions
Digital TV (cont)
2:
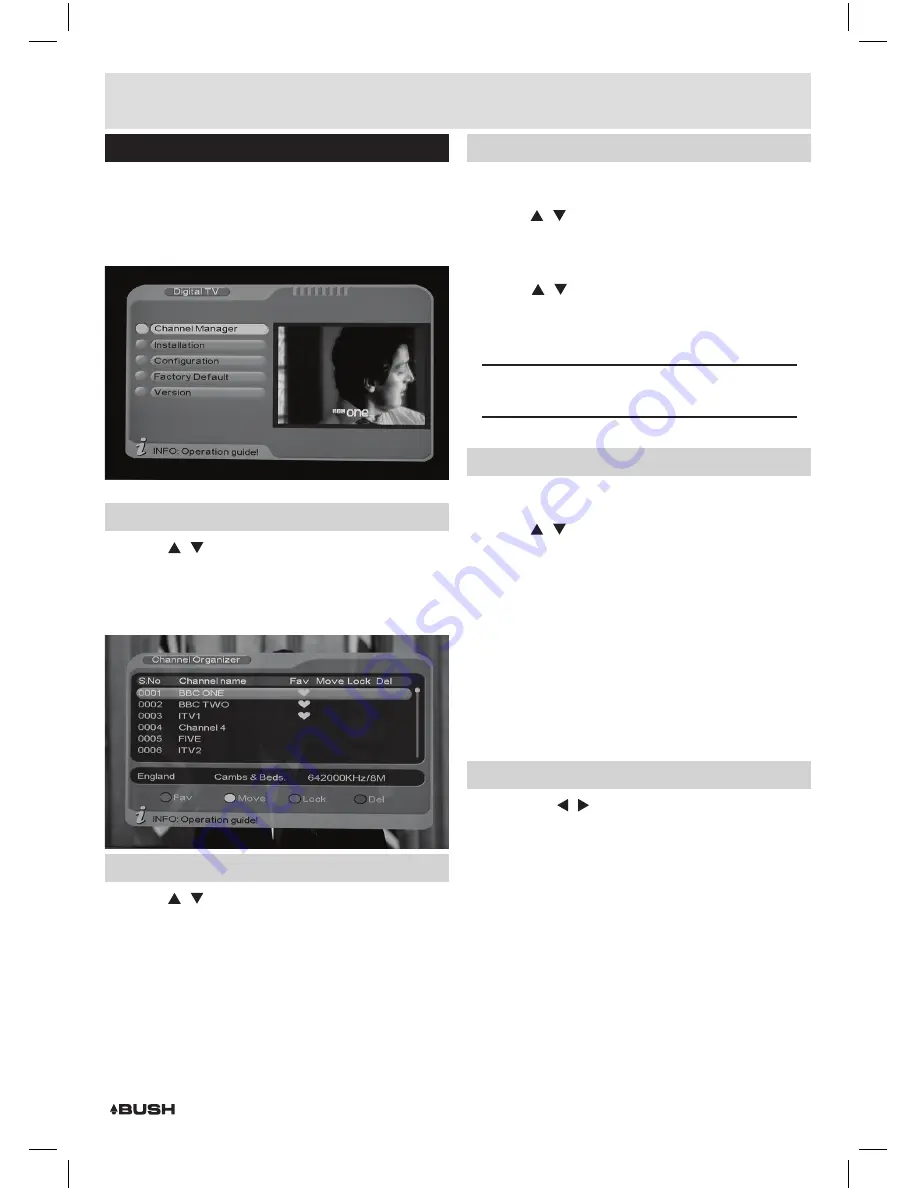
You will note the key for the coloured button
commands on the bottom panel of the interface.
RED:
Favourite,
YELLOW:
Move,
BLUE:
Lock &
GREEN:
Delete.
Setting favourite channels
1:
Use the / buttons to scroll through the list of
available channels.
2:
When selected press the
RED
button to assign that
channel as a
FAVOURITE.
Press again to remove the
function.
Delete a channel
1:
Use the / buttons to scroll through the list of
available channels.
2:
When selected press the
GREEN
button to earmark
that channel for deletion from the channel list.
3:
Continue steps
1
-
2
until you have marked all the
channels you wish to be deleted.
4:
Press the
EXIT
button, select
YES
from the option
menu, then press
ENTER
to delete the marked
channels.
Move a channel
It is possible to re-arrange the order channels are
displayed in the EPG.
1:
Use the / buttons to scroll through the list of
available channels.
2:
When selected press the
YELLOW
button to activate
the move function.
3:
Use the / buttons to scroll through the list of
channels until you reach the required new location.
4:
Press the
ENTER
button to re-locate the channel
listing.
NOTE:
the channel will be re-located above the
selected channel in the list.
Lock a channel
This function will add a parental lock to assigned
channels.
1:
Use the / buttons to scroll through the list of
available channels.
2:
When selected press the
BLUE
button to activate the
lock function.
3:
A
4
digit pass code is required to proceed with this
function. The default code is
‘0000’
.
4:
When entered the channel will display a padlock icon
to indicate it is locked. You can proceed to press the
BLUE
button adding locks to other channels.
5:
Press the
EXIT
button when finished.
6:
Any locked stations, selected for viewing will require
the
4
digit pass code.
Rename a channel
1:
Press either / button to rename the selected
channel.
2:
Use the numeric keypad to assign a new name.
Press each number repeatedly to cycle through the
characters assigned to that number. The on-screen
key shows a visible reference.
3:
After adding each letter or number wait for a few
seconds before adding another.
4:
Press the
ENTER
button to store the new name.


