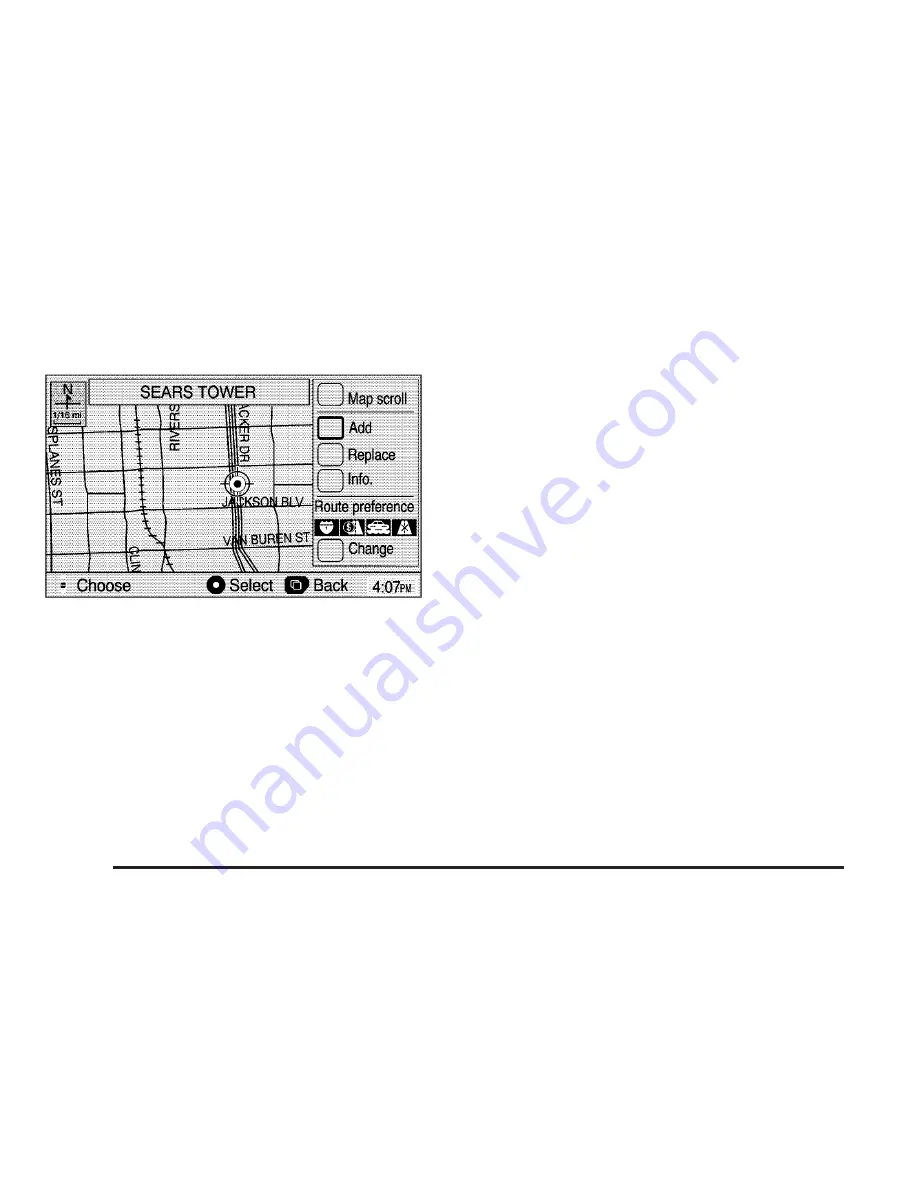
Destination Preview Menu
Each time a destination is entered, a screen with the
destination preview menu will appear. This screen
will display a zoomed in view of the destination, as well
as the following options:
Map scroll: This option allows you to scroll the map
and make small adjustments to the desired destination,
for greater accuracy.
Add: This option will add the displayed destination to
the current route. If there is more than one destination
entered into the system, the Add Destination screen will
be displayed.
Replace: This option will replace a destination to the
current route of the displayed destination.
Info: This option will display the telephone number for
the point of interest (POI) which contains the displayed
information in the database.
Route preference: This option will display the Route
Preference screen. To adjust your route preferences,
select Change, located below the road type icons. See
the route preference screen under “Edit Route”
earlier in this section for more information.
Once the desired adjustments from the destination
preview menu are complete, the route overview menu
can be displayed. See “Route Overview Menu” following
in this section for more information.
Route Overview Menu
Each time a destination has been selected and the
desired adjustments from the destination preview menu
are complete, the route overview menu can be displayed.
Press the joystick to display the following three options:
Start: This option will choose the default road type,
calculate the route, and begin route guidance for
the displayed route.
3 Routes: This option will display the map with three
highlighted routes shown in three different colors
for Fastest, Shortest, and Alternative route.
2-26


