background image

37

I : Headphone jack - You can hear all sounds from PC or tape sound using a

headphone set. 

J : Microphone jack - You can connect an external microphone to this port. It

supports mono and stereo microphone.

L : LED lights - 2 green and 1 red LED lights show the status of the Plusdeck2c

operation.

Part 5

Using Plusdeck2c

36

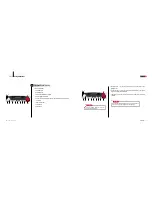
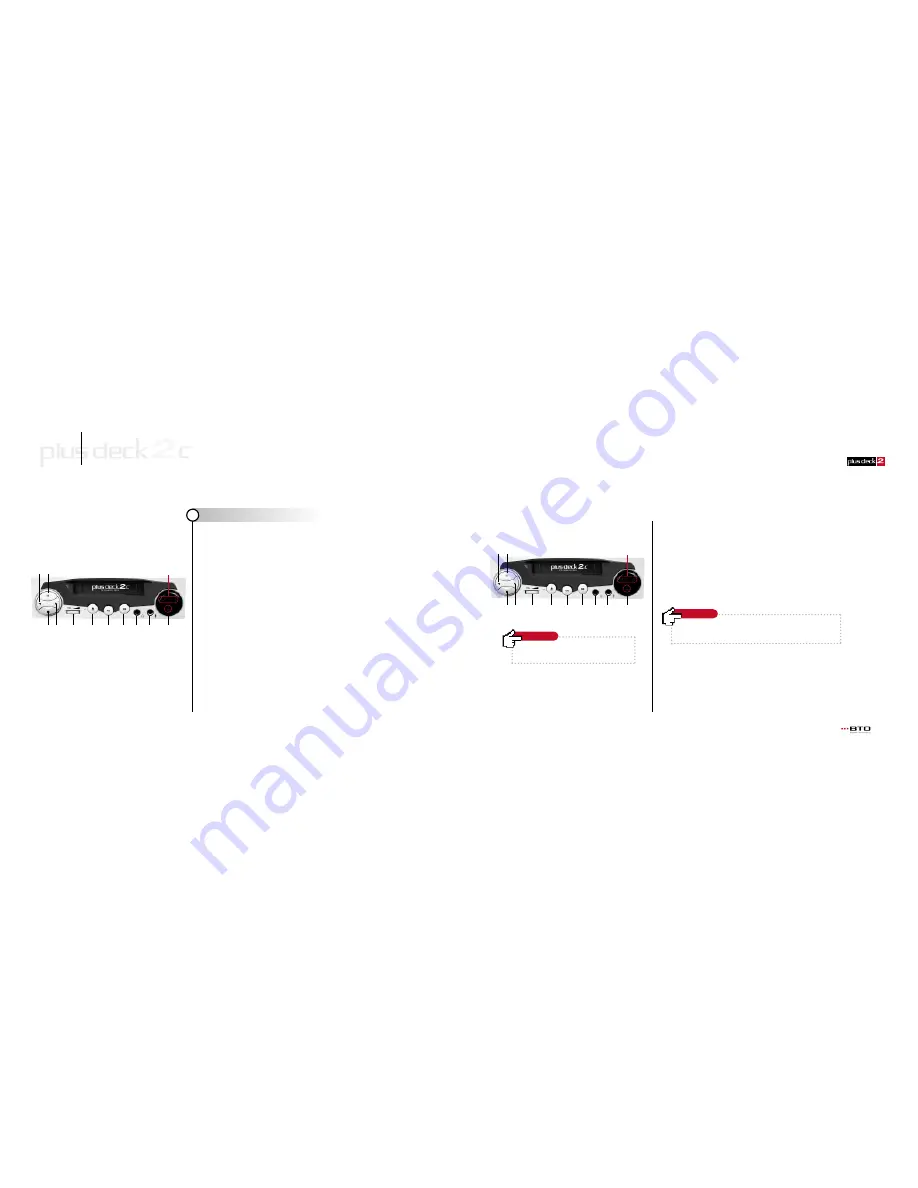
1. Command Buttons

A : Playback A side

B : Playback B side

C : Stop - Stop all Plusdeck2c operation

D : Pause playing back the tape

E : Volume Control - adjusting the volume of the headphone jack in the font panel

of the deck

F and K : Eject the tape

G : Fast forward

H : Fast rewind 

www.plusdeck.com

Plusdeck2c main body

2

L

D

B

C

A

E

F

G

H

J

K

I

L

D

B

C

A

E

F

G

H

J

K

I

If E is at the minimum position, no sound will be
heard from the headphone jack.

Caution

The stereo cable connection described in page 19 must be done properly
in order to use the front panel headphone and microphone jack.

Caution

Summary of Contents for plus deck2c

Page 1: ...BTO Co Ltd www plusdeck com Manual for Use and Installation a warranty card enclosed ...

Page 2: ...the back of the manual included is the registration card User manual a warranty card enclosed Version 3 50 The contents of this manual can be changed without prior notice due to any change in the product Printed images may differ from the actual images Copying or distribution of the contents of this material without our written permission is forbidden ...

Page 3: ...lling and using Plusdeck2c 7 6 Electromagnetic Waves Validation 7 7 Suggestions about Installation And Use 8 Note Throughout this manual the names PC and computer are used interchangeably 플러스데크2c사용 1 Before installation 3 2 Installing Plusdeck2c 9 3 Connecting Plusdeck2c 15 4 Getting Started 21 5 Using Plusdeck2c 33 6 Getting more out of Plusdeck2c 47 7 Warranty and Registration Card 63 Contents ...

Page 4: ...1 Patent issue 0390012 International patent PCT KR01 1567 Registration of design 30 2001 0034551 Registration of program 2001 01 23 4046 Best prize of the second Digital Innovation Success Design of KIDP Korea Institute of Design Promotion 2002 Procurement Success Designed Special Product chosen by Supply Administration Best New Product chosen by Hankook Ilbo Hit Product chosen by Electronic Newsp...

Page 5: ...ed including interference that may cause undesired operation Note This equipment has been tested and found to comply with the limits for CLASS B digital device pursuant to Part 15 of FCC Rules These limits are designed to provide reasonable protection against harmful interference when the equipment is operated in a commercial environment This equipment generates uses and can radiate radio frequenc...

Page 6: ...eave other materials or do not touch other parts inside the PC Avoid a direct exposure to the sun or moisture when installing Mechanical or chemical damage should be avoided Keep screws or other small components out of children s reach Do not use bent or damaged tapes Do not move the product while in operation A great care must be given when using important tapes Avoid inserting the finger or mate...

Page 7: ... card Notice that there is a notch in the middle of the connector which prevents you from connecting the cable upside down Inserting Plusdeck2c 2 Connecting 20 pin cable 3 Part 2 Installing Plusdeck2c 10 www plusdeck com Make room for installation 1 1 Open the PC case 2 Caution should be given with sharp edges inside PC 3 Locate an empty 5 25 inch bay where Plusdeck2c is installed Note How to open...

Page 8: ...www plusdeck com 1 The internal power cable is shown in the picture on the left 2 A 4 pin power cable supplies 5V and 12V 3 Before connecting the power cable check the power cable direction as shown in the picture 4 The rounded edge of the power cable must face downward when inserted 5 An extra caution should be used as the power cable connection of the Plusdeck2c can be different from that of CD ...

Page 9: ...o the sound card 18 1 Standard connection 18 2 Advanced connection 19 3 Microphone connection 20 Part 2 Installing Plusdeck2c 14 1 A completed cable connection inside PC is shown in the figure on the left side 2 Close the PC case to finish the installation www plusdeck com Closing PC case 6 ...

Page 10: ...7 The USB serial connector will not work as it does not allow two way communication Part 3 Connecting Plusdeck2c 16 1 The connection card can be installed in any slot of the PC as it does not connect to a PCI interface It lets the Plusdeck2c communicate with the PC serial port and sound card 2 Its main components as shown on the left side consist of A 20 pin cable connector B audio input ouput por...

Page 11: ...ard 3 19 2 Advanced connection The advanced connection is useful when a headphone set is used The headphone sound volume can be adjusted by the volume control located in the front panel of the Plusdeck2c Since the headphone is a two channel system output sounds from rear and center speakers can still be heard if you are using a multichannel system Connection to use a headphone set A Move the speak...

Page 12: ...he tape playing sound will be heard from the front panel jack only when the advanced connection is done Make sure that the headphone volume control is not in the minimum position Caution Now all cable connections are completed Follow the steps in Section 4 to test the installation Check Getting Started 1 Starting PC 23 2 Checking power supply 24 3 Checking tape playback sound 26 4 Installing Softw...

Page 13: ...fficient Upgrade the power supply or remove devices no longer in use Check if other PC parts are properly connected or get loosened Problem Solution PC won t start Start PC after you plug the power switch on After the installation and cable connection is finished this section lets you test the setup and helps familiarize yourself with the Plusdeck2c operation Getting started with the Plusdeck2c ...

Page 14: ...lied to the Plusdeck2c the tape should be inserted without excessive force and ejected by itself with the eject button When the power is not supplied or the power cable is not properly connected the Plusdeck2c will not operate Check these 1 The power supply cable to the Plusdeck2c is connected upside down the rounded side of the power supply should go downward 2 The power supply cable is dead conn...

Page 15: ... and click OK 2 If Line In in the volume control is muted mute must be unchecked Also increase the Line In level if it is set too low Problem Solution 2 If you still not hear the sound after steps 1 and 2 are checked it is likely that the Line In of the soundcard has been assigned to perform a different function In order for the sound card with only three jacks Line In Line Out Mic to support a mu...

Page 16: ...2c is Installed Installing Software 4 1 Methods of installation 1 Install over the internet Go to http www plusdeck com Search for the latest version at DOWNLOAD menu Download the software 2 Install from a CD Insert the Plusdeck2c installation CD in the CD ROM drive If the setup program is not started automatically double click setup exe in the disc 2 Start Installing ...

Page 17: ...uble clicking the shortcut icon in the desktop or clicking start 1 Plusdeck2c When the software has started the interface as shown on the left appears The software is closed by clicking X on the upper right corner 2 Click Next The installation is in progress Click Stop to finish the installation Close program ...

Page 18: ...he pin in the serial cable has been bent 2 The problem with the serial port The serial port is already in use by other device Other program including previously installed program may be blocking the serial port This program must be removed The serial port is set to disable at the BIOS setup Change the setting to auto or enable 3 Others When there is no power supplied When multiple Plusdeck2c softw...

Page 19: ...the deck the swinging door in the front face may look open 6 Make sure the tape is well winded before inserting A loosened tape could get entangled 7 Foreign materials inserted inside the deck could damage the deck Inserting the tape 1 When the tape can not be inserted the possible causes are A The tape is bent significantly B The power supply problem the power cable is connected upside down or th...

Page 20: ...de B Playback B side C Stop Stop all Plusdeck2c operation D Pause playing back the tape E Volume Control adjusting the volume of the headphone jack in the font panel of the deck F and K Eject the tape G Fast forward H Fast rewind www plusdeck com Plusdeck2c main body 2 L D B C A E F G H J K I L D B C A E F G H J K I If E is at the minimum position no sound will be heard from the headphone jack Cau...

Page 21: ...ject Plusdeck2c main body 3 39 Part 5 Using Plusdeck2c 38 www plusdeck com 2 2 LED indicator LED lights 1 red 2 green show the status of the Plusdeck2c operation Flashing arrow All 3 LED lights are flashing constantly when the tape gets stuck or the Plusdeck2c has a mechanical problem Note A B C eject stop pause fast rewind play B side play A side fast forward LED Condition Nothing No tapes Gray s...

Page 22: ...udes A side Bside auto reverse auto reverse but it splits between A and B side the timer 2 Converting and Recording Digital files are generated using A B and C control buttons A Configure File setting can be changed B Convert Convert the tape into digital files C Save Record the PC output sound to digital files A B C A B C A 1 A 2 A 3 ...

Page 23: ...ice and mp3 64 or higher for converting music The table below shows the file size comparison table between wave and various mp3 bit rate file format The number of after mp3 is bitrate The size of file is approximation A 1 A 2 A 3 A 1 A 2 A 3 Why converting can be done only in real time High speed recording between different medium can not be done at this point due to the speed error problem Recomm...

Page 24: ...ton in B convert the tape to digital files This is the main funtion of the Plusdeck2c Converting can be started when the tape is inside the deck and the deck is not in operation A window which lets you specify a folder and file name appears when convert button is pressed After you click OK button the tape palys and converting is started You can manually stop converting by pressing button on the ri...

Page 25: ...u list Shows the version of the current software Directs you to the online manual Directs you to the manufacturer s web site Lets you send you an email to the manufacturer Lets you to adjust the soundcard setting A Auto setting off turns off auto setting B View volume opens volume cotrol panel C View Control Panel opens control panel Lets you operate the Plusdeck2c by the keyboard Lets the Plusdec...

Page 26: ...erating deck 1 www plusdeck com 49 Part 6 Getting more out of Plusdeck2c 48 3 This section explains step by step 1 how to operate the deck 2 how to convert the tape into digital files 3 how to save PC output sound as digital file 4 how to troubleshoot 5 how to optimize sound quality 6 How to edit digital files Familiarize yourself with these features by repeating several times Note Side A If the t...

Page 27: ...n selected 9 File is stored first as native wave format If mp3 format is selected wave file is compressed to mp3 and wave file is removed afterward 10 If wave format is selected the process ends without mp3 compression process If the intended job is to make an audio CD it is recommended that file be stored as wave format Specify a folder and file name Compressing wave to mp3 In case there is no so...

Page 28: ...compression process If the intended job is to make an audio CD it is recommended that file be stored as wave format Saving PC output sound as digital file 3 Part 6 Getting more out of Plusdeck2c 52 www plusdeck com If the above step does not fix the problem Line In of the sound card functions as Line Out or it is out of order 1 In the program which controls the sound card check if Line In jack is ...

Page 29: ...led 3 Click Volume in Sound recording and check if Stereo Mix is selected The Stereo Mix volume level should be increased if it is set too low Problem Solution The name Stereo Mix may be called differently in some sound cards The item which corresponds to Stereo Mix must be selected In order to find the correct one refer to the manual or select the item one by one to find which one successfully sa...

Page 30: ...must NOT be muted Part 6 Getting more out of Plusdeck2c 56 1 Understanding Sound Card Setting There are two sound control panels one is master volume control panel which controls output sound and the other is recording control panel which controls input sound Windows98 Start 1 Control Panel 1 Multimedia WindowsXP Start 1 Control Panel 1 Sounds and Audio devices 1 Audio tab Click Volume button in S...

Page 31: ... file is significantly degraded from the original tape most likely Line In of the sound card has gone bad You should test with a different sound card www plusdeck com 59 4 Controlling volume level when saving PC output sound 1 Stereo Mix volume level in recording control panel controls the input volume level 2 If Stereo Mix is not selected or volume level is the minimum created digital files will ...

Page 32: ...k speed control Adding silence Fade In Out reverse play Editingdigitalfiles 5 Part 6 Getting more out of Plusdeck2c 60 5 Getting rid of sound effect 1 Go to Start 1 Control Panel 1 Sounds and Audio devices 2 In the Sounds and Audio devices window select Sounds tab 3 Select none in the sound scheme www plusdeck com Converting analog sound to digital sound process requires a large hard drive space C...

Page 33: ...m is found within 10 days from date of purchase contact the distributor with the product registration and receipt for refund 2 If a problem occurs which is not caused by user mishandling within the warranty period you can get the product serviced for free 3 If a problem occurs after the warranty period is over a service fee will be charged 4 A service fee will be charged within the warranty period...

Page 34: ...e Purchased place Customers address Name Trouble particulars plusdeck 2c 20 5 We are not responsible for any damage done on the tape or computer caused by user mishandling or error Serial number Warranty period Phone number Within 1 year from purchased ...

Reviews: