6–2
6
I
I
m
m
p
p
r
r
o
o
v
v
i
i
n
n
g
g
t
t
h
h
e
e
p
p
r
r
i
i
n
n
t
t
q
q
u
u
a
a
l
l
i
i
t
t
y
y
This section provides information on the following topics:
I
I
I
m
m
m
a
a
a
g
g
g
e
e
e
d
d
d
e
e
e
f
f
f
e
e
e
c
c
c
t
t
t
s
s
s
a
a
a
m
m
m
p
p
p
l
l
l
e
e
e
s
s
s
R
R
R
e
e
e
c
c
c
o
o
o
m
m
m
m
m
m
e
e
e
n
n
n
d
d
d
a
a
a
t
t
t
i
i
i
o
o
o
n
n
n
ABCDEFGH
abcdefghijk
A B C D
a b c d e
0 1 2 3 4
CDEF
defg
B C
b c d
2 3
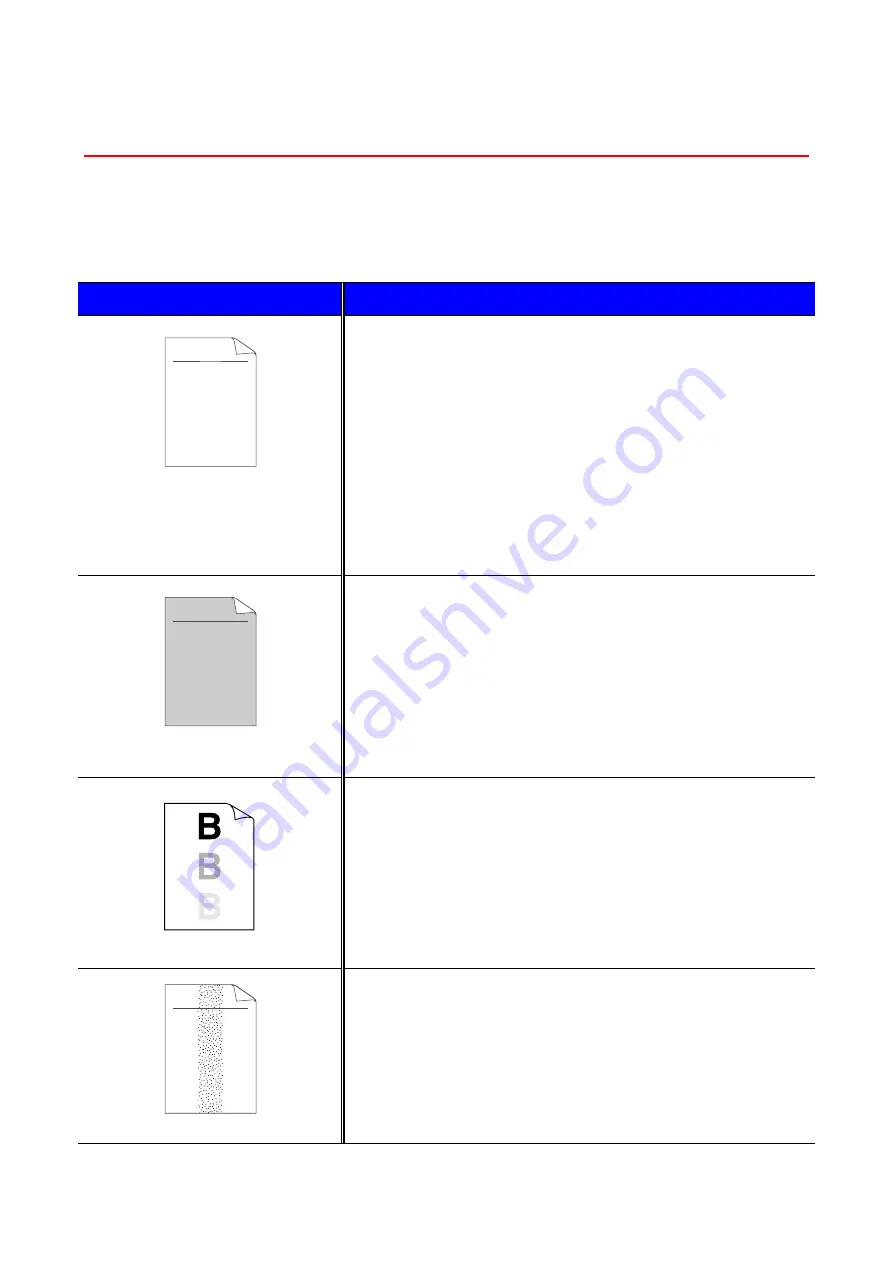
Faint
•
Check the printer's environment. Conditions such as humidity,
high temperatures, etc., may cause this print defect to occur.
See “Positioning the printer” in Chapter 1.
•
If the whole page is too light, the toner save mode may be on.
Disable the toner save mode in the printer Properties tab of the
Driver.
•
Try installing a new toner cartridge.
•
You may clear the problem by wiping the scanner window with a
soft cloth.
See "Cleaning the printer interior
"Maintenance Tutorial" movie on the supplied CD-ROM.
ABCDEFGH
abcdefghijk
A B C D
a b c d e
0 1 2 3 4
Gray background
•
Make sure that you use paper that meets the recommended
specifications.
See “What kind of paper can I use” in Chapter 1.
•
Check the printer's environment; high temperature and high
humidity conditions can increase the amount of background
shading.
See “Positioning the printer” in Chapter 1.
•
Install a new toner cartridge.
Ghost
•
Make sure that you use paper that meets the specifications.
Rough surfaced paper, paper that has absorbed moisture or
thick print media can cause this problem.
paper can I use” in Chapter 1.
•
Make sure that you select the appropriate media type in the
printer driver.
See “What kind of paper can I use” in Chapter 1.
•
Try installing a new toner cartridge
ABCDEFGH
abcdefghijk
A B C D
a b c d e
0 1 2 3 4
Toner specks
•
Make sure that you use paper that meets the specifications.
Rough surfaced paper may cause the problem.
of paper can I use” in Chapter 1.
•
The toner cartridge may be damaged. Install a new toner
cartridge.
Summary of Contents for HL-2460N
Page 46: ...1 26 PS driver Select the paper size Select MP tray ...
Page 71: ...CHAPTER 2 DRIVER AND SOFTWARE 2 11 c Graphics tab Set the print quality etc ...
Page 85: ...CHAPTER 3 CONTROL PANEL C CH HA AP PT TE ER R 3 3 C CO ON NT TR RO OL L P PA AN NE EL L ...
Page 86: ...CHAPTER 3 CONTROL PANEL 3 1 C Co on nt tr ro ol l P Pa an ne el l Fig 3 1 ...
Page 132: ...CHAPTER 4 OPTIONS C CH HA AP PT TE ER R 4 4 O OP PT TI IO ON NS S ...
Page 154: ...CHAPTER 5 MAINTENANCE C CH HA AP PT TE ER R 5 5 M MA AI IN NT TE EN NA AN NC CE E ...
Page 182: ...CHAPTER 6 TROUBLESHOOTING 6 17 3 Close the top cover of the printer Fig 6 11 ...
Page 188: ...CHAPTER 6 TROUBLESHOOTING 6 23 8 Close the top cover of the printer Fig 6 22 ...
Page 199: ...APPENDIX A AP PP PE EN ND DI IX X ...
Page 212: ...APPENDIX Appendix 13 H HP P L La as se er rJ Je et t M Mo od de e ...
Page 213: ...Appendix 14 ...
Page 214: ...APPENDIX Appendix 15 ...
Page 215: ...Appendix 16 ...
Page 216: ...APPENDIX Appendix 17 ...
Page 217: ...Appendix 18 ...
Page 218: ...APPENDIX Appendix 19 ...
Page 221: ...Appendix 22 ...
Page 222: ...APPENDIX Appendix 23 ...
Page 223: ...Appendix 24 I IB BM M M Mo od de e ...
Page 224: ...APPENDIX Appendix 25 ...
Page 225: ...Appendix 26 H HP P G GL L M Mo od de e ...
Page 226: ...APPENDIX Appendix 27 ...
Page 227: ...Appendix 28 ...
Page 228: ...APPENDIX Appendix 29 ...
Page 229: ...Appendix 30 ...


