


General setup
21
3
Tray use in copy mode
3
You can change the priority tray that the
machine will use for printing copies.
When you choose
Tray#1 Only
,
MP Only
or
Tray#2 Only
, the machine loads the
paper only from that tray. If the selected tray
is out of paper,
No Paper
will appear on the
LCD. Insert the paper in the empty tray.
To change the tray setting follow the
instructions below:
a
Press
Menu
,
1
,
6
,
1
.
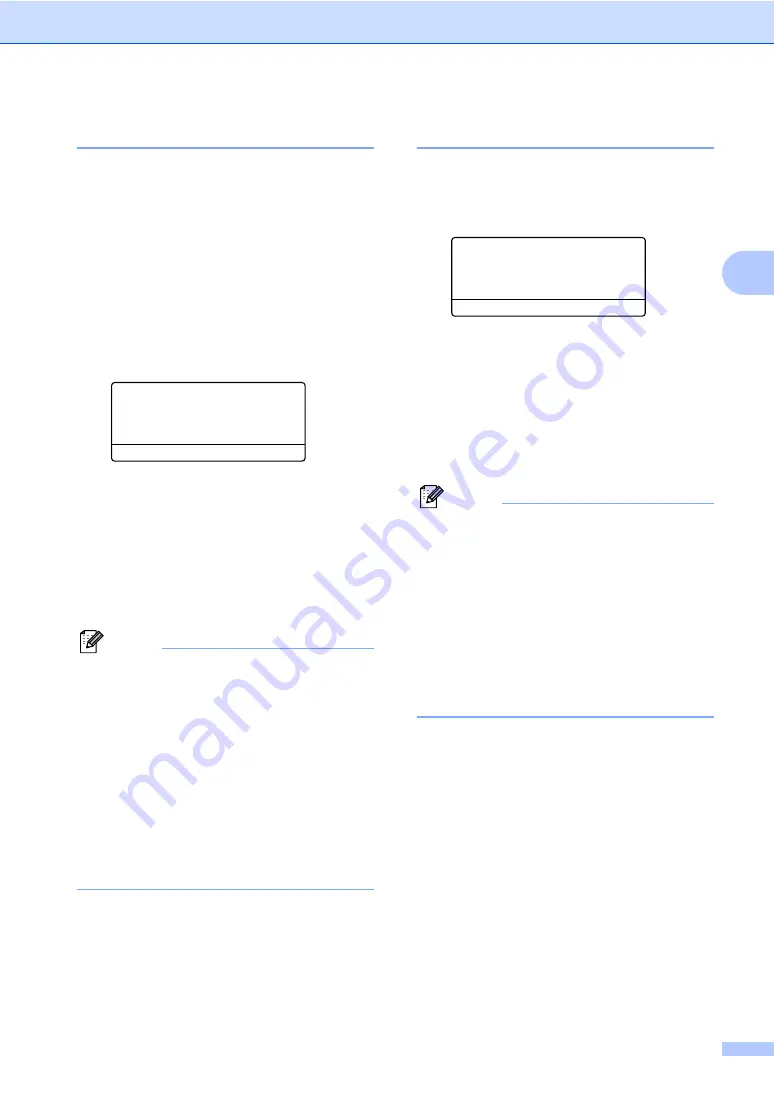
16.Tray Use
1.Copy
a
MP>T1
b
T1>MP
Select
ab
or OK
b
Press
a
or
b
to choose
Tray#1 Only
,
Tray#2 Only
MP Only
,
MP>T1>T2
.
Press
OK
.
1
Tray#2 Only
or
T2
appears only if the
optional tray is installed.
c
Press
Stop/Exit
.
Note
• The ADF can detect the document size .
When loading the documents from the
ADF and
MP>T1>T2
or
T1>T2>MP
is
selected, the machine looks for the tray
with the most suitable paper size and pulls
paper from that tray. If no tray has suitable
paper, the machine pulls paper from the
higher priority tray.
• When using the scanner glass, your
document is always copied from the
higher priority tray even if more suitable
paper is in another paper tray.
Tray use in print mode
3
You can change the default tray the machine
will use for printing from your computer.
a
Press
Menu
,
1
,
6
,
2
.
16.Tray Use
2.Print
a
MP>T1
b
T1>MP
Select
ab
or OK
b
Press
a
or
b
to choose
Tray#1 Only
,
Tray#2 Only
MP Only
,
MP>T1>T2
.
Press
OK
.
1
Tray#2 Only
or
T2
appears only if the
optional tray is installed.
c
Press
Stop/Exit
.
Note
• The setting in the printer driver will take
priority over the setting made on the
control panel.
• If the control panel is set to
Tray#1 Only
,
MP Only
or
Tray#2 Only
and you choose
Auto Select
in the printer driver, the
machine loads the paper from that tray.
1
Tray#2 Only
appears only if the optional tray is
installed.


