


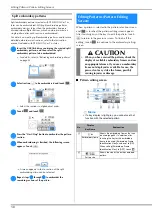


Editing Patterns (Embroidery Settings Screen)
42
Embroidering linked characters
Follow the procedure described below to embroider linked
characters in a single row when the entire pattern extends
beyond the embroidery frame.
Example:
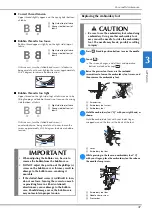
Linking “DEF” to the characters “ABC”
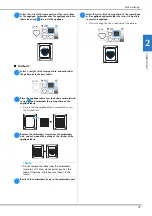
a
Select the character patterns for “ABC”, and then
touch
and .
b
Touch .
c
Touch
, and then touch
.
The needle is positioned in the lower-left corner of
the pattern. The embroidery frame moves so that the
needle is positioned correctly.
d
Touch .
e
Lower the embroidery foot and then press the “Start/
Stop” button to begin embroidering.
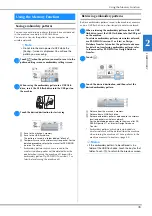
f
After the characters are embroidered, and the threads
are cut, remove the embroidery frame, and then touch
for [Finished embroidering].
g
Reposition the fabric in embroidery frame so that the
right side of the letter “C” will be partially inside the
embroidery frame; being careful so letters remain
straight and level. Then reattach frame again so that
the remaining characters (“DEF”) can be embroidered.
h
Touch
to cancel the current character patterns.
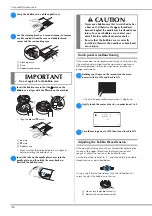
i
Select the character patterns for “DEF”, and then
touch
and .
j
Touch .
k
Touch
, and then touch
.
The needle is positioned in the lower-left corner of
the pattern. The embroidery frame moves so that the
needle is positioned correctly.
l
Use
to align the needle with the end of the
embroidering for the previous pattern.
m
Touch .
n
Lower the embroidery foot and press the “Start/Stop”
button to begin embroidering the remaining character
patterns.
1
End of the
embroidering
a
Summary of Contents for 888-P30
Page 2: ......


