SEWING THE STITCHES
S-52
Fagoting
When there is a space between two fabrics with
thread sewn over the space to join the fabrics
together, it is called fagoting. Use this stitch when
sewing blouses or children’s clothes.
a
Baste two pieces of fabric onto thin paper,
leaving a space of 4 mm (approx. 3/16 inch)
between the fabrics.
*
If you draw a line down the middle of the thin paper
or water-soluble stabilizer, sewing is easier.
a
4.0 mm (approx. 3/16 inch)
b
Paper
c
Basting stitches
b
Select
or .
c
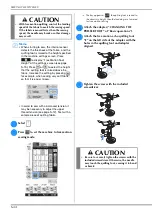
Attach presser foot “J”. Align the center of
the presser foot with the middle of the
space between the fabrics and begin
sewing.
a
Basting stitches
d
When sewing is finished, gently tear the
paper away.
Tape or Elastic Attaching
a
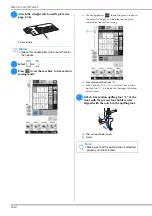
Select a straight stitch and attach presser
foot “J”.
b
Set the stitch length to 4.0 mm (approx.
3/16 inch), and loosen the upper thread
tension to 2.0 (see “Setting the Stitch
Length” on page S-10 and “Setting the
Thread Tension” on page S-12).
c
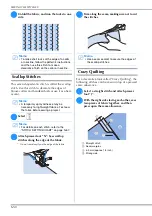
Sew two rows of straight stitches on the
right side of the fabric, then pull the bobbin
thread to create the necessary gather.
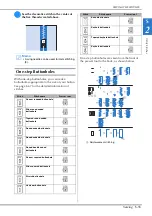
d
Place the tape over the gather, and hold it
in place with basting pins.
a
Tape
Memo
• For details on each stitch, refer to the
“STITCH SETTING CHART” on page S-67.
Memo
• Use a thick thread.
Memo
• Be sure that neither automatic
reinforcement
nor automatic thread
cutting
is
selected.
Memo
• Before sewing the straight stitch, rotate the
handwheel toward you (counterclockwise)
and pull up the bobbin thread. Holding the
top and bobbin thread, pull a length of
thread out from the rear of the machine. (Be
sure that the presser foot is raised.)
Summary of Contents for 882-D10
Page 8: ...WHAT YOU CAN DO WITH THIS MACHINE B 6 ...
Page 58: ...USING FUNCTIONS BY CONNECTING THE ACCESSORY TO THE MACHINE B 56 ...
Page 77: ...USEFUL FUNCTIONS Sewing Basics Sewing S 19 S 1 ...
Page 133: ...STITCH SETTING CHART Utility Stitches Sewing S 75 S 2 ...
Page 170: ...USING STORED CUSTOM STITCHES S 112 ...
Page 207: ......


