- 21 -
Computerised Handset with LED display
VII
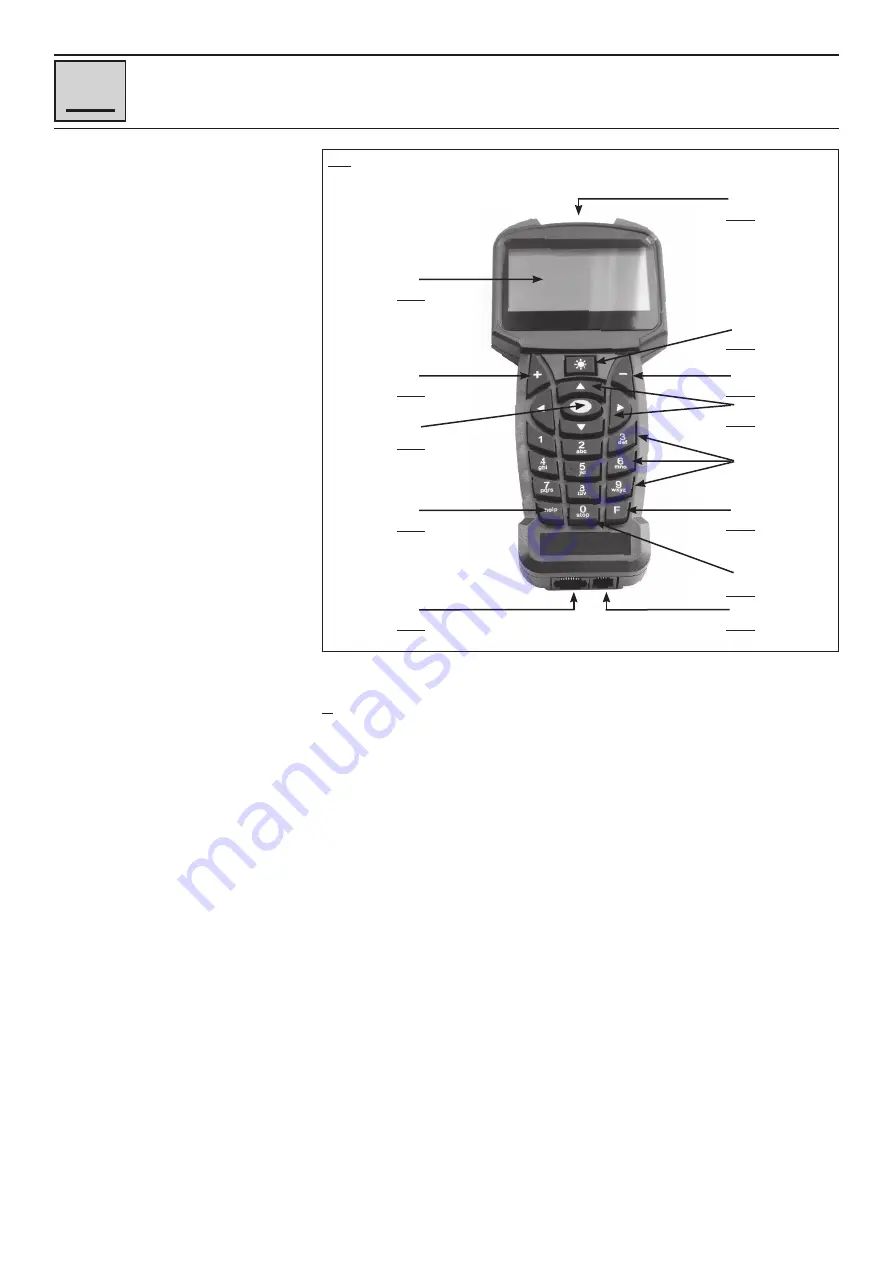
The handheld computer
1. LCD display
2. ENTER key
3. MODE button
4. key + key
5. Arrow keys
6. Numeric keys
7. Stop button
8. Help button
9. Connection socket for
the spiral cable
10. Function key
11. Illumination button for the
Taschenlampe
12. Torch
13. RS-232 interface*
*not active on these models, as no suitable
accessories currently available
Properties of the handheld computer
1. The eight-line LCD display (1, fig. 33)
- It acts as an interface between the handheld
computer and the telescope.
Various values/information or individual menu options of the menu structure are dis
-
played to enable operation.
2. ENTER key (2, fig. 33)
- It allows access to the next menu or to the next level of basic
data in a given order.
3. MODE button (3, fig. 33)
- Switches back to the previous menu or to the previous level
of the menu. If you press it repeatedly, you will finally reach the top level "Select point".
The MODE button is similar to the ESCAPE button of a computer.
4. + key (3, fig. 33)
- Here you can recall the last objects accessed via DeepL access. To
select an observation object, use the direction keys and press ENTER. The telescope
control then positions the selected object in the field of view. It may happen that the
object does not appear in the center of the field of view after positioning. In this case,
center the object with the direction keys.
5. Arrow keys (5, fig. 33)
- You rotate the telescope using nine different speeds in a
specific direction (up, down, left and right). The preselection of the speed is explained
in section "Rotation speeds" on page 9. The following functions are additionally made
possible by the arrow keys:
- Data Entry - Use the up and down keys to scroll through the letters of the alpha-
bet or through the sequence of numeric digits. The "down" key starts with the
letter "A", the "up" key starts with the number "9". Use the Left and Right buttons
to move the blinking cursor left or right in the LCD display.
- RA/Dec Alignment - Use the "Right" and "Left" buttons to rotate the telescope in
the hour axis. The "Up" and "Down" buttons move the telescope in declination.
- Within a preselected menu, these keys allow access to various options of the
database. The options in this menu appear one after the other in the second
line, and when you press the up and down buttons, you move through the dif-
Fig. 33
B
E
C
I
1@
J
D
F
G
1)
1#
H
1!
Summary of Contents for MCX Goto Series
Page 30: ...30 Computerised Handset with LED display VII Fig 35...
Page 39: ...39...


