BREN 700-Series User Manual
Installation
2
-
26
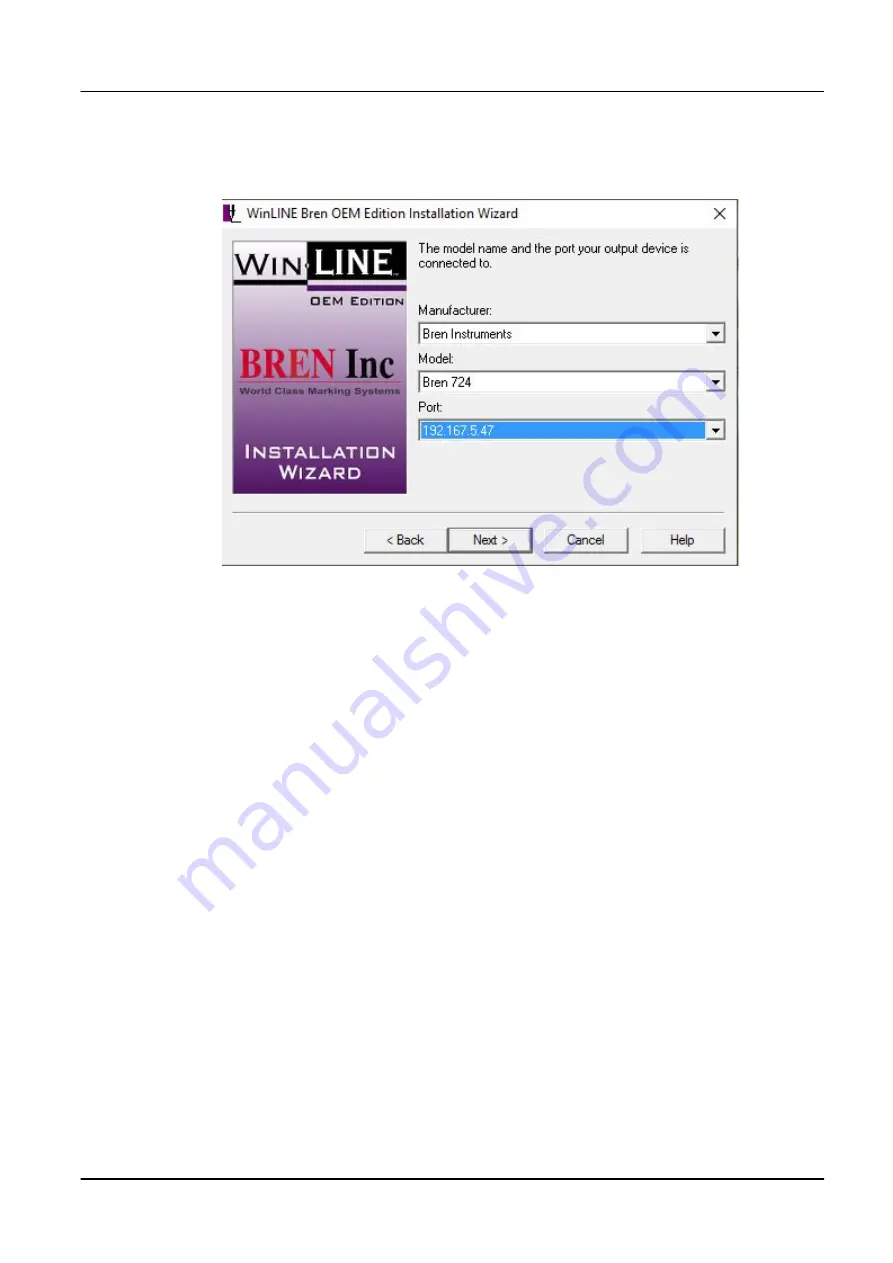
displayed on your BREN cutter when the DHCP was enable and was configured in
the “Hostname or IP address”setup in windows.
18. Complete the setup process and reboot your computer.
19. After your computer restarts, go to “Devices and Printers” and verify your BREN 724/740 or
752 is displayed and is not grayed out.
20. Right click on the BREN cutter and select “Printer Properties”.
21. Select the “Ports” tab and ensure that the BREN cutter is set to the IP address that was listed
after the DHCP was enabled and that was configured in the “Hostname and IP address” setup
process.
22. If your BREN cutter will not print, check the steps and verify the IP address was recorded
correctly and verify with your IT department nothing on your network is blocking the device
from communicating with your device on the network.
23. Port setup and driver installation will have to be done on each computer that you want to
network to the BREN cutter.
24.
If the print driver has already been installed as a standalone on a computer using USB
to communicate with the BREN Cutter, follow steps 8-14 to create the port using the IP
address displayed once the DHCP was enabled on the BREN Cutter.
25. After the port has been created, in ‘Devices and Printer” right click on the BREN 724/740 or
752 and select the ports tab. Change the current port option to the IP address you configured
in the previous step and select “Apply” and then “OK”.
26. Verify the port has changed from the previous setting to the IP address that was previously
configured.
27. Your BREN 700-Series Razor cutter is now ready to print over your network.


