13
GB
KLV-40BX400/KLV-40BX401/KLV-32/26/22BX300/KLV-32/26/22BX301
4-168-830-
11
(2)
U
s
ing O
p
tiona
l
Equ
ipme
n
t
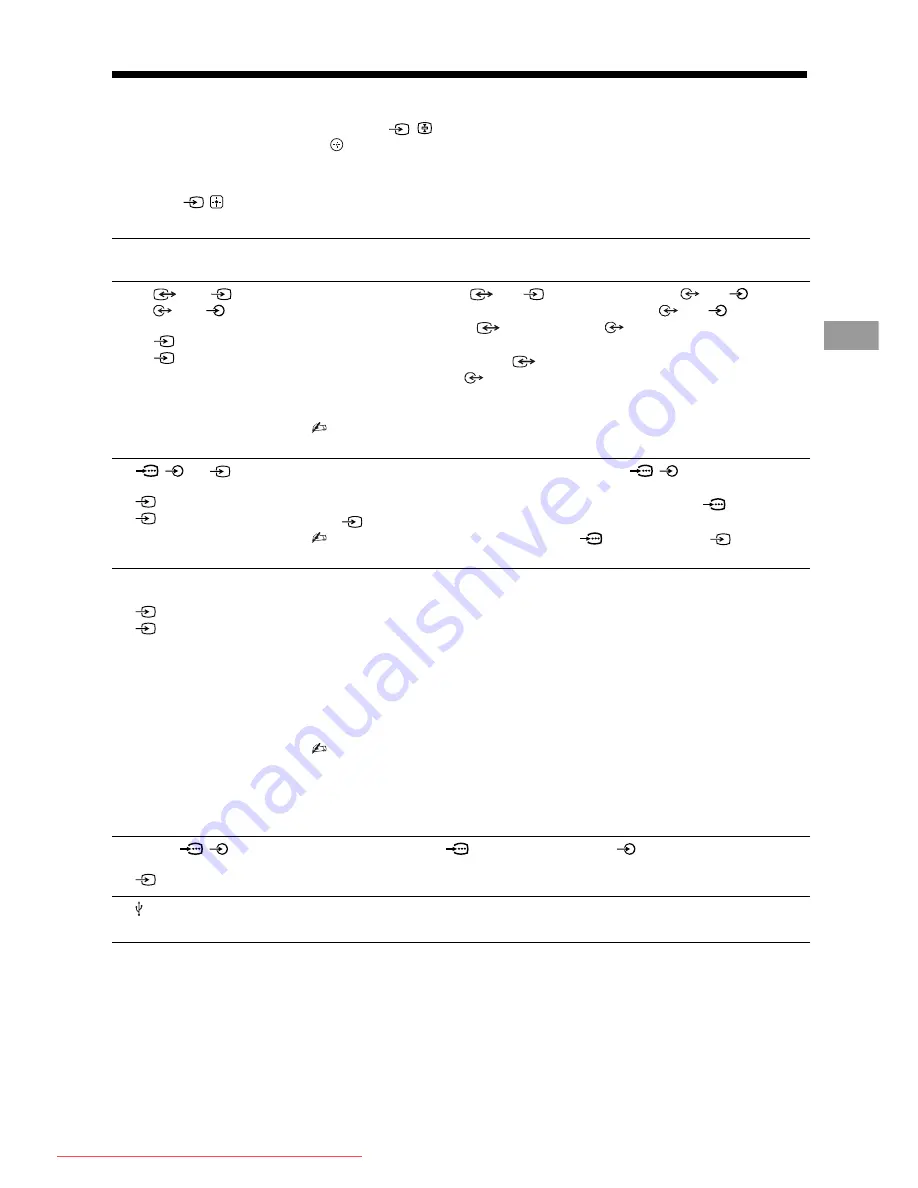
Viewing pictures from the connected equipment
Turn on the connected equipment, then press
/
to display the connected equipment list. Press
F
/
f
to select
the desired input source, then press
. (The highlighted item is selected if 2 seconds pass without any operation
after pressing
F
/
f
.) When the input source is set to “Skip” in the “Video Labels” under the “AV Set-up” menu
(page 25), that input is greyed out in the list.
z
• Press
/
on the TV to display the connected equipment list and select the desired input source. You can also press
F
/
f
to select the desired input source. Then wait for 2 seconds to display the selected input source.
Jacks/
Input symbol on screen
Description
AE
1 or
2, and
1 or
2
Video 1 or
Video 2
Connect to the video jack
1 or
2, and the audio jacks
1 or
2. If you
connect mono equipment, connect to the L(MONO) jack
1 or
2.
When using the video jack
1 and audio jack
1 as output jacks, select
“Output” in the “Video 1 Input/Output” menu (page 25).
Connect to the video output jack
1 to record the image from the TV. Connect
to the audio output jacks
1 to record the sound from the TV on DVD recorder
or VCR. To turn off the sound of the TV speakers, set “Speaker” to “Audio
System” (page 21).
• The monitor output jacks cannot support Component, HDMI and PC signals source
pictures, also digital audio signal for sound.
B
/
or
3
Component or
Video 3
Connect to the component jacks and the audio jacks
/
. For better picture
quality, component connection is recommended if your DVD player has a
component video output. When using the component video jack
as the video
jack
3, select “Video 3” in the “Video 3/Component Input” menu (page 25).
• You cannot use the component video jack
and the video jack
3 at the same
time.
C
HDMI IN 1 or 2
HDMI 1 or
HDMI 2
Connect to the HDMI IN 1 or 2 jack if the equipment has an HDMI jack. The
digital video and audio signals are input from the equipment.
In addition, when you connect the equipment that is compatible with Control for
HDMI, communication with the connected equipment is supported. See page 26 to
set up this communication.
If the equipment has a DVI jack, connect the DVI jack to the HDMI IN 2 jack
through a DVI - HDMI adaptor interface (not supplied), and connect the
equipment’s audio out jack to the PC/HDMI 2 AUDIO IN jack in the PC IN jacks
(the PC/HDMI 2 AUDIO IN jack is used as the audio in jack for both the PC IN
and HDMI IN 2 jacks).
• The HDMI jacks only support the following video inputs: 480i, 480p, 576i, 576p,
720p, 1080i, 1080p and 1080/24p.
• The HDMI jacks can support PC timing in HDMI PC mode. See page 22 for supported
PC input signal.
• Be sure to use only an authorized HDMI cable bearing the HDMI logo. We
recommend that you use a Sony HDMI cable (high speed type).
D
PC IN
/
PC
Connect to the PC IN
jack and the audio jack
. It is recommended to use a
PC cable with ferrite core.
F
You can enjoy photo/music/video files stored in a Sony digital still camera,
camcorder or USB storage device (page 17).
Downloaded From TV-Manual.com Manuals


