6
CHARGING THE AURA™ BATTERY
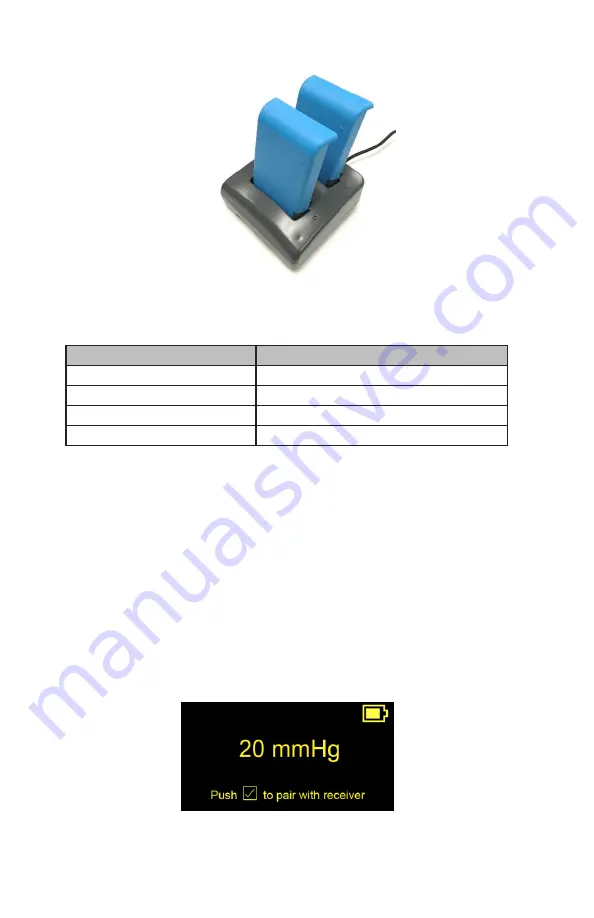
Figure 8: Slide batteries into battery charger.
To charge a
battery
, gently slide it into the
battery c
harger (Figure 8). The LEDs
next to the batteries will illuminate according to Table 3 below.
Table 3: Battery charger LED indicator status and indication.
LED Indicator
Indication
LED Indicator does not illuminate
No battery is charging
LED Indicator is solid blue
The battery is charging
LED Indicator is solid green
The battery is fully recharged
LED indicator is blinking blue
An error with the battery has been detected
NOTE:
Battery Status LED indicator blinking blue indicates there is
an error with the battery. Try to remove then re-insert the battery. If
problem persists, replace the battery or contact Customer Service.
Charge the spare battery when not in use to ensure ready availability of power
for the AURA
TM
Monitor.
Each battery will typically provide at least 8 hours of battery life.
TURNING THE AURA
TM
MONITOR ON AND OFF
To turn on, press the power button.
To turn off, press and hold the power button for two seconds until the display
screen is deactivated.
READING BATTERY LEVEL
The battery level icon located on the upper right corner of the screen indicates
the remaining battery level (Figure 9). The icon will be empty and flashing
when the battery level is critically low.
Figure 9: Battery level icon on the upper right corner of the AURA
TM
Monitor screen.


