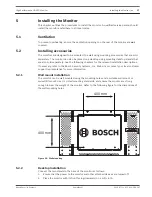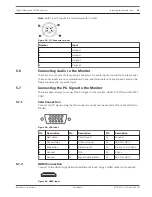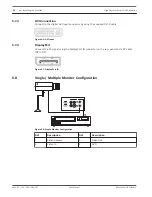
1
3
3
2
2
2
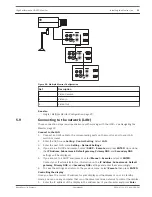
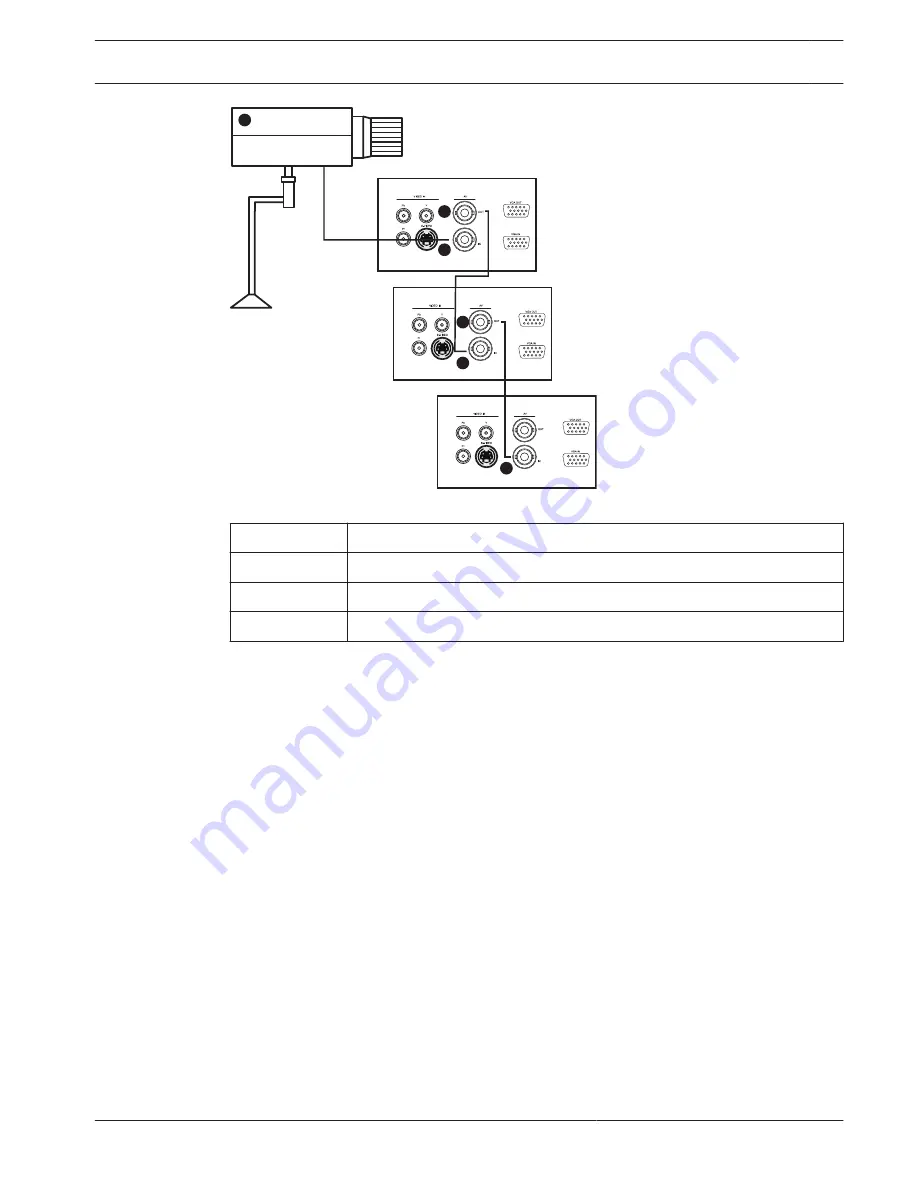
Figure 5.9: Multiple Monitor Configuration
Ref
Description
1
Video Camera
2
Video In
3
Video Out
See also
–
Single / Multiple Monitor Configuration, page 20
Connecting to the network (LAN)
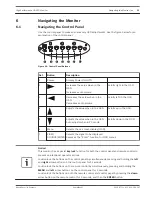
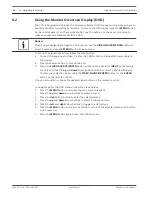
These connection steps require experience with working with the OSD – see Navigating the
Monitor, page 23.
Connect to the LAN
1.
Connect an RJ45 cable to the corresponding ports on the monitor, and to your LAN
switch or router.
2.
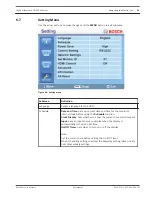
Enter the OSD menu Setting > Control Setting. Select LAN.
3.
Enter the next OSD menu Setting > Network Settings.
4.
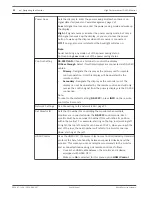
If you are in a DHCP environment, select DHCP > Execute and press ENTER. Once done,
the IP Address, Subnet mask, Default gateway, Primary DNS, and Secondary DNS
settings will be displayed.
5.
If you are not in a DHCP environment, select Manual > Execute and press ENTER.
Contact your IT administrator for information on the IP Address, Subnet mask, Default
gateway, Primary DNS, and Secondary DNS settings and enter them accordingly.
6.
To save the settings and return to the previous menu, select Execute then press ENTER.
Controlling the display
Once you have the correct IP address for your display and the display is on or in standby
mode, you can use any computer that is on the same local area network to control the display.
1.
Enter the IP address of the display in the address bar of your browser and press Enter.
5.9
High Performance HD LED Monitor
Installing the Monitor | en
21
Bosch Security Systems
User Manual
2013.07 | v1.0 | F.01U.286.147
Summary of Contents for UML-463-90
Page 1: ...High Performance HD LED Monitor UML 463 90 en User Manual ...
Page 2: ......
Page 41: ......

