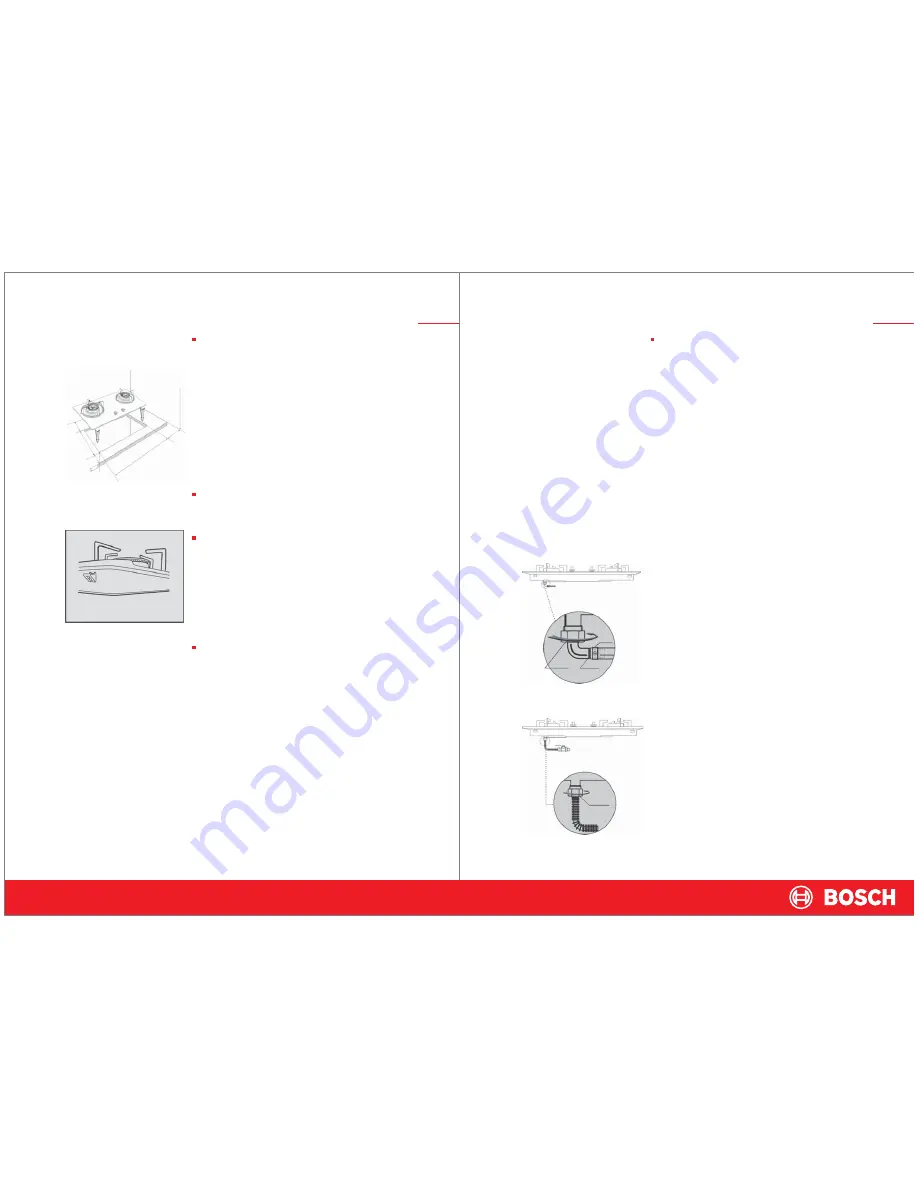
background image

The connection of the gas hob must be performed by 
a qualified technician, and it must conform with the 
legal provisions and connection requirements issued 
by the local gas management department. The indoor 
gas hose behind the gas meter and the air inlet at the 
bottom of the gas hob should be connected with a 
metal bellows and a special rubber hose whose length 
should not exceed 1.5 m. (Please refer to the 
appropriate requirements filed by the local gas 
management department. You can consult and 
purchase the special hose and hose clip at counters 
for gas products in hardware stores).

We recommend you to use the metal bellows as the 
gas connecting hose. If the other appliances are 
installed under the hob such as a disinfecting cabinet, 
baking oven and microwave oven etc, a gas rubber 
hose must not be used for the gas connection.

Using a gas rubber hose for the gas connection 

-The two ends of the gas hose are connected to the 

gas hob and the indoor gas valve (the inside diameter 
of the gas hose is 9.5 mm).

- When connecting the gas hose, you must insert the 

gas hose until it reaches the red line on the 
multi-directional air inlet, and secure it firmly in 
position with a hose clip.

- After the connection is completed, please make sure 

that the gas hose is not flattened, twisted or bent by 
any other objects. Then smear soap suds all over the 
hose connection part; and check each part of the 
connection hose carefully to see if there is any 
leakage.

- We recommend that you perform an airtight test for 

the gas hob periodically while it is in use, or else 
replace the gas hose annually.

- Do not leave the gas hose in a high temperature area 

or put it contact with any high temperature section of 
the gas hob.

Using metal bellows for the gas connection 

- The specification of the external thread of the gas 

hob's joint is 1/2”.

- The two ends of the metal bellows are connected to 

the gas hob and the indoor gas valve respectively with 
the mobile nuts. The connection parts are filled with 
corrosion-resistant rubber-seal rings.

- A special gas valve must be set between the indoor 

gas hose and the gas hob's bellows for easy operation. 
After you turn off the gas hob this valve should also be 
closed.

- After the connection is completed, you should use the 

soap suds to check each connection part carefully to 
make sure there is no leakage.

10

Installation Instructions

Please perform the tapping on the countertop 
according to the tapping template (keeping to the 
installation size of all the five types of products). To 
ensure the proper connection of the gas hose, a 
space of at least 100 mm height should be kept 
available below the gas hob.

To ensure the stable placement of the gas hob, please 
ensure that after the tapping, the vertical sides of the 
installation site are smooth.

Follow the method shown in the illustration on the left 
and clamp the four spring sheets supplied with the 
product to the corresponding four installation positions 
on the back shell.

After installing the spring sheets, push the entire gas 
hob firmly into the cutout opening in the countertop, 
until the outside rim of the gas hob is seated closely 
on the countertop.

9

Installation Instructions

Countertop tapping

Connecting the gas 
pipeline

Attention

100

150

345

±

2

4XR20

>50

665

±

2

hose clip

multi-directional
air inlet

red line

metal bellows

Summary of Contents for PED7230A Series

Page 1: ...PED7250Ax PED7230Ax Built in Gas Hobs Operation and Installation Instruction Material Number 9000353880 Version 01 Production License Code XK00 005 00419 Quality Safety ...

Page 2: ...duct Any failure or loss derived from the improper use or installation different from that which is stipulated in this user s manual is not covered by our product s warranty Please keep all documents in a safe place for future reference If you have any questions please contact our local service center or Bosch dealer ...

Page 3: ......

Page 4: ...mell of the hob Before using ensure the gas pipeline knobs burner heads and caps and supports have been mounted correctly Then open the indoor gas valve The first ignition or the ignition after it has been left unused for a long time may be difficult as there is residual air in the gas pipeline it may be difficult to light the burner This is a normal phenomenon Please repeat the igniting operation...

Page 5: ...together securely Convenient cleaning Closed faceplate with exquisite craftsmanship Through powerful German design techniques all parts around the stove head can be detached for easy cleaning Elaborate flame focusing system for burner and cap Stable flame supports After cleaning easy to install part ensure an efficient cooking design 6 Product Introduction The x in the product code E Number indica...

Page 6: ...tion Instructions The gas hob should only be installed in the home kitchen Do not use it in other rooms Do not place the gas hob in the bathroom bedroom basement or use it where there are flammable explosive corrosive materials in close proximity Do not place flammable or explosive objects on or around the gas hob e g curtains If there are flammable materials around the gas hob e g wooden wall low...

Page 7: ...e replace the gas hose annually Do not leave the gas hose in a high temperature area or put it contact with any high temperature section of the gas hob Using metal bellows for the gas connection The specification of the external thread of the gas hob s joint is 1 2 The two ends of the metal bellows are connected to the gas hob and the indoor gas valve respectively with the mobile nuts The connecti...

Page 8: ...or maintenance If you place the components randomly or rotate them for hob placement the stainless steel faceplate may be scratched The appearance damage of the gas hob resulting from such installation operations is not covered by our warranty 11 Installation Instructions Gas leak detection Installing the battery Installing the supports caps and burners Adjusting the throttle PED7250Ax PED7230Ax T...

Page 9: ...gas sources from various areas Please refer to the corresponding product models and the appropriate types on the nameplate 2 0 2 8 2 0 1 0 2 0 2 8 2 0 0 3 3 6 710X415X155 16 11 13 15 17 665X345 Fillet 4XR20 710X400X155 High quality 240 brushed stainless steel High performance toughened glass Natural gas Shanghai Natural gas Shanghai Liquefied petroleum gas Liquefied petroleum gas Natural gas Natur...

Page 10: ...ntain the hob faceplate If you want to remove the fingerprints left on the stainless steel surface you should use a 3M cleanser It is best not to use a chloride based cleanser to clean the glass Do not use a granular cleanser decontamination powder or steel wool to clean the faceplate These may cause scratches on the surface of the hob Clean the pan supports of the gas hob Clean the pan supports w...

Page 11: ... dirt Gas connecting hose The gas hose is flattened or blocked Adjust or replace the gas connecting hose Replace the gas connecting hose Battery Insufficient energy Replace the battery Re install correctly Re install the cap correctly Re adjust the throttle and flame Clean thermal couple Adjust the position of thermal couple properly Replace the gas cylinder or adjust the pressure reducing valve R...

Page 12: ...se invoice the warranty period will be calculated from the product s production date The following items are not covered by the free warranty and will be charged for repair Damage caused by the user s improper transportation installation usage and maintenance The product is disassembled and repaired by the user or a non factory specified repair station Without warranty card and valid purchase invo...

Reviews: