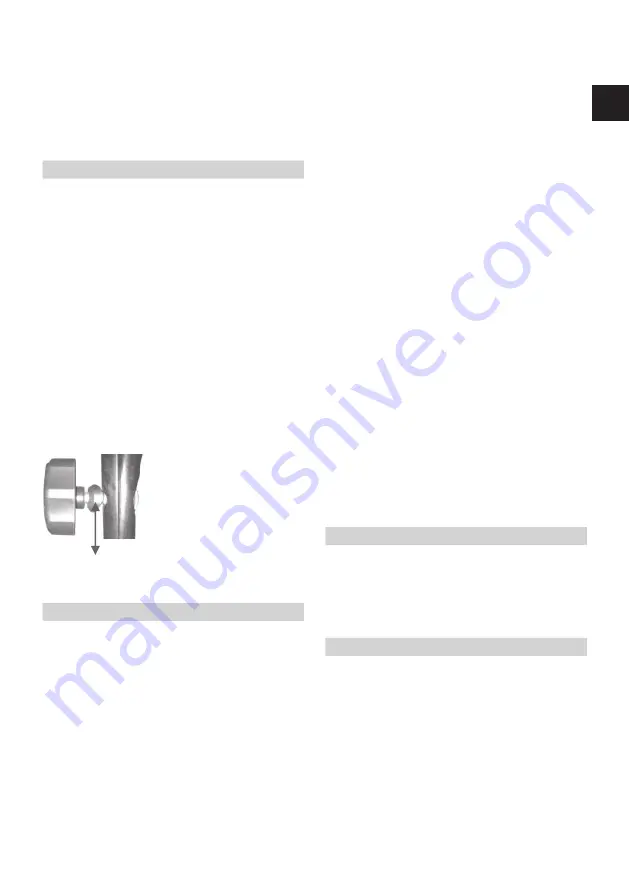
9
height of the feed-in brushes (4) as required.
Turn the setting screw clockwise to increase the
distance to the ground. Turn the setting screw
counter clockwise to decrease the distance to the
ground.
Emptying the Debris Collector (Fig. 9)
Lift the full debris collector (6) upward from
the appliance and dispose of the collected dirt
properly.
After sweeping up metal, glass or sharp objects,
wear heavy-duty work gloves when emptying
the debris collector.
Height Adjustment and folding of the Push
Bar (Fig. 10/11)
.
Remove the two adjustment nuts (2) and the
corresponding screws.
Select one of the three holes (C) as required, then
re-tighten the nuts (2) and the corresponding
screws. The push bar can be set to three different
heights over a range of approx. 98 – 94 – 89 cm.
.
Slightly untighten both fastening nuts (3) by
approx. one turn and pull up the push bar in
order to fold it. This way the appliance can be
transported or stored space-savingly.
Technical Data
Working Width:
70 cm
Collector Volume:
14 l
Size:
65x60x21 cm
Weight:
8.9 kg
Cleaning and Storing
.
Clean the sweeper with a lightly moistened
cloth. Do not immerse the unit into liquids. Do
not use aggressive chemicals, solvents or
abrasives.
.
Remove debris such as leaves, twigs, etc. from
the brushes.
.
Regularly check the drive belts for proper
tightness and elasticity.
.
Store the sweeper indoors in a dry place
There is a risk of suffocation!
.
Check to see if all items are supplied.
.
Inspect the equipment and accessories for
transport damage.
Assembly (Fig. 1 – 6)
Note: You will find the feed-in brushes and the
assembly material inside the debris collector.
1. Mount the feed-in brushes (4) with 3 screws (12)
each to the locating plates at the bottom of the
device.
2. Insert the push bar mounts (8) and (9) into the
corresponding receiving slots (fig. 4). Secure the
push bar mounts (8) and (9) with the screws (11)
(fig. 5).
3. Put the bottom section of the push bar (7) onto
the push bar mounts (8) and (9) and secure with
the two adjustment nuts (3) .
4. Slide the top section of the push bar (1) onto
the bottom section of the push bar (7) and secure
with two adjustment nuts (2), two assembly
screws (10) and the washers (13).
Washer
Operation (Fig. 7)
When the mechanical sweeper is pushed, the
feed-in brushes (4) and the pick-up brushes (B)
are set in rotation by the belt drives (A).
The rotating feed-in brushes (4) sweep the dirt
to the centre. The two counter-rotating pick-up
brushes (B) convey the dirt into the debris
collector (6).
Adjusting the Feed-in Brushes (Fig. 8)
Use the setting screw (5) to steplessly adjust the
GB
Summary of Contents for 018117
Page 1: ...BHS7000 Translation of the original instructions Push Sweeper GB Art Nr 018117 GR...
Page 2: ...2 1 2 2 3 4 3 5 1...
Page 3: ...3 6 1 7 8 9 4 12 11 13 10 2 3 9 12 11 7 9 9 4 2 3 5 4 6...
Page 4: ...4 B B A A 7 9 8 10 11 5...
Page 5: ...2 service 1 2 2 x 3 2 x 4 2 x 5 6 7 8 9 10 11 12 6 x 13 1 6 1 4 12 5...


