BOMANN MWG 2211 U CB, Instruction Manual
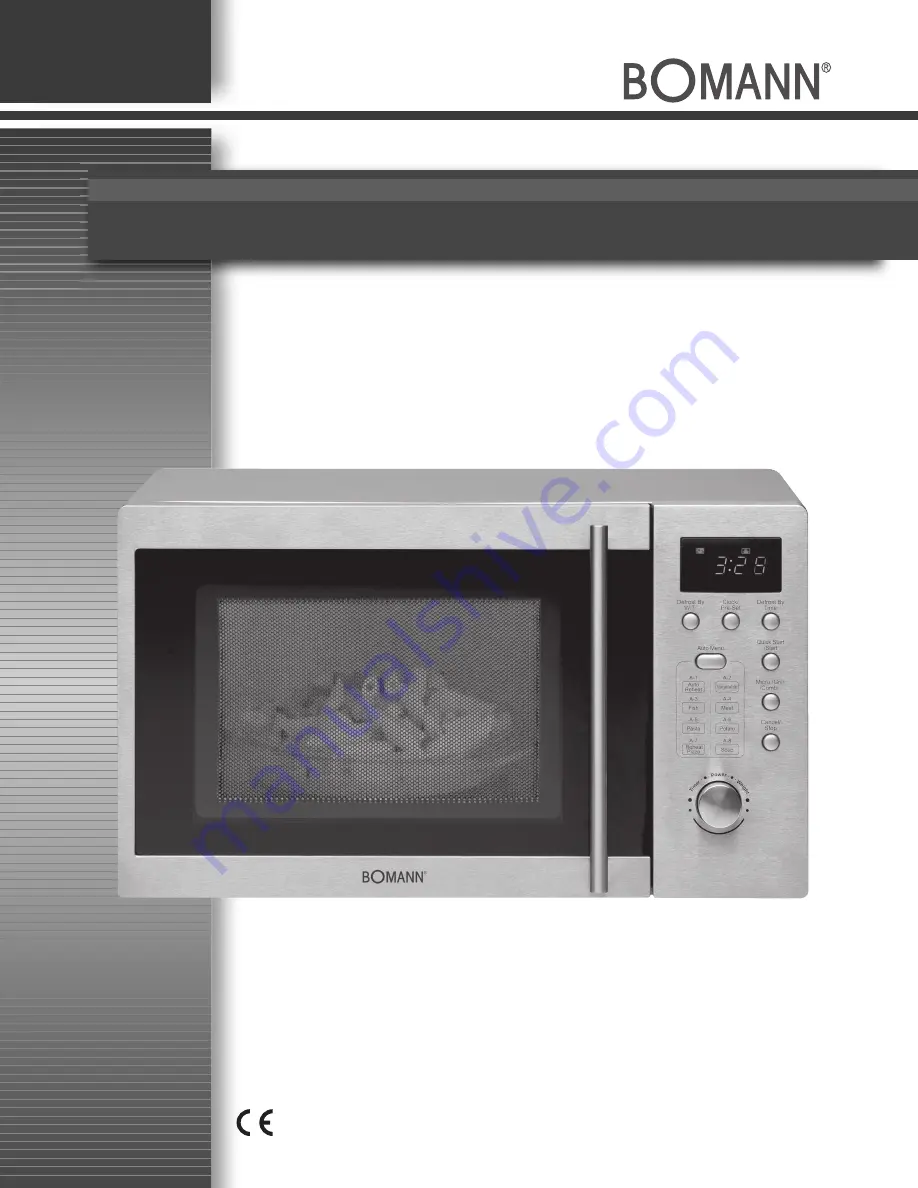
The BOMANN MWG 2211 U CB is a versatile kitchen appliance that combines a microwave, grill, and convection oven in one compact unit. Make the most of this innovative device by downloading its Instruction Manual for free from our website, ensuring you have all the necessary guidance to use it effectively.
Share
Download


Reviews:
No comments
Related manuals for MWG 2211 U CB

HA-845
Brand: Teka Pages: 14

NN-ST251W
Brand: Panasonic Pages: 95

TSSTTVMNDG
Brand: Oster Pages: 2

OM30GX
Brand: Omega Pages: 14

OF463830
Brand: TEFAL Pages: 12

MSG-2819S
Brand: Saivod Pages: 48

CBF5S
Brand: Fargas Pages: 26

AC925EH5
Brand: salling Pages: 27

M8017P-AM
Brand: Wilfa Pages: 54

GLOMJB17S2ASWZ-10
Brand: Galanz Pages: 24

6H-196 A
Brand: Fagor Pages: 6

MS19M8020TS/AA
Brand: Samsung Pages: 80

MS23A3513 Series
Brand: Samsung Pages: 28

MS19M8000AS
Brand: Samsung Pages: 80

MS23B3614A Series
Brand: Samsung Pages: 100

MS14K6000AS
Brand: Samsung Pages: 128

MS14K6000AS/AA
Brand: Samsung Pages: 129

MS23F301TFK
Brand: Samsung Pages: 32


