38
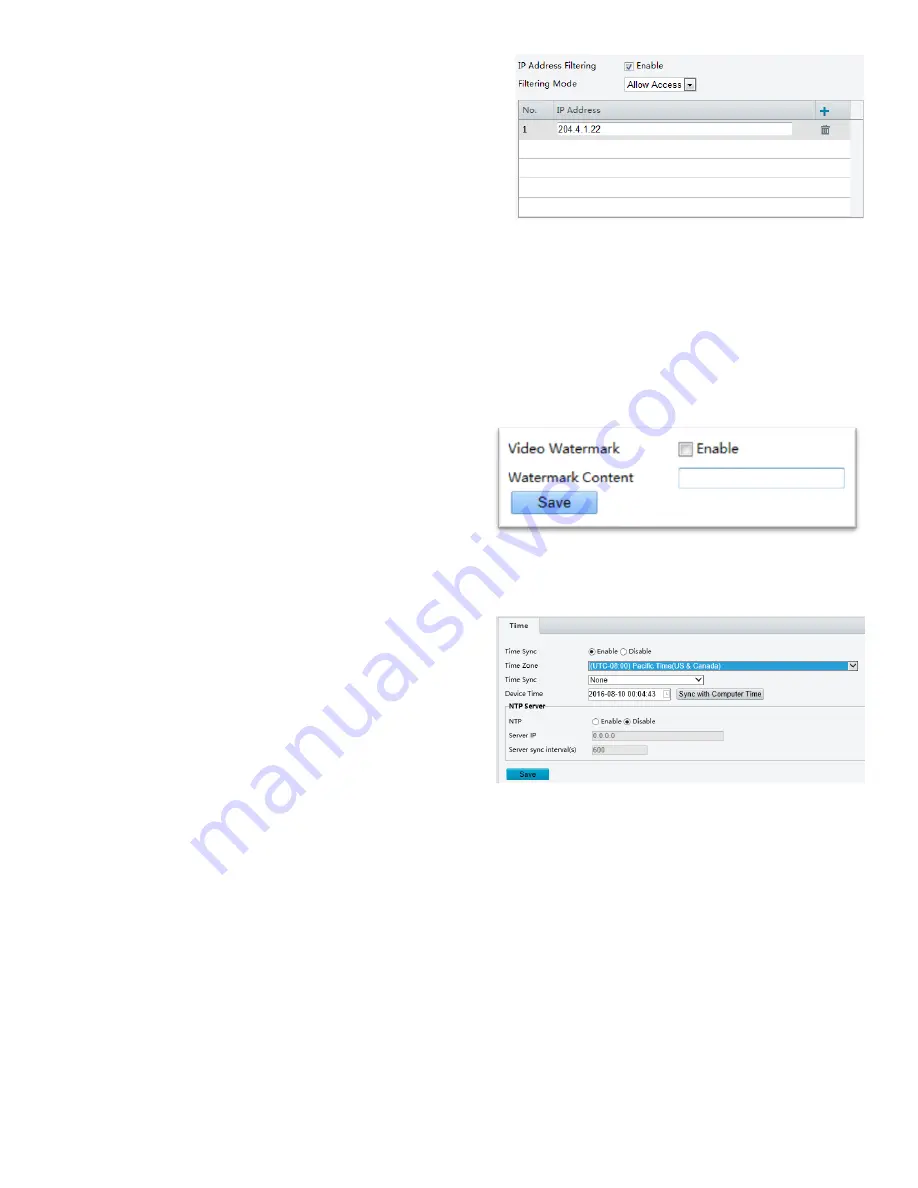
You can allow or deny the access from the specified IP
address to your camera.
1.
Click
Setup
>
System
>
Security
>
IP Address Filtering
.
2.
Select
Enable
. Select the filtering mode and then
enter the desired IP addresses.
3.
Click
Save
.
NOTE:
If the filtering mode is set to Allow Access, only the specified IP addresses are allowed to access the camera. If the
filtering mode is set to Deny Access, the specified IP addresses are denied for the access.
Up to 32 IP addresses are allowed. And the added IP addresses cannot duplicate.
The first byte of the IP address can only be a number ranging from 1 to 223 and the fourth byte cannot be 0. For
example, 0.0.0.0, 127.0.0.1, 255.255.255.255 and 224.0.0.1 all are invalid IP addresses.
Video Watermark
You can set the video watermark for the camera to encrypt the video and protect it from being deleted or modified.
1.
Click
Setup
>
System
>
Security
>
Video Watermark
.
2.
Select
Enable
and set the watermark content.
3.
Click
Save
.
Setting the System Time
You can use the following methods to adjust the system time of your device.
Manually Setting or Synchronizing the System Time
1.
Click
Setup
>
Common
>
Time
, and then click the
Time
tab.
2.
Select
Enable
for
Client Time Synchronization
.
3.
Set the correct time zone and system time. You
may also click
Sync with Computer Time
to
synchronize the time settings of your camera with
that of your PC.
4.
Click
Save
.
Synchronizing with the NTP Server
1.
Click
Setup
>
Common
>
Time
, and then click the
Time
tab.
2.
Select
Enable
for
NTP
, and then enter the IP address of the NTP server and the camera's sync interval with
the NTP server.
3.
Click
Save
. The camera will periodically synchronize time with the NTP server.
Setting Servers
If the camera is managed by a central server, you need to configure the server related parameters.
CAUTION:
This function is not supported by some models, please see the actual model for details.


