User Manual
30
5.3.8.2 Event
Click [Main menu
Advanced
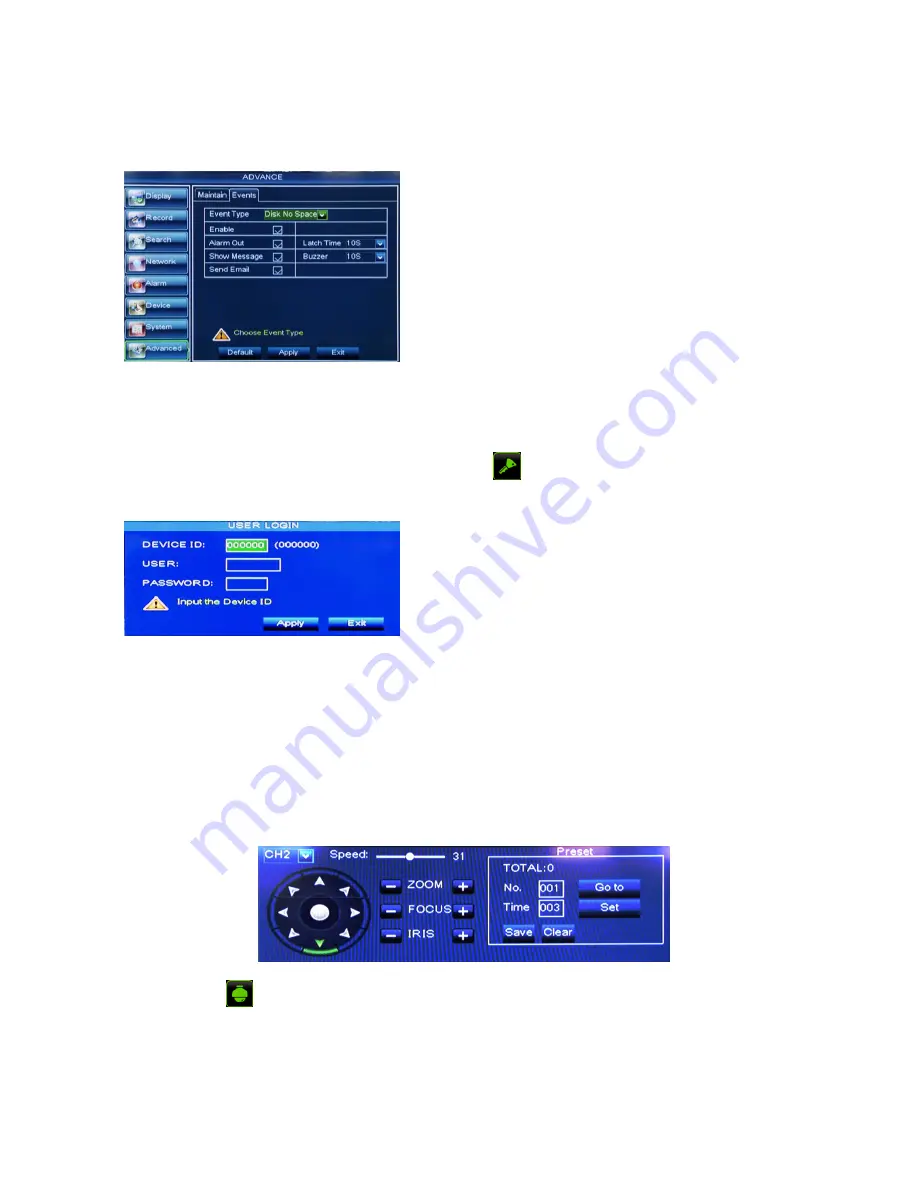
Event] to enter into the <Event> interface shown as Picture 5-50
Send Email
:
Allow you issue the alarm images to a specified email.
5.4 Menu Lock
Considering a system safety feature you can click [ ] icon to lock system interface when leaving the
DVR. If you want to login to the DVR again, you would input device code and password to unlock the interface
shown as Picture 5-51
5.5 Split mode
The model displays 4/8/16 live images in the sequence of single, 4-split, 9-split and 16-split modes.
If you enter into 4-
split mode, the live images will be displayed in turn CH1~4, CH5~8…and CH13~16.
If you enter into 9-split mode, the live images will be displayed in turn CH1~9
CH10~16.
5.6 PTZ Control
We introduced setting PTZ parameters previously in section 5.3.6.2
– PTZ Set. Here we will discuss how
to operate PTZ controls.
Click the [
] icon to
enter into [PTZ control] menu shown as Picture5-54. Now user can control the
camera with Pan, Tilt and Zoom capabilities.
Click [Zoom-/+] button to zoom in / out the image; Click [Focus -/+] button to focus the image; Click [Iris
-/+] button adjust iris to open or close.
Cruise Set
Open auto cruise function on PTZ setting menu if you want to setup cruise function (system default: off),
Event Type:
support the three abnormal types: Disk Full,
Disk Error and Video Loss.
Enable:
allow you activate abnormal alarm.
Alarm out:
select [Enable] or [Disable]
Latch time:
you can set how long the alarm devices will
sound when external sensor alarm is detected (10s, 20, 40s,
60s);
Show Message:
You can set show message on the
screen when abnormal alarm is detected.
Buzzer time:
you can set how long the buzzer will sound
when abnormal alarm is triggered (Off, 10s, 20, 40s, 60s);
Friendly Reminder:
Administrator has full authority over Main
Menu operations
and has an authority to limit common user’s
operation
.
Picture 5-50
Picture 5-51
Picture 5-52


