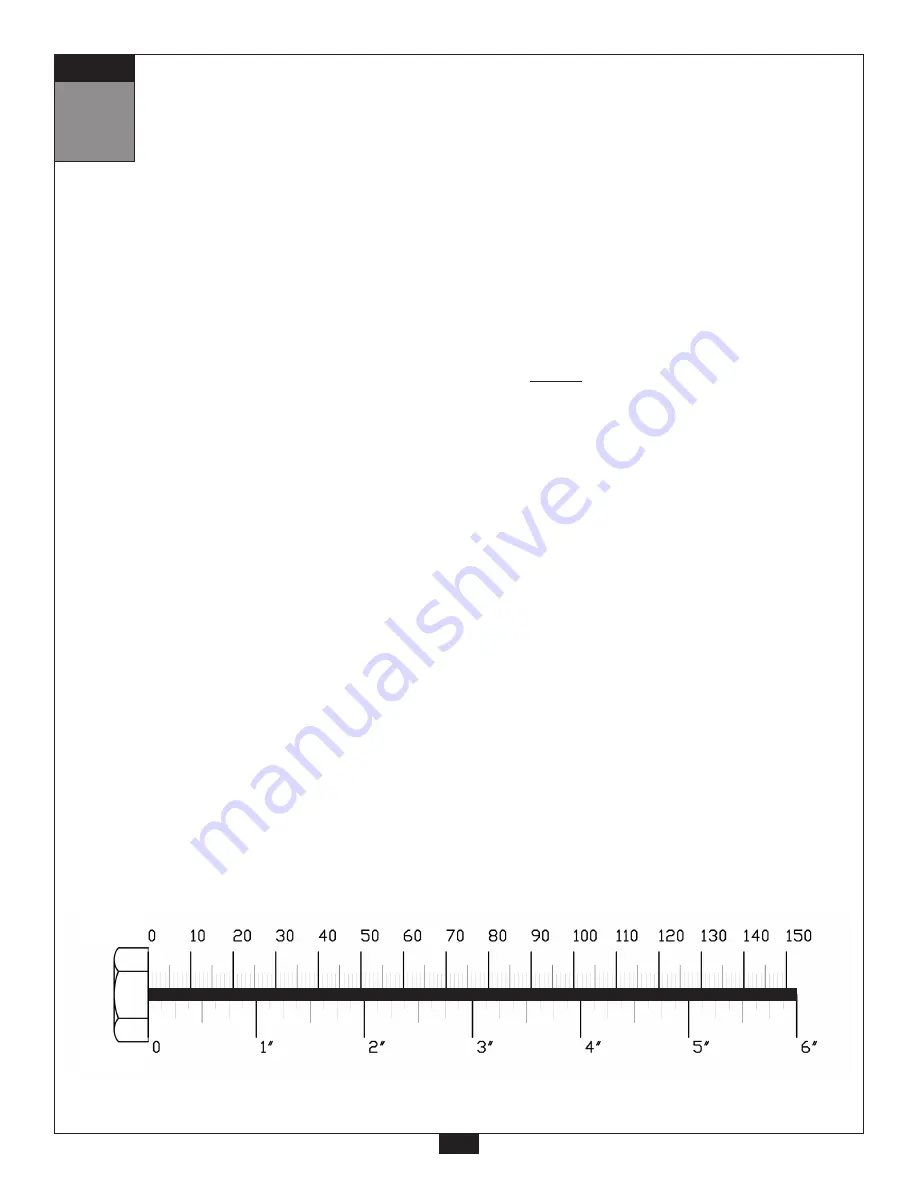
Be careful to assemble all components
in the sequence they are presented.
mm
Inch
3
14
S T E P
NOTE:
At this point you must make sure that the gym is level, stable and in the right location.
A.
Place two Weight Stack Risers (36) and two Rubber Donuts (14) onto Main Base Frame (A) as
shown. Slide two Guide Rods (F) through the Rubber Donuts (14), through the two Weight
Stack Risers (36), and into the Main Base Frame (A).
B.
Slide Weight Stack Plates (37)* onto Guide Rods (F). Make sure the opening in each Weight
Stack Plate (37), for the Weight Stack Pin (81), is facing outward.
*NOTE:
Use fifteen 10lb. plates for a 160lb. weight stack.
Use twenty 10lb. plates for a 210lb. weight stack. See NOTE after Step 1B.
C.
Connect Top Plate (17) to the Selector Rod (19) using:
One 58 (3/8” x 2” round allen head)
One 134 (3/8” spring lock washer)
Slide Top Plate (17) and Selector Rod (19) onto Guide Rods (F).
D.
Slide two Shaft Collars (7) onto the two Guide Rods (F) as shown.
E.
Insert Guide Rods (F) into Top Weight Stack Frame (G), and Attach Top Weight Stack
Frame (G) to Top Frame (E) using:
Two 50 (3/8” x 1” hex head bolt)
Two 74 (3/8” washer)
Attach Convex End Cap (2) to Top Weight Stack Frame (G) as shown.
F.
Slide Shaft Collars (7) up into the Top Weight Stack Frame (G) and turn the Shaft Collar, so it
locks onto the Top Weight Stack Frame (G), Now tighten each Allen Screw (32) in Shaft Collars (7).
G.
You can now wrench tighten all bolts and nuts on the main frame unit.
Summary of Contents for G6B25YR
Page 4: ...3 R e f e r e n c e D r a w i n g s G6B25YR ...
Page 12: ...1 11 S T E P ...
Page 14: ...2 13 S T E P ...
Page 16: ...3 15 S T E P ...
Page 18: ...4 17 S T E P ...
Page 20: ...5 19 S T E P ...
Page 22: ...6 21 S T E P REVERSE SIDE DRAWING ...
Page 24: ...7 23 S T E P ...
Page 26: ...8 25 S T E P ...
Page 28: ...9 27 S T E P ...


