OWNER’S MANUAL
* This item is for consumer use only and it is not meant for commercial use.
IT 8020
Page 1: ...OWNER S MANUAL This item is for consumer use only and it is not meant for commercial use IT 8020 ...
Page 2: ...d this manual carefully before commencing the assembly of your product or starting to exercise Please keep all children away from this item when in use Do not allow children to climb or play on them when they are not in use Supervise teenagers while they use this unit For your own safety always ensure that there is at least 3 feet of free space in all directions around your product while you are e...
Page 3: ...nit 34 Washer M10 8 pieces 33 Washer M6 6 pieces 28 Hex Bolt M6x45 mm 1 piece 38 Hex Bolt M10x35 mm 2 pieces 25 Hex Bolt M10x30 mm 2 pieces 29 Lock Nut M10 4 pieces 30 Lock Nut M6 3 pieces 47 Hex Bolt M6x15 mm 2 pieces 43 Lock Nut M8 1 piece 50 Hex Bolt M6x10 mm 3 pieces 49 Safety Lock Pin 2 pieces Tool 1 piece Bolts 56 Hex Bolt M8x45 mm 1 piece 45 Washer M8 1 piece 52 Quick Clip 1 Piece Washer Nu...
Page 4: ...le Foot Tube 37 Safety Hook 09 Spring 38 Hex Bolt M10x35 mm 10 Square Inner Plug 32 mm 39 Grip Tape 11 Bumper 40 Pivot Bracket 112 Ankle Brace Tube 41 Plastic Washer M6 113R Right Hand Rail 142 Safety Lock 113L Left Hand Rail 43 Lock Nut M8 114 Foam Grip 44 Hex Bolt M8x35 mm 15R Ri ht C 45 W h M8 15R Right Cover 45 Washer M8 15L Left Cover 47 Hex Bolt M6x15 mm 17 Plastic Clip 48 Square Inner Plug ...
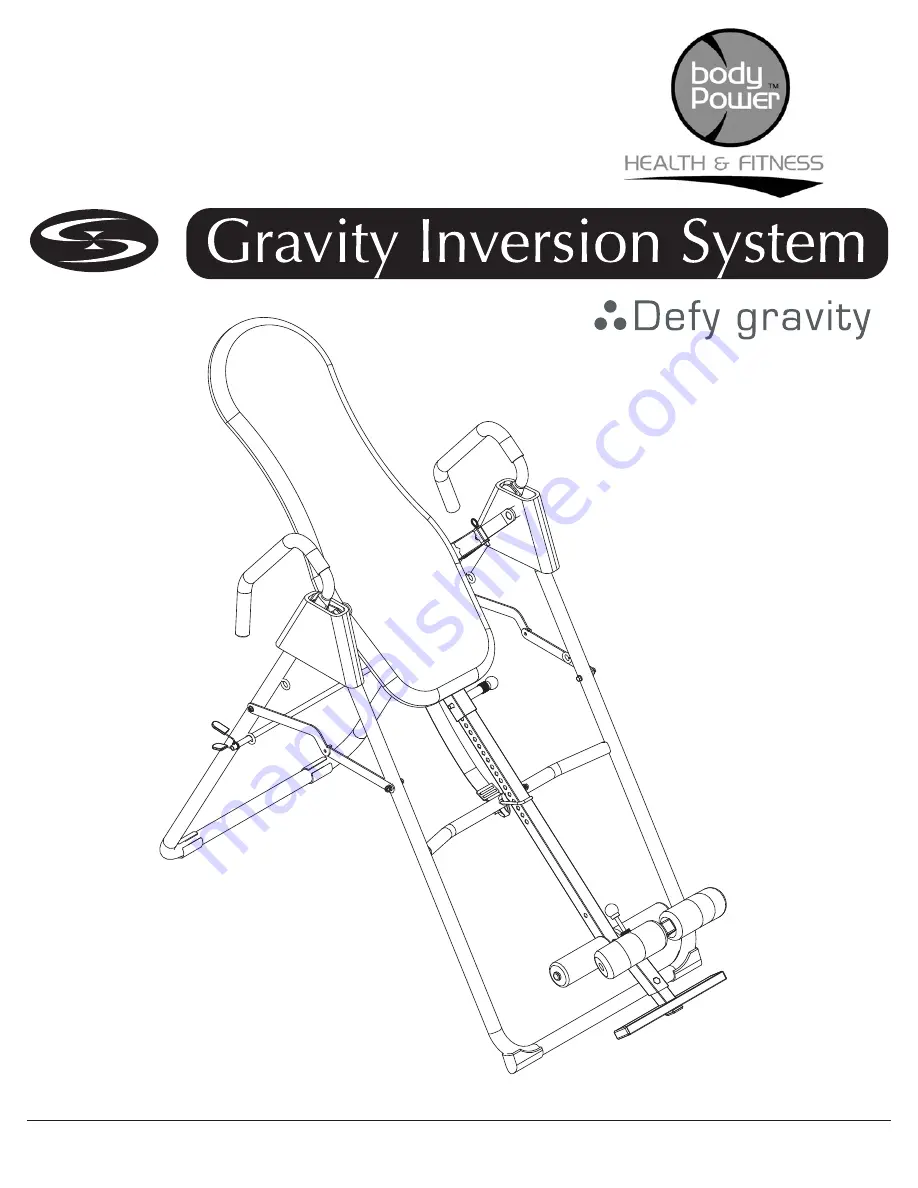
Page 5: ...rocess Please note that not all of the parts and hardware you see here will be used while you are assembling the machine because some of these items are already pre installed Please continue to the next page to begin the assembly process and use this page only as a reference guide for parts and hardware Page 4 Exploded Diagram IT8020 ...
Page 6: ...nd Rail 113R Washer 34 and secure it with a Lock Nut 29 Align the lower hole located on the Rear Base 103 with the lowest hole located on thePivot Bracket 40 and the lower hole located on the Right Hand Rail 113R Insert a Hex Bolt 25 through a Washer 34 followed by the Pivot Bracket 40 Rear Base 103 Right Hand Rail 113 R Washer 34 and secure it with one Lock Nut 29 Repeat this process on the oppos...
Page 7: ...KET A BRACKET PIN SHOULD EACH HANDLE BAR BOTH HANDLE BARS SHOULD ALWAYS BE SET TO THE SAME POSITIONS Screw a Hex Bolt 47 and a Washer 33 through the bottom of both Adjustable Pivot Bars 06 and secure it with a Washer 33 and a Lock Nut 30 On each side insert one Safety Lock Pin 49 ENGAGE THE HOLE OF inversion Insert each of the two into hole according to your preference Open the Safety Hooks 37 tha...
Page 8: ...ace 104 out as shown in drawing A rotate it 90 degrees counter clockwise so that the circular round holes face toward the Ankle Brace Lock Pin 18 and the long oval slot faces downward toward the Hex Bolt 50 Insert the Adjustable Ankle Brace 104 back into the Height Adjustment Tube 105 and release the Ankle Brace Lock Pin 18 NOTE For your safety always ensure that the Ankle Brace Lock Pin 18 is ful...
Page 9: ...ry 43 Lock Nut M8 1 piece Bolts 56 Hex Bolt M8x45 mm 1 piece 45 Washer M8 1 piece 52 Quick Clip 1 Piece Washer Nut Others A s s e m b l y S t e p 4 A Foam Roller Assembly Slide the two Foam Rollers 120 onto the Height Adjustment Tube 105 and another two on the Ankle Brace Tube 112 Apply soapy water to the tubes if the foam rollers do not slide on easily B Adjustable Foot Tube Assembly Slide the Ad...
Page 10: ...AN S APPROVAL IF YOU HAVE ANY OF THE FOLLOWING CONDITIONS This list is for reference only and is not an exhaustive listing Pregnancy Hiatal Hernia Ventral Hernia Glaucoma Retinal Detachment or Conjunctivitis High Blood Pressure Hypertension recent Stroke or Transient Ischemic Attack Heart or Circulatory Disorders for which you are being treated Spinal Injury Cerebral Sclerosis Acutely Swollen Join...
Page 11: ...r strap through the buckle To prevent serious injury death and or unexpected inversion incline always rock the backpad back to gauge the maximum inversion permitted by the strap before using the unit First time users should adjust the tether strap by shortening it for minimal inversion THE FIRST TIME THAT YOU USE THIS INVERSION TABLE HAVE SOMEONE WITH YOU TO WATCH YOU ALTHOUGH THE INVERSION TABLE ...
Page 12: ...he Rear Frame and the ground 3 Setting Up with the Safety Strap a Unlock the Safety Lock from the Adjustable Height Bar Without mounting first test the Back Rest inversion angle by tilting it back to check where it will stop and make any necessary length adjustments to the Safety Strap If you are using the Safety Bar for Easy or Medium inversion please leave at least a 1 distance between the Safet...
Page 13: ...ury or even death please do not skip this step The Safety Lock is a key safety feature and should be placed in the locked position any time the user is not in the inverting condition even if just resting in the upright position c Adjust the Height Adjustment Tube to the most suitable setting for you Because of different body sizes you may find that the most suitable setting may not match your actu...
Page 14: ...arts to tilt you back iii Relax and enjoy the inversion iv Reverse out of inversion and return to an upright position by slowly lifting one arm back to your side v Then slowly lift the other arm back Please use the Safety Rail handlebars if you need to at any time to assist you when you go to invert or return from inversion IT8020 ii Continue inverting by slowly raising the other arm ...
Page 15: ...2 and insert it through the set of holes at the front of the unit returning it into the locked position After your workout and before you dismount the unit lock the Safety Lock Release your ankles from the Adjustable Ankle Brace foam rollers by pulling on the Ankle Brace Lock Pin With stability and control lower one foot onto the ground When you are balanced on the first foot then you may proceed ...
Page 16: ...Model Number IT8020 version 5 18 2011 ...