
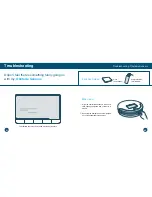


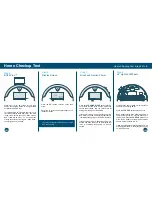


How often should I empty the
dustbin?
Bob’s dustbin has a 1100 mL capacity — larger
than most robot vacuums on the market.
Depending on the size of the room and the
amount of debris piled up, Bob may be able to
perform up to 6 cleaning cycles before filling
his dustbin. Simply remove the dustbin and
check to see if emptying is necessary.
Quick Start
FAQs
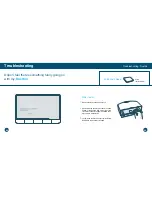
How do I know that Bob is
fully charged and ready to
clean?
When Bob is charging, the battery bars on his
display screen flash and the word “charging”
is lit. When Bob is fully charged, the battery
bars remain still and the word “charging” is no
longer lit.
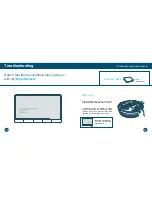
How often should I clean
Bob’s brushes?
To maximize Bob’s efficiency, it is best to clean
his brushes about once a week. Remember
to also clean the notches inside Bob that hold
the brushes in place.
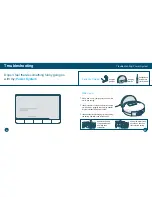
Bob is having trouble finding
his charging station.
First, sync the charging station. Start by flipping
Bob’s power switch OFF. Then, hold down the
SYNC button on the back of the station and flip
Bob’s power switch ON. Bob will chirp twice
to confirm the sync was successful. If after
syncing the station Bob is still having trouble
finding it, relocate the station to a more easily
accessible location with more space around
it. Make sure the station is against a wall on a
flat, level surface.
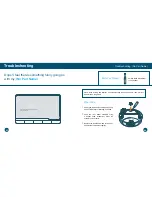
Bob just stopped cleaning
and his screen turned off.
What do I do next?
Bob may be in standby mode. If this is the
case, pressing any button on his cover or
FullCommand™ remote should wake him.
If this does not work, his battery is likely
completely drained. Place Bob on his charging
station and allow him to fully charge.
I am having problems
removing Bob’s brushes.
Unscrew the brushes and gently wriggle them
while pulling up. Do not force the brushes
out, as this can damage them. You may use
scissors to cut away entanglements of hair, or
tweezers to unclog the notches inside Bob. It
is best to clean Bob’s brushes about once a
week to prevent buildup.
Why is Bob beeping?
Bob beeps periodically while in standby mode.
You may mute his beeping by pressing the
MUTE button on his cover or FullCommand™
remote. To conserve his battery, flip his power
switch OFF when he is not in use.
Bob also beeps when he encounters a
problem and needs assistance. In addition to
beeping, he will display a trouble message.
Consult the Troubleshooting section of this
manual for solutions.
My Bob won’t turn on no
matter what I do.
First, make sure Bob’s power switch is turned
ON. The power switch is located on Bob’s left
side. If Bob’s power switch is turned ON and
he is not responding to his cover buttons, then
his battery has likely drained too low for him
to operate. Place Bob on his charging station
and allow him to fully charge.
To watch Bob’s how-to videos visit
www.bobsweep.com/pethair-plus-support or
download the bObsweep App on your iOS or
Android device.
106
105