Convenient Functions
10
Compensating for the Room Acoustics
(Room Acoustic Auto Control)
This function measures the room acoustics and makes adjustments
so appropriate audio for the room comes out of each speaker . The
“Output EQ > FRONT-L, FRONT-R, SUR-L, SUR-R, CENTER >
EQ (EQ Type = GEQ)” (p . 15) parameters of each speaker are set
automatically based on the measurement of the room acoustics .
1.
Follow this sequence of steps: [MIC] + [MUSIC] (SYSTEM)
buttons
"
“Room Acoustic Control”
"
[ENTER] button .
The “RAC Entry” screen appears .
2.
Connect a microphone for measurement to a MIC jack
(any one of MIC 1–4) and place the microphone at the
main listening position .
MEMO
Use a commercially available microphone for the measurement .
3.
Press the [ENTER] button .
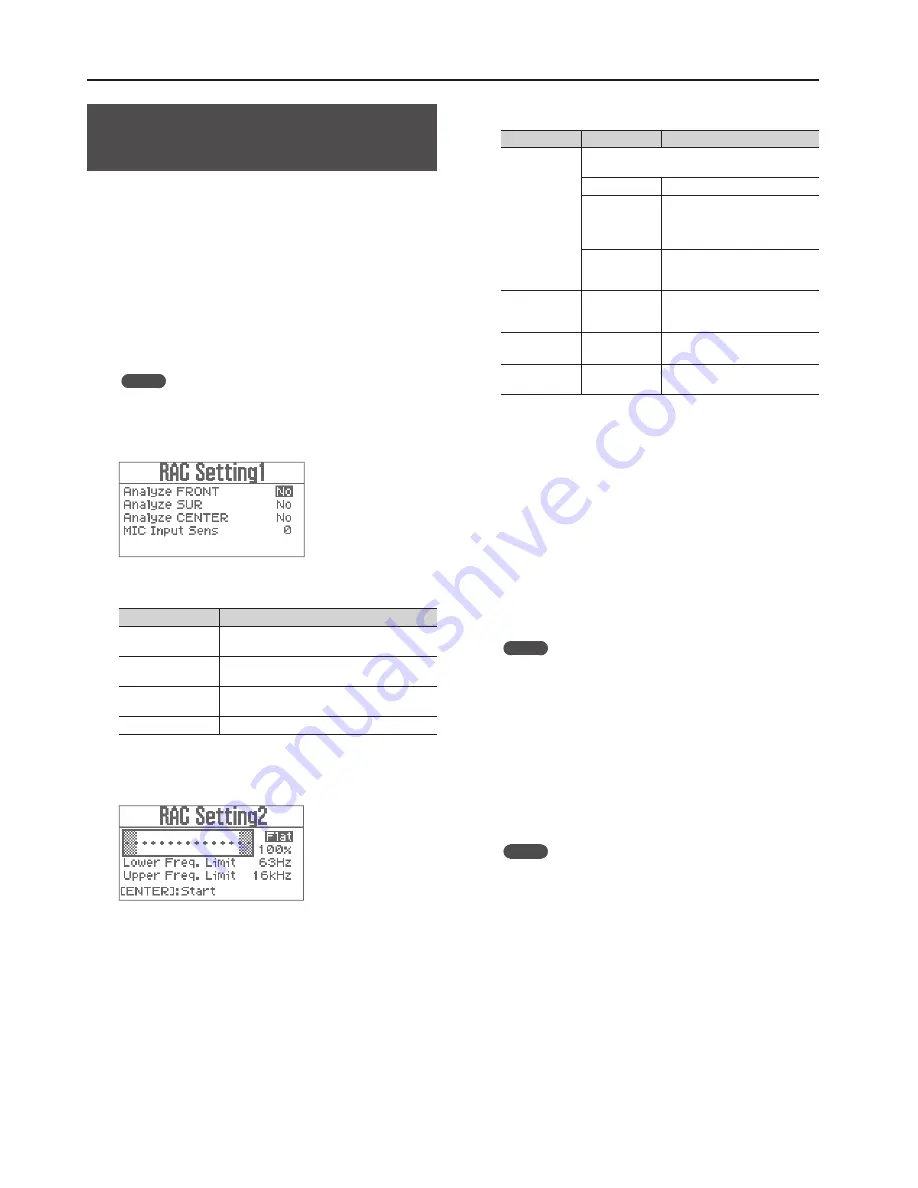
The “RAC Setting1” screen appears .
4.
Set the parameters .
Parameter
Explanation
Analyze FRONT
Analyze the FRONT-L and FRONT-R speakers and
perform the correction .
Analyze SUR
Analyze the SUR-L and SUR-R speakers and perform
the correction .
Analyze CENTER
Analyze the CENTER speaker and perform the
correction .
MIC Input Sens
Adjust the input sensitivity for MIC .
5.
Press the [ENTER] button .
The “RAC Setting2” screen appears .
6.
Set the parameters .
Parameter
Value
Explanation
Response Curve
Select the response curve to be used as the reference
for adjustment .
Flat
Flat response .
Bump
Response curve that boosts the
low and high-frequency regions,
producing the so-called “scooped”
sound .
Warm
Response curve that boosts the
mid-range, producing a rich and
warm sound .
Response Curve
Amplitude
70%–130%
Sets the sharpness of the response
curve . Higher values emphasize the
response .
Lower Freq . Limit
40Hz, 63Hz,
100Hz
Sets the lower cut-off frequency for
measuring the room acoustics .
Upper Freq .
Limit
16kHz, 20kHz
Sets the upper cut-off frequency for
measuring the room acoustics .
7.
Press the [ENTER] button .
A test signal will be emitted from the speakers for which you chose
“Yes” in step 4 .
8.
Use the [VALUE] knob to adjust the volume as directed by
the instructions that appear in the display of the KSP-100 .
Raise the volume if the screen displays “Turn Up Level” and lower
the volume if the screen displays “Turn Down Level .”
When the volume is adjusted to the appropriate level, the unit
displays “Measuring . . .” on the screen and starts the measurement .
When measurement for one speaker has been completed,
measurement for the next speaker will begin . When all
measurements have been completed, the screen will indicate
“Completed .”
MEMO
• Keep noise away from the microphone and refrain from talking
during the measurement .
• Press the [EXIT] button to stop the measurement .
9.
Disconnect the microphone that you used for
measurement, and connect the microphone that you'll be
using for vocals .
10.
Press the [ENTER] button .
The “RAC Exit” screen appears .
11.
Adjust the MIC Master Level .
MEMO
The MIC Master Level is the same as the MIC parameter in the
top screen (p . 9) .
12.
Press the [ENTER] button .
This completes room acoustics compensation .
Summary of Contents for KSP-100
Page 20: ...For EU Countries...
Page 21: ...MEMO...


