ENGLISH
ENGLISH
32
33
STEAMING-IRONING
SPECIAL FUNCTION
NOTE:
To prolong the lifetime of your steamer, we recommend using distilled or
demineralized water.
Do not use any chemicals, perfumes or detergents to put insde the water tank.
Do not replace the water tank with another tank other than the one designed
for this garment steamer.
Temperature sensor:
When the appliance is detecting abnormal temperature
conditions, the sensor will disconnect the heating element. This helps to maintain
the chosen temperature level during use.
Thermal fuse protection:
When the appliance is overheating and its temperature
sensor gets overheated, it will immediately power off to avoid potential hazards.
* CAUTION: Do not let the steamer operate with a dry or damaged water tank.
DOUBLE OVERHEATING PROTECTION
CLEANING AND LONG-TERM STORAGE
When the steam output become significantly less visible than before or the
steaming only last for a few seconds or as the “Descaling Indicator” has been lit
up, we recommend to perform the descale function manually to clean up the clog
accumulated within the heater chamber. Steps to do so are as followed:
1. Power off the garment steamer and unplug from electrical outlet, release the
pole by pressing the Telescopic rod lock button, pull it upwards away from the
main body.
2. Wait until the garment steamer cool down to room temperature, remove the
water tank from the main body, unscrew the cap and pour out any residual
water inside. Also, unscrew the water drain valve at the bottom of the main
body to get rid of any leftover water still within the pipe.
3. Mix white vinegar with water at the ratio of 1:1 (increase the proportion of
white vinegar accordingly depending on how much descaling is needed).
4. Tighten the water drain valve at the bottom of the main body. Pour the
aforementioned vinegar/water mixed solution into the water tank and then
install the water tank accordingly. This will articulate the mixture to flow into
the heating chamber right above the water drain valve, where the descaling
will take place.
5. Let the mixture soak for about one or two hours at normal temperature (in
case there’s more residue, allow to soak for a longer duration, but never soak
for more than 8 hours).
6. Once done, remove the water tank to pour out the mixture, then unscrew
the water drain valve to release any remaining mixture. Be careful of water
overflowing when remove the valve.
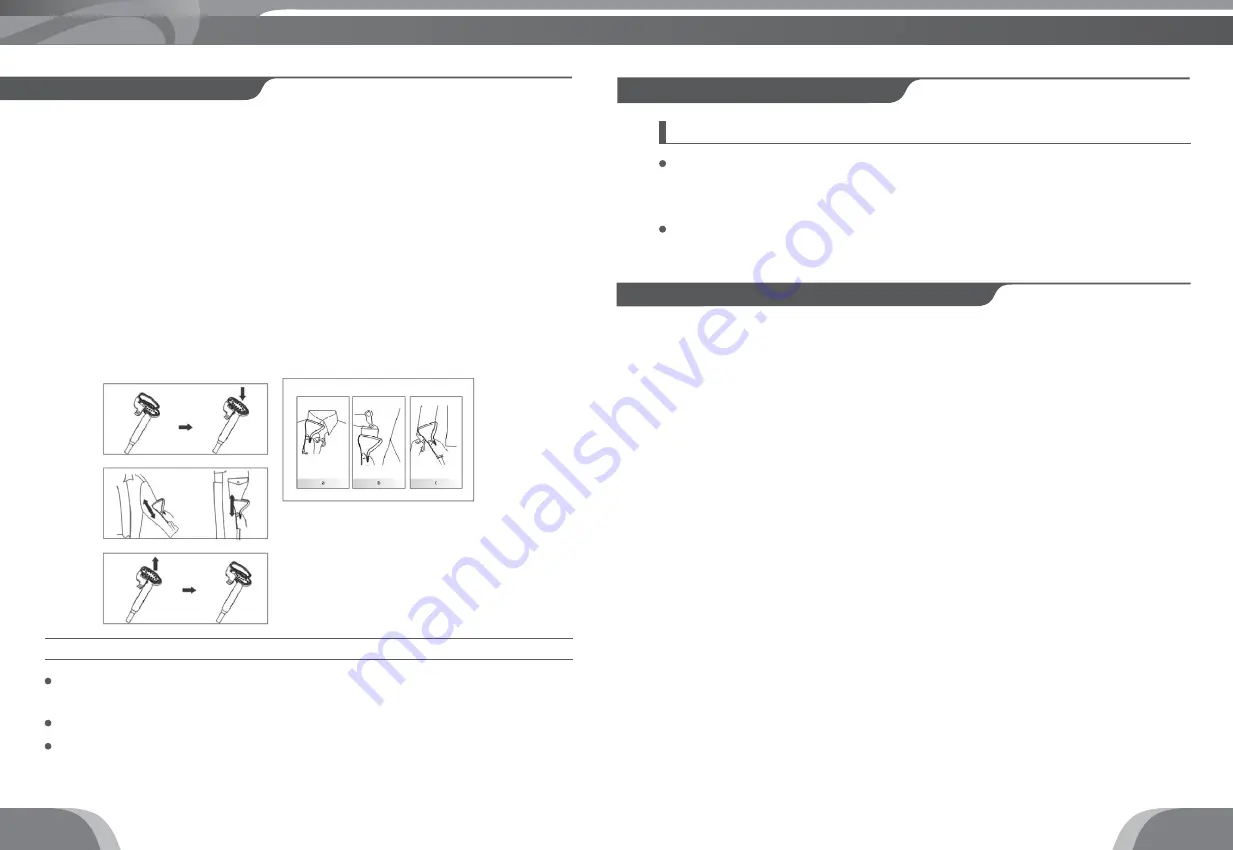
1. Hang the cloth onto the rack or corresponding accessories.
2. Wear gloves or glove boards to prevent from being scalded.
3. Hold firmly onto the bottoms end of the cloth, slightly pull it to straighten
the surface. Proceed to using the steaming surface to touch the cloth slightly
at a downward angle. Move the steam nozzle in a downward motions, left to
right while keeping it vertical.
4. Press the steam nozzle directly touching the collar if you wish to iron it
straight.
*NOTE: If you want to iron the sleeves, please pull the sleeve straight to help
make the process more effective
.
5. Turn off the steamer and unplug when finish/not in use anymore.


