background image


35

Languages and units

You can use the 

Language & Units

 menu 

to select your preferred menu and voice 
output language.
You can also use this menu to change the 
time, date and distance displays.

NB:

When selecting the language for the 
menus, the Navigation application will 
close and restart to load the new language 
settings. We therefore recommend that 
you select your language last.

Press the Navigation button.
The 

Navigation

 menu opens.

Press the Settings button.
The 

Settings

 menu opens.

Press the Language & Units 
button.
The 

Language & Units

 menu 

opens.

Press on 

Units

 to change the units for 

distances.
Press on 

Set Date & Time Format

 to 

select the date and time display format.
The 

Date & Time Format

 menu opens.

Use the buttons shown below to select 
from various Date & Time display 
options:

Date format
Date delimiter
Time format

Press 

OK

 to accept the settings.

You will now be returned to the 

Language 

& Units

 menu.

Press the 

Voice Language

 button to 

select your preferred language for the 
navigation voice output:
The 

Guidance Language

 menu opens.

Select your preferred language.
Press 

OK

 to accept your selection.

You will now be returned to the 

Language 

& Units

 menu.


Press the 

Program Language

 button to 

select your preferred language for the 
menus.
The 

Program Language

 menu opens.

Select your preferred language.
Press 

OK

 to accept your selection.

You will now be shown a confi rmation 
prompt.
Press 

No

 if you do not want to load the 

language.
- or -
Press 

Yes 

to load the language.

The Navigation application will now 
be closed and the selected language 
settings loaded.
The 

Navigation

 menu will now be shown 

in the selected language.

Advanced Settings

Press the Settings button.
The 

Settings

 menu opens.

Press the Advanced Settings 
button.
The 

Advanced Settings

 menu 

opens.

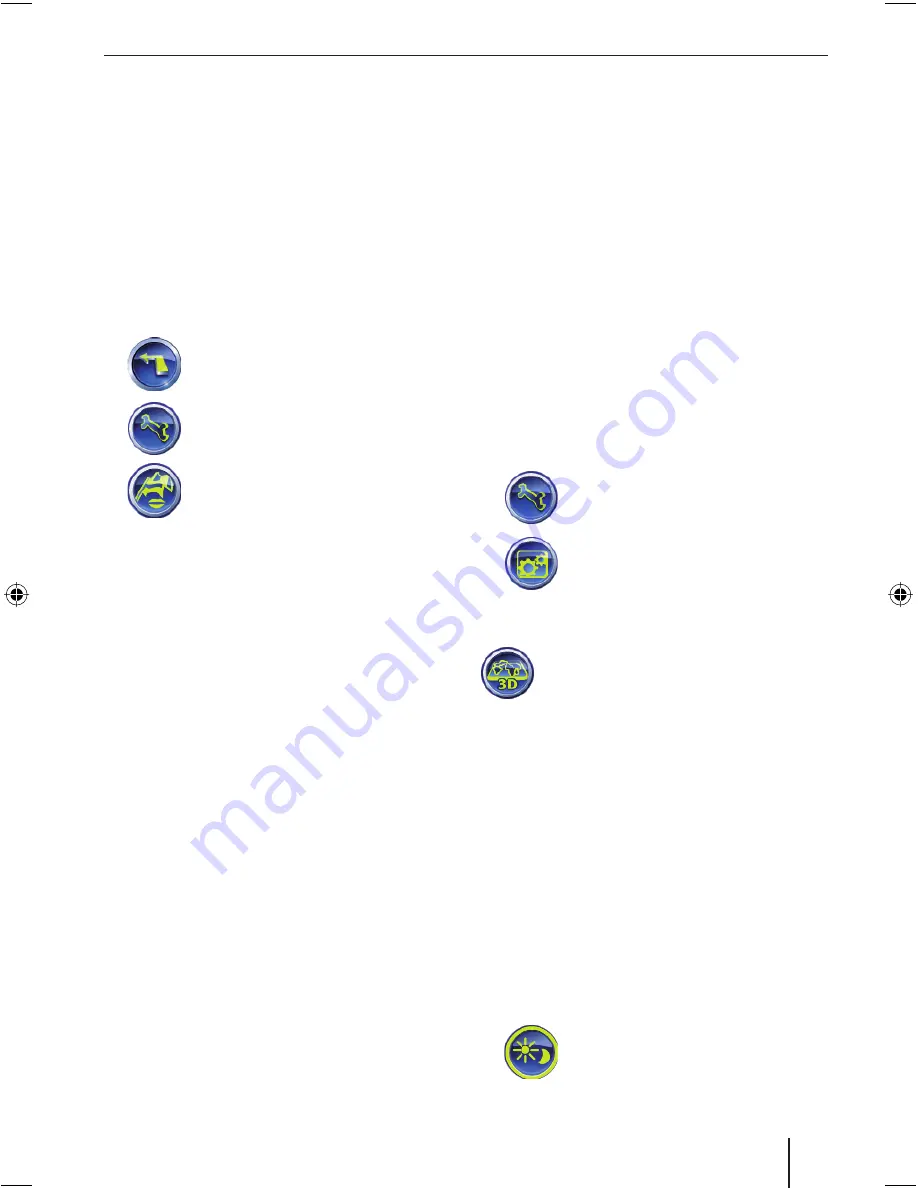
Display options

You can use the 

Display Settings 

menu to:

Select 3D or 2D (3D deactivated) map 
view
Select the format used for the 
coordinates on the destination input 
screen
Change route information

You can also use this menu to calibrate the 
Lucca’s screen.

Please read the chapter “Using map view 
during route guidance”, section “Activate 
additional map information” for more 
information.

Brightness

You can use the 

Brightness

 menu to adjust 

the brightness of day / night mode.

Press the Brightness button in 
the 

Advanced Settings

 menu.


Basic settings

Lucca3_3RU_long_GB.indd   35

Lucca3_3RU_long_GB.indd   35

11.07.2007   16:51:13 Uhr

11.07.2007   16:51:13 Uhr

Summary of Contents for TRAVELPILOT LUCCA 3.3 EE

Page 1: ...Mobile Navigation TravelPilot Lucca 3 3 EE www blaupunkt com Operating and installation instructions Detailed version...

Page 2: ...Press for more than 3 seconds to open the main menu Press brie y to open the Quick Settings menu 3 3 5 screen 3 5 LCD touch screen Lucca can be operated easily and intuitively by pressing the buttons...

Page 3: ...avigation information 12 Start navigating 12 Entering a destination 12 Home 12 Show map 12 Route 12 Settings 12 Viewing GPS info 13 Close menu 13 Basic settings 13 Selecting your time zone 13 Entering...

Page 4: ...l settings 33 Activating deactivating night mode 33 Activate deactivate night view 33 Selecting your time zone 33 Entering your home address 33 Speed limit warning options 33 Map options 34 Audio sett...

Page 5: ...its outer edge Never clean the CD DVD using circular movements Do not use any solvents including for the printed side of the CD DVD Navigation safety instructions Caution Never operate the Lucca while...

Page 6: ...al Blaupunkt accessories only Protective touch screen foil Remove the protective foil from the screen before using the Lucca for the rst time Turning the Lucca on The Lucca can be turned on off using...

Page 7: ...p holder which is designed for fastening to a windscreen to enable it to be temporarily installed into a vehicle Caution Make sure that the Lucca is not installed in such a way as to obstruct your vie...

Page 8: ...A The Lucca has two off states Sleep mode screen off for energy saving purposes and a state where all functions are switched off The Lucca is turned off when supplied to you Turning the Lucca On Off P...

Page 9: ...not been touched for over 5 seconds Lucca will automatically switch back to the previous menu Additional functions Press the More button in the Quick Settings to view additional functions Information...

Page 10: ...tch the letters entered so far One of the entries in the list will always be highlighted Use the arrow buttons to browse through the list Press on an entry to accept it or Press the Back button to ret...

Page 11: ...osition Current position stated in Eastern longitude and Northern latitude Date Time Current date and time The green light will ash at the exact intervals at which the Lucca attempts to receive inform...

Page 12: ...Press the Navigation button in the main menu The Navigation menu opens You can access all of the Lucca s navigation functions from the Navigation menu Entering a destination Press the Destination butt...

Page 13: ...he time zone that is relevant to your current position and press on it Press OK You will now be returned to the General Settings menu Press on Daylight saving time to activate tick or deactivate no ti...

Page 14: ...ct a different town in a different country Select the city or town to which you would like to navigate from the list or Press the Other City button The onscreen keyboard will now come up to enable you...

Page 15: ...em for route guidance Press the Navigation button in the main menu The Navigation menu opens Press the Destination button The Destination menu opens Press the History button The History menu opens Sel...

Page 16: ...cation button The POI Location menu opens You can now look for a POI by Pressing the Cursor button to select a POI from the section of map currently displayed NB Please select the section of map in wh...

Page 17: ...d plan the route Activate deactivate POIs The Map Options menu under Advanced Settings can be used to activate deactivate the POI display option Please refer to the Display language and volume setting...

Page 18: ...be able to use it to navigate home easily and comfortably no matter where you are The address saved as your home address can be viewed under General Settings and changed at any time Section Basic sett...

Page 19: ...button in the Navigation menu The Lucca will now display the map and plan the route Editing a route You can use the Edit Route menu to delete and change the order of selected Way Points Way Points are...

Page 20: ...ception You do not have GPS reception and you start planning a route Chap Planning a route without the use of GPS information Saving a destination Favourites only Press the Navigation button in the ma...

Page 21: ...y menu opens Press the Clear History button Pins Pins can be placed on the map and used to highlight places you might want to use as a destination at a later time Pins are saved in the History menu Yo...

Page 22: ...route guidance Press the Navigation button The Navigation menu opens Press the Settings button The Settings menu opens Press the Route parameters button The Route parameters menu opens Press the Rout...

Page 23: ...Favourites or You have selected a destination from the History as described in the chapter Selecting a destination from the History menu The Lucca will now plan the route and display the map If you do...

Page 24: ...ply commence route guidance If you are inside an enclosed space and experience GPS reception problems it might help if you go outside This is because the Lucca s reception works best if it has an unob...

Page 25: ...ination you navigated to last as a starting point Press the Map button in the Navigation menu to open the map Press the arrow button to show all additional buttons Press the Route To button The Lucca...

Page 26: ...o show hide additional buttons and information on the places shown on the map Buttons Press the arrow buttons to show hide additional buttons and information on the places shown on the map The map fea...

Page 27: ...on the left The more blocks are shown in the bar the closer you are to the place where the next manoeuvre needs to be performed Route information The right of the screen will always display the follo...

Page 28: ...hange the format used for the coordinates Press the buttons shown under Cockpit screen layout to change the route information The route information includes the following settings Distance to destinat...

Page 29: ...se the Lucca to view a description of your route and you can use it to View particular sections of the route on the map Block particular sections of the route NB When blocking sections of a route duri...

Page 30: ...ime default Estimated arrival time default Press on the route information to view information on the destination and intermediate destinations Press the Fit To Screen button to view the route on the m...

Page 31: ...hows all recorded routes and their names as well as on the left the colour in which the route is shown on the map If the route is not shown on the map the Lucca will display a horizontal line to the l...

Page 32: ...recorded on the basis of these successive position lock updates These position locks are generally saved once every second However you can increase these intervals so as to use less memory for record...

Page 33: ...e Automatic Night Colours button in the General Settings menu to activate tick or deactivate no tick automatic changeover mode Selecting your time zone You can select the time zone for your current po...

Page 34: ...output volume Keys Button key sound volume You can also set the voice output and button sounds to mute Press the Voice button to activate tick or deactivate no tick the Voice mute function Press the...

Page 35: ...preferred language Press OK to accept your selection You will now be returned to the Language Units menu Press the Program Language button to select your preferred language for the menus The Program L...

Page 36: ...to clearly see your location on the map e g during long journeys travelling on the motorway You can also select the map view to automatically switch to overview mode Press Enable Overview Mode to act...

Page 37: ...tivate tick or deactivate no tick this function Data management You can use the User Data Management menu to save delete and restore your user data and settings You can also use this menu to restore t...

Page 38: ...oint for planning a route Since the Lucca checks its position once every second you can watch your progress on the map Using the SD MMC card You can use SD MMC cards with the Lucca for the following T...

Page 39: ...ayer and to open the MP3 list 21 20 19 17 14 15 16 18 Repeat MP3 le close repeat function Open MP3 list Mute on off A Volume control B Play previous next MP3 le C Stop D Pause Play E Close Music Playe...

Page 40: ...r browsing through the image les K Image les that you can select directly L Start slideshow M Start Full Screen mode N To close the Picture Viewer and return to the main menu Slideshow You can press t...

Page 41: ...mediately use the new data for navigation Lucca always uses the cartographic material stored on the SD MMC card and that stored in its memory to navigate Using cartographic material with the Lucca Dow...

Page 42: ...se make use of the return and collection system provided for the disposal of old appliances Service Blaupunktofferrepairandcollectionservices in a number of European countries In the event that you ne...

Page 43: ...using it in your vehicle The batteries must be fully charged by recharging them for approx 5 to 6 hours to achieve the maximum battery run time of up to 3 hours What is the type of data I can store on...

Page 44: ...e license key when downloading the WMA le from a PC However WMA les without DRM protection can of course be played Why does the Lucca fail to respond when I press the buttons The operating system is o...

Page 45: ...45...

Page 46: ...PL 0800 118922 022 8771260 Romania RO 4021 413 97 78 4021 413 97 77 Russia RU 70952871036 70952872216 Slovakia SK 3676511801 3676511809 Slovenia SI 3676511801 3676511809 Turkey TR 0212 335 06 71 0212...

Reviews: