


Note: specifications and the design are subject to possible
modification without notice due to improvement.
13
17. INSTALLATION
•
Remove the stereo carefully from the box, preserveing the box,
for unit warranty and service.
PRECAUTIONS
•
Choose the mounting location carefully so that the unit will
not interference with the normal driving functions of the driver.
•
Avoid installing the unit where it would be subject to high
temperatures, from direct sunlight or hot air from heater, or
where it would be subject to dust, dirt or excessive vibration.
•
Use only the supplied mounting hardware for a safe and
secure installation.
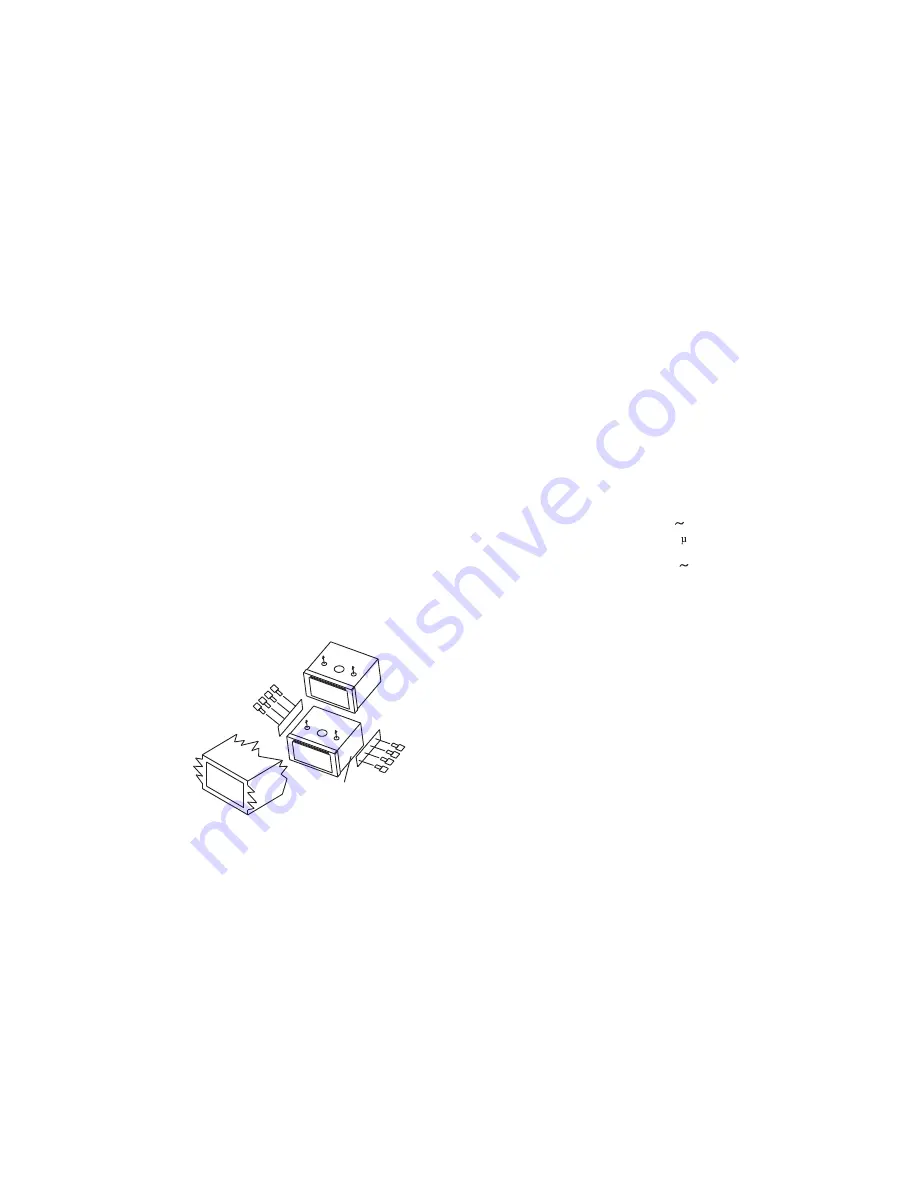
MOUNTING ANGLE ADJUSTMENT
•
Adjust the mounting angle as desired
Please install the front cover of the two movement to protect
the host screws removed, CD player to work properly. As shown:
1. Remove screws
2. Unpack the car dashboard and
mounting bracket.
3. Check the dashboard window size
to meet the requirements, the
alignment screw hole left and
right plates.
4. By bracket machine fixed
with screws in the dashboard
Mouting bracket
Dashboard
Note: keep the release Key in the safe place as you may need it in
future to remove the unit from the car.
18. FEATURES
The Unit Feature MP5/USB/SD Ports and 6.1 inch TFT LCD
•
Electronic P11 Tuning control with 18 Programmable Stations
•
MP3/WMA Compatible.
•
Preamplified Line-out
•
Front Audio AUX-in
•
USB Port and Micro SD Input
•
Last Track Memory (RADIO & Micro SD & USB)
•
6.1 inch TFT LCD
19. SPECIFICATIONS
FM TUNER
Frequency Range
Sensitivity
I.F. Frequency
Frequency Response
Stereo Sepatation
S/N Ratio
87.5 107.9MHz
10dB V
10.7MHz
80Hz 12KHz(±3dB)
>25dB
>50dB
GENERAL
Power Supply Voltage 12V DC
Max Current Consumption 15A
Max Output Power 4x45W
14
Summary of Contents for SACRAMENTO290MC
Page 9: ...15 20 SUPPORT VIDEO FORMAT...


