background image

205-B00     page 5/12 

OPERATION 

PUMP SPEED 

PTO and hydraulically driven units MUST contain speed 
control devices to prevent pump speeds above the maximum 
RPM specifications, regardless of the truck engine unloading 
speeds. If fluid delivery is less than expected, see the 
"General Pump Troubleshooting" section 
 

REVERSE ROTATION 

NOTICE: 

When pumps are operated in reverse a separate pressure 
relief valve must be installed to protect the pump from 
excessive pressure. 

It may be desirable to run the pump in reverse rotation for 
system maintenance. The pump will operate satisfactorily in 
reverse rotation for a LIMITED time, at a reduced 
performance level. When operating the pump in reverse, a 
separate bypass valve MUST be installed to protect the pump 
from excessive pressure. 
 

FLUSHING THE PUMP 

NOTICE: 

If flushing fluid is to be left in the pump for an extended 
time, it must be a lubricating, non-corrosive fluid. If a 
corrosive, non-lubricating fluid is used, it must be 
flushed from the pump immediately.


To flush the pump, use the following procedure: 

1.  Allow the pump to evacuate as much fluid as possible.  

2.  Run cleaning fluid through the pump intake. The cleaning 

fluid should be compatible with the pump O-rings and 
vane material. When handling "sticky" fluids that solidify 
within the pump (i.e., waxes, adhesives, resins, asphalts, 
etc.), use a fluid that will prevent solidification of the fluid 
being transferred and facilitate flushing. 

3.  Operate the pump against a closed discharge for 15 

seconds to allow the cleaning fluid to recirculate through 
the internal relief valve. 

NOTICE: 

After flushing the pump some residual fluid will remain in 
the pump and piping. 

NOTICE: 

Properly dispose of all waste fluids in accordance with 
the appropriate codes and regulations. 


RELIEF VALVE 

NOTICE: 

The pump internal relief valve is designed to protect the 
pump from excessive pressure and must not be used as 
a system pressure control valve. 

Pumping volatile liquids under suction lift may cause 
cavitation. DO NOT partially close the discharge valve. This 
WILL result in internal relief valve chatter.  For these 
applications, install an external bypass valve, and any 
necessary piping, back to the storage tank. Use a bypass 
system when operating for extended periods (more than 1 
minute) against a closed discharge valve. 
 

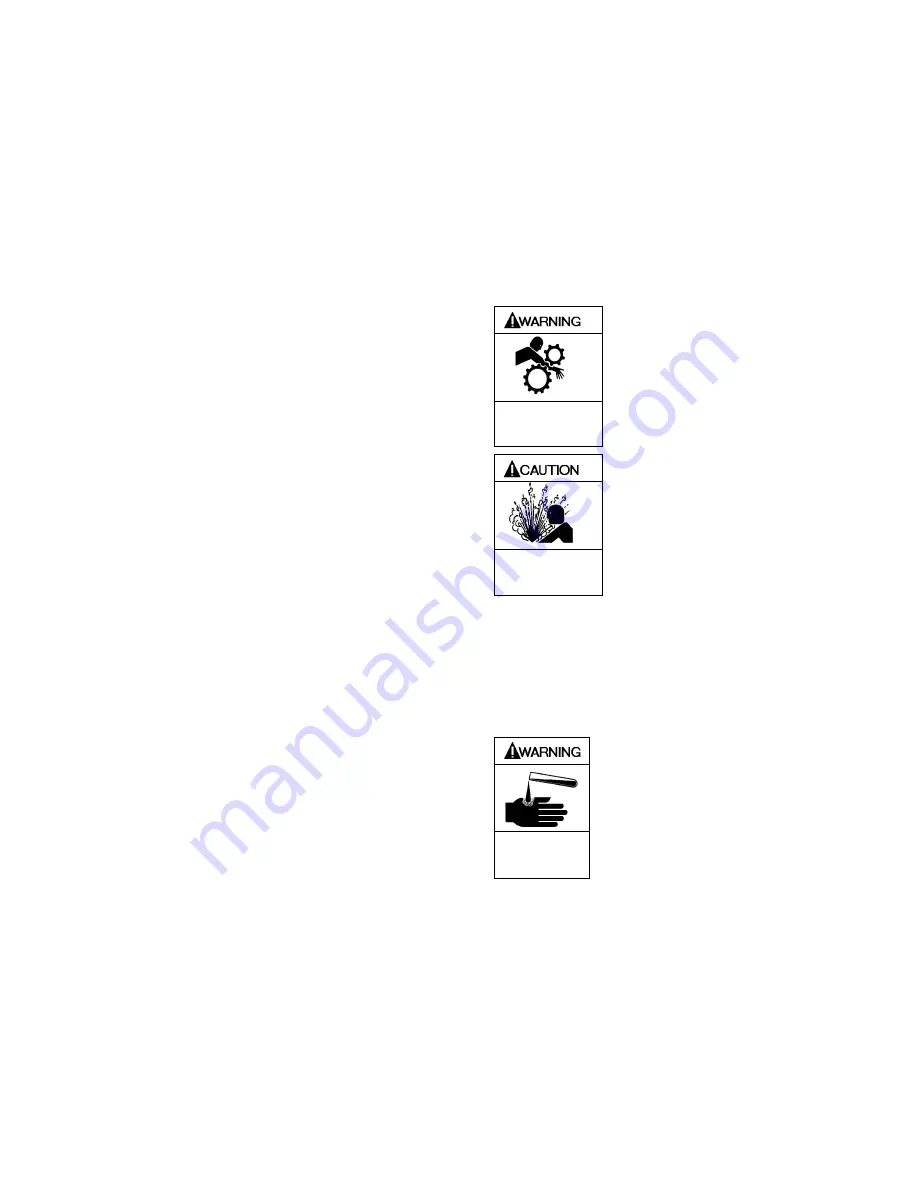
Failure to disengage pto before 
adjusting pump relief valve can cause 
severe personal injury or death 


Hazardous Machinery 

can cause severe 

personal injury or death 


Incorrect settings of the pressure 
relief valve can cause pump 
component failure, personal injury, 
and property damage. 

Hazardous pressure can 

cause personal injury or 

property damage 


RELIEF VALVE SETTING AND 
ADJUSTMENT 

The relief valve pressure setting is marked on a metal tag 
attached to the valve cover. Generally, the relief valve should 
be set at least 15 - 20 psi (1.0 - 1.4 Bar) higher than the 
operating pressure, or the external bypass valve setting (if 
equipped). 

Relief valve cap is exposed to pumpage 
and will contain some fluid 

Hazardous or toxic 

fluids can cause 

serious injury. 

DO NOT remove the R /V Cap OR adjust the relief valve 
pressure setting while the pump is in operation.  

1. 

To INCREASE the pressure setting,

 remove the relief 

valve cap, loosen the locknut, and turn the adjusting 
screw 

inwar

d, or clockwise. Replace the valve cap. 

2. 

To DECREASE the pressure settin

g, remove the relief 

valve cap, loosen the locknut, and turn the adjusting 
screw 

outwar

d, or counterclockwise. Replace the valve 

cap.  

Refer to the individual Blackmer pump parts lists for various 
spring pressure ranges. Unless specified otherwise, pumps 
are supplied from the factory with the relief valve adjusted to 
the mid-point of the spring range. 


Summary of Contents for TRANSMAX TX206A

Page 1: ...see this symbol on the product or in the manual look for one of the following signal words and be alert to the potential for personal injury death or major property damage Warns of hazards that WILL cause serious personal injury death or major property damage Warns of hazards that CAN cause serious personal injury death or major property damage Warns of hazards that CAN cause personal injury or pr...

Page 2: ...ion is attached to each pump It is recommended that the data from this tag be recorded and filed for future reference If replacement parts are needed or if information pertaining to the pump is required this data must be furnished to a Blackmer representative TECHNICAL DATA TX206A Maximum Pump Speed 800 RPM Maximum Operating Temperature 240 300 F 115 149 C Maximum Viscosity 50 000 SSU 10 500 cSt M...

Page 3: ...rotation only Operation without shaft protector can cause serious personal injury major property damage or death Do not operate without guard in place PUMP DRIVE The pump may be driven by a power take off through universal joints When using universal joints a splined slip joint properly lubricated must be used on the connecting jackshaft to prevent end thrust on the pump shaft It is very important...

Page 4: ...es must be supported so that they do not spring away or drop down when the pump flanges or union joints are disconnected 2 Install vacuum and pressure gauges in the NPT ports located on the pump cylinder near the intake and discharge flanges These can be used to check the actual suction and discharge conditions after pump start up 3 Inspect complete piping system to ensure that no piping loads are...

Page 5: ...and regulations RELIEF VALVE NOTICE The pump internal relief valve is designed to protect the pump from excessive pressure and must not be used as a system pressure control valve Pumping volatile liquids under suction lift may cause cavitation DO NOT partially close the discharge valve This WILL result in internal relief valve chatter For these applications install an external bypass valve and any...

Page 6: ...nly following the appropriate procedures and warnings as presented in this manual STRAINERS Strainers must be cleaned regularly to avoid pump starvation Schedule will depend upon the application and conditions LUBRICATION NOTICE To avoid possible entanglement in moving parts do not lubricate pump bearings hydraulic adapter coupling or any other parts while the pump is running NOTICE Splined shaft ...

Page 7: ...ard the bearing cover gasket 4 To remove the locknuts and lockwashers 24A and 24B a Bend up the engaged lockwasher tang and rotate the locknut counterclockwise to remove it from the shaft b Slide the lockwasher off the shaft Inspect the lockwasher for damage and replace as required c Repeat steps a and b on the opposite shaft end 5 Remove the head capscrews 21 and carefully pry the head 20 away fr...

Page 8: ...6 Hand pack the ball bearing 24 with grease Refer to the Lubrication section for the recommended grease 7 Install the bearing into the head recess The bearing balls should face outward with the grease shield inward Ensure the bearing is fully and squarely seated against the lip seal housing or mechanical seal Install two 3 8 10 mm washers and two bearing cover capscrews 28 to clamp the bearing and...

Page 9: ...th fingers and rotate back and forth If this cannot be done one or both locknuts are too tight and should be alternately loosened one stop at a time 001 Begin by loosening the locknut adjusted last h After adjustment is complete remove the bearing cover capscrews and 3 8 washers from both ends of the pump Figure 10 Locknut Adjustment 13 Inspect the grease seal 104 for wear or damage and replace as...

Page 10: ...too low or not seating properly 8 Vanes installed incorrectly see Vane Replacement Noise 1 Excessive vacuum on the pump due to a Undersized or restricted fittings in the suction line b Pump speed too fast for the viscosity or volatility of the liquid c Pump too far from fluid source 2 Running the pump for extended periods with a closed discharge line 3 Pump not securely mounted 4 Improper drive li...

Page 11: ...6 Excessively worn vanes or vane slots 7 Settled or solidified material in the pump at start up Lip Seal Mechanical Seal Leakage 1 O rings not compatible with the liquids pumped 2 O rings nicked cut or twisted 3 Shaft at seal area damaged worn or dirty 4 Ball bearings overgreased 5 Excessive cavitation 6 Lip seal not seated properly 7 Corrosion on lip seal housing 8 Mechanical seal faces cracked s...

Page 12: ... 215 GPM HXL 6 8 10 Sliding Vane Pumps 130 to 2 220 GPM Refineries Terminals Barges Ships Reciprocating Gas Compressors Liquefied Gas Transfer Boosting Vapor Recovery Hand Operated Pumps Dispensing Transfer In line Accessories Gear Reducers Bypass Valves Strainers Visit www blackmer com for complete information on all Blackmer products 1809 Century Avenue Grand Rapids Michigan 49503 1530 U S A Tel...

Reviews: