8
ENGLISH
(Original instructions)
Electrical safety
#
Your charger is double insu-
lated; therefore no earth wire
is required. Always check that
the mains voltage corresponds
to the voltage on the rating
plate. Never attempt to replace
the charger unit with a regular
mains plug.
u
If the supply cord is damaged, it must
be replaced by the manufacturer or an
authorised Black & Decker Service Centre
in order to avoid a hazard.
Features
This tool includes some or all of the following
features.
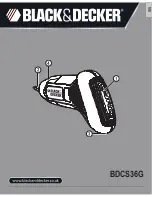
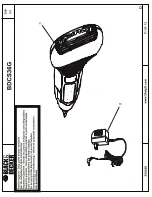
1. Motion control activator
2. Bit holder
3. Charger connector
4. LED work light
Fig. A
5. Charger
Assembly
Warning! Before assembly, remove the bat-
tery from the tool.
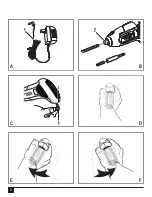
Fitting and removing a screwdriver bit
or socket (fig. B)
Warning! Make certain the tool is locked to
prevent switch actuation before installing or
removing accessories.
u
To fit a screwdriver bit push it into the bit
holder (2) until it locates.
u
To remove a screwdriver bit, pull it straight
from the bit holder.
Note! To remove the bit/socket repeat the
above steps.
Use
Warning! Let the tool work at its own pace.
Do not overload.
Charging the battery (fig. C)
The battery needs to be charged before first
use and whenever it fails to produce sufficient
power on jobs that were easily done before.
The battery may become warm while charg-
ing; this is normal and does not indicate a
problem.
u
To charge the battery, insert the charger
plug (5) into the charger connector (3).
u
Plug in the charger.
u
Leave the tool connected to the charger
for 16 hours.

