18 BK Radio
When a signal is detected, scanning stops and
the message is received. The received
channel is shown in place of the transmit
channel.
Once the signal ends, the radio continues to
monitor the channel for the preset scan delay
time before it resumes scanning.
SCAN CHANNEL GUARD CHANNELS
1.
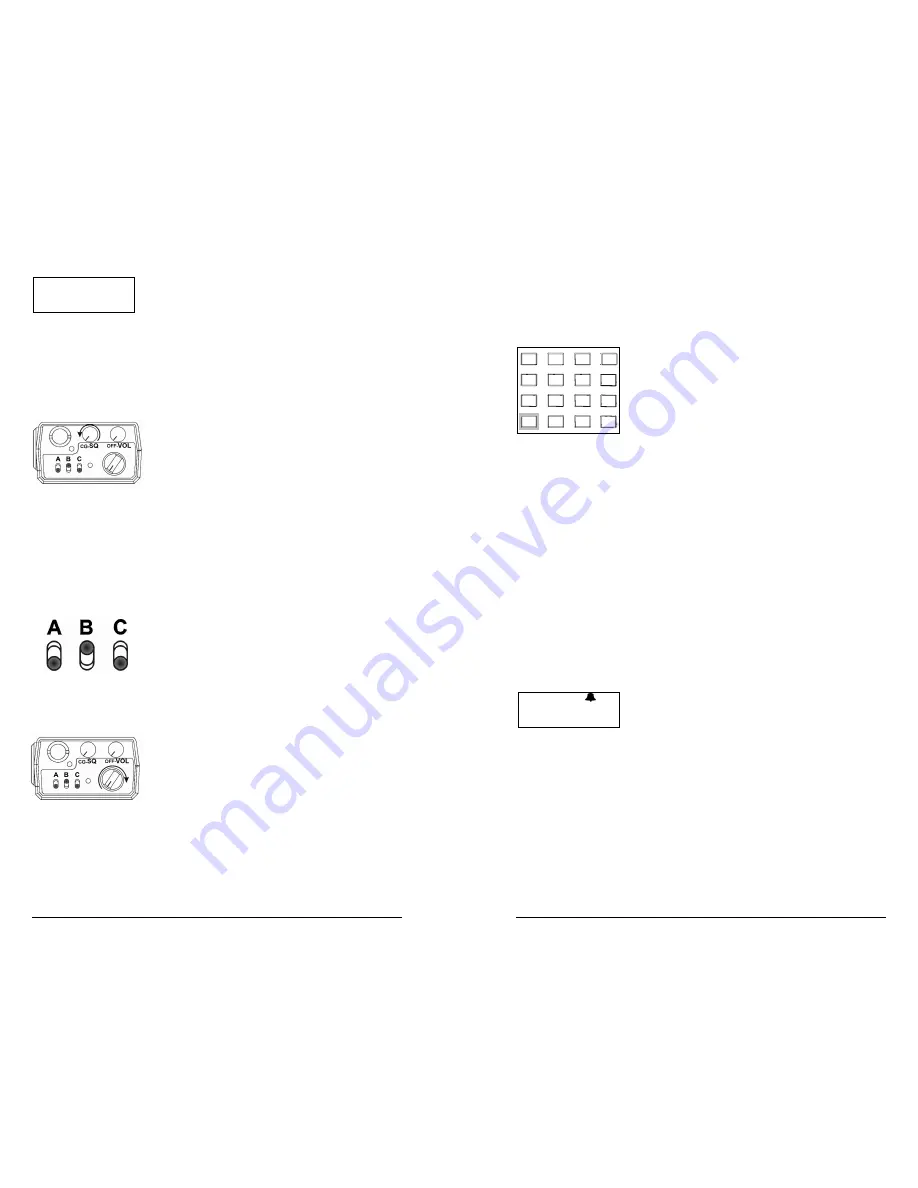
Slide Switch B (scan) up.
2.
Turn the Squelch knob completely
counterclockwise, past the detent, to the
Channel Guard position.
When a signal is detected, scanning stops
while the radio checks for the proper Channel
Guard value. If the signal contains the proper
Channel Guard value, the radio receives the
message. Otherwise, the radio resumes
scanning immediately.
NUISANCE CHANNEL DELETE
If your radio is programmed for Nuisance
Channel Delete and Channel Scan is
assigned to a top switch (Switch B, for
example), a Nuisance Channel can be
temporarily removed from the Scan List by
sliding Switch B down and then back up.
TRANSMIT WITH SCAN ON
When Switch B (scan) is up, the radio
transmits on the channel selected by the
Channel Selector knob unless Talkback Scan
is enabled or “Transmit on Priority-1” is
enabled (see Priority Scan operation).
1.
Select a transmit channel by turning the
Channel Selector knob.
2. Press and hold the PTT switch and talk in
a normal voice.
RX SCN
LABEL 6
DPH-CMD Owner’s Manual 27
UNIT-TO-UNIT CALLBACK
If Unit-To-Unit callback is enabled, and a Unit-
To-Unit call is received on the Ready-to-
Transmit (RTX) channel, the user may press
PTT before the hold time expires, causing the
radio to enter Unit-To-Unit Mode and transmit
using the received ID as the destination ID. If
the callback timer expires before PTT is
pressed, the radio will return to normal
Operating Mode, but the bell icon will flash until
the
[*]
key is pressed twice, bringing up the last
active ID.
To exit Unit-To-Unit Mode, press and hold
the [*] key.
The callback timer can be cleared by making the
held channel invalid. For instance, if a scan
channel is being held, turn scan off.
PROGRAMMING UNIT-TO-UNIT CALL LIST
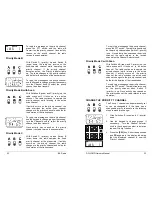
Press
[*]
twice to enter Unit-to-Unit mode and
bring up the last active ID. If the last active ID
was a Call List ID, the ID’s label will be
displayed along with the bell icon. Otherwise,
the ID number will be displayed along with the
bell and D icon.
Press a number key (0 – 9) to go directly to the
desired Call List ID, or press
[PRI]
repeatedly to
cycle to the label of the ID to be re-programmed.
Press and hold the
[FCN]
key to enter ID
Programming Mode (
PRG
icon will be
illuminated). As in keypad Programming Mode,
normal radio function will be disabled until ID
Programming Mode is exited.
PROGRAMMING A LABEL
Press the
[CLR]
key. The display becomes
blank.
Labels are edited from left to right. Pressing the
[PRI]
key moves the cursor to the next
character. Pressing and holding the
[PRI]
key
backspaces to the previous character.
1
2
3
4
5
6
7
8
9
0
*
#
CLR
FCN
PRI
ENT
PRG
LABEL
Summary of Contents for DPH- CMD
Page 22: ...DPH CMD Owner s Manual 43 NOTES ...
Page 23: ......


