TX RX Systems Inc. Manual 7-9487-3 05/05/11 Page 45
using small letters at the password prompt
(“bird” is the factory default password). A
prompt to enter the setup mode will now appear
as shown in
Figure A7
.
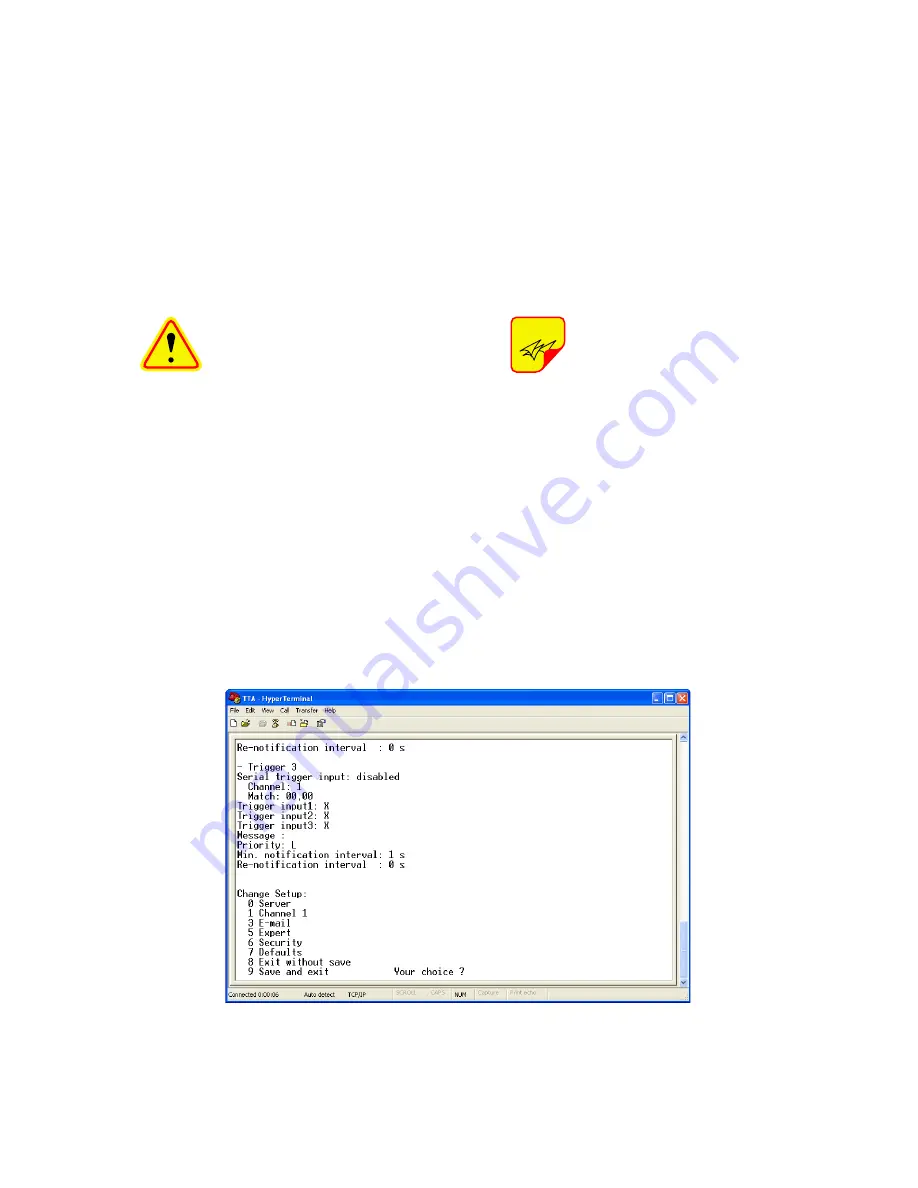
8) TTA LAN port configuration information will be
displayed as well as the Change Setup Menu
as shown in
Figure A8
. For Your Choice type in
“0” to select Server and press the ENTER but-
ton
CAUTION:
Select only those
TELNET menu choices specifi-
cally discussed in this manual.
Selecting other menu options
such as “Defaults” may disable
TTA LAN communications.
9) At the prompt enter the new IP address infor-
mation that was provided to you from your IT
support personnel.
10) To finalize your selections choose (9) to save
the new information and exit the Setup Menu.
Close the HyperTerm utility program.
11) Disconnect your laptop from the TTA. Connect
your network cable (straight through type as
shown in figure A2) to the front panel LAN con-
nector. The TTA system can now be accessed
through your network the same as you would
any network connected device.
12) From your remote computer, in your web
browser’s address box type-in the new IP
address of the TTA system. The web page
interface to the TTA should appear in your
remote computer’s browser window. The first
time you launch the web page you may notice
that the JAVA applet will load first.
For a complete description of the
web based interface software
refer to the TX RX Systems Inc.
technical manual
7-9437
.
TTA Network Port Security
In order to strengthen the security of the device
and protect against network intruders, the LAN port
is configured with the default security precautions
described below.
DATA ENCRYPTION
The web interface uses data encryption to protect
the data exchange between the TTA system and
the attached device. The port employs 128-bit data
encryption using the Rijndael algorithm and a spe-
cial encryption key set at the factory.
NOTE
Figure A8:
The Change Setup Menu.


