background image

49

48

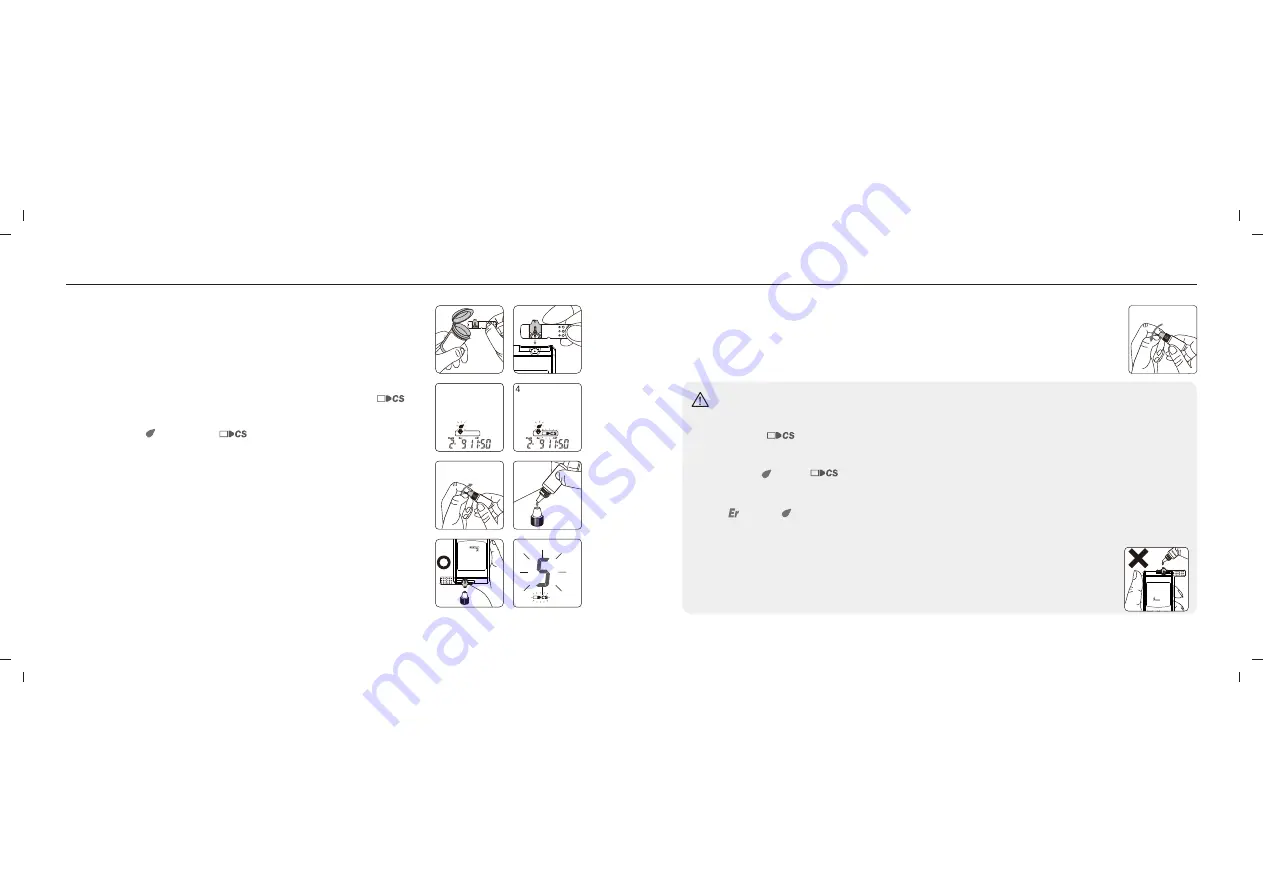
Performing a Quality Control Test

Performing a Quality Control Test

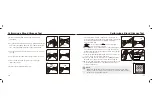
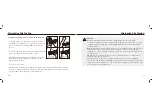
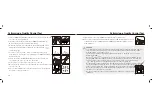
  9. Tightly replace the cap on


RIGHTEST Max Control Solution bottle.

10. The control solution result will appear. Compare your Quality Control Test result 

to the Control Solution Range printed on


RIGHTEST Max Blood Glucose Test 

Strip vial label.

CLOSE

9

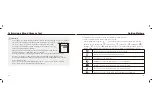
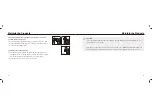
CAUTION

- Your Control Solution Test results will not be included in the average calculations, however, 
  they can still can be recalled and viewed. The Control Solution Test result will be shown  
  with the "           " icon on the screen.
- The Control Solution Test should be conducted between 6 - 44°C (43 - 111°F), relative  
  humidity 10 - 90%.
- Before "     " and "           " appear, do not touch the control solution to the sample port on  
  the strip. RIGHTEST Blood Glucose Meter is performing an internal check. Touching the 
  control solution to the sample port  before prompted will result in an error message: 
  "        " and "     " and be accompanied by beeps (if volume is turned on).
- Do not drip the control solution on to the sample port of the test strip directly. The reagent 

on the strip might leak into the bottle of control solution and may cause the degeneration
of the control solution. This could contaminate the meter via the test strip port.

- Keep the test strip port clean and dry. Clean immediately if the test strip port is 

stained or is overly exposed to moisture.

- Do not touch the tip of the  control solution bottle. If the tip is touched, clean 

with water.

6

OPEN

5

3

1

2

7

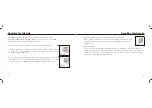
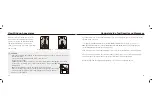
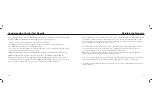
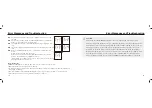
1. Take one 

RIGHTEST Max Blood Glucose Test Strip 

 from the vial and 

close the vial cap immediately.

2. Insert the strip into the test strip port of 

RIGHTEST Max Blood 

Glucose Meter

 with the view window facing up.

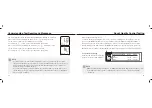
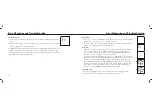
3. 

While the test strip icon is flashed on the display window, press 

and hold the main button for at least 3 seconds until the "           "  
symbol appears. 

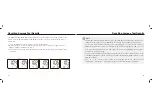
4. You will see "


" icon and "            " icon blinking on the screen, 

prompting you to apply the corresponding level of 

RIGHTEST Max 

Control Solution

.

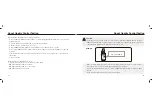
5. Shake the bottle of  

RIGHTEST Max Control Solution

 well before 

opening the cap. Place the cap on a flat surface.


6. Place a drop of  control solution onto the top of the cap.
7. Gently touch the sample port of the strip with the control solution from 

the top of the cap.

8. The screen will display the count time starting from 5 (you will hear a 

beep if the volume is turned on).

8

Summary of Contents for RIGHTEST Max

Page 1: ...onitoring System BIONIME CORPORATION No 100 Sec 2 Daqing St South Dist Taichung City 40242 Taiwan Tel 886 4 2369 2388 Fax 886 4 2261 7586 http www bionime com E mail info bionime com Made in Taiwan BI...

Page 2: ......

Page 3: ...r concerns please contact your local Bionime Customer Service or email to rightest bionime com RIGHTEST Max Blood Glucose Monitoring System is intended to be used for the quantitative measurement of g...

Page 4: ...Blood Glucose Monitoring System is NOT intended for diagnosis of diabetes mellitus If RIGHTEST Meter and Test Strips are exposed to temperature environments out of range for the meter below 6 C 43 F o...

Page 5: ...betes mellitus These test strips should not be used with meters to test critically ill patients Alternative site testing AST should only be performed during steady state times when glucose is not chan...

Page 6: ...dy for Testing Performing a Blood Glucose Test Setting Markers Recalling Test Results Recalling Average Test Results Alternative Site Testing View Window Appearance Understanding Test Results and Mess...

Page 7: ...Documents Getting Started Guide User s Manual Log Book Warranty Card Emergency Card 2 RIGHTEST Max Blood Glucose Meter with battery installed 3 RIGHTEST Max Blood Glucose Test strips 10 or 25 pcs wit...

Page 8: ...lood Glucose Meter Up Button Down Button Main Button Display Window Test Strip Port RIGHTEST Max Blood Glucose Meter Battery Cover Do not put battery here Meter Battery Pen press to open the Cover Met...

Page 9: ...is low or must be replaced Indicates a meal marker with test result Indicates that the Bluetooth is enabled meter Bluetooth only Indicates a test result stored in memory Indicates a testing result is...

Page 10: ...C 39 86 F and with 90 relative humidity Do not expose to direct sunlight or heat If RIGHTEST Meter and Test Strips are exposed to a temperature environments out of range for the meter below 6 C 43 F o...

Page 11: ...enter Self Testing Mode automatically when replacing the battery all symbols will appear on the screen 5 Press any button to exit the self test and enter Setting Mode 6 You must set the time and date...

Page 12: ...button to confirm each selection After confirming all of the settings you will return to the Time Mode After pressing the main button for 3 seconds the will turn off its screen Please meter keep press...

Page 13: ...links press the Up or Down button to select the current hour and press the main button to conform the setup 6 Minute setting When the minute blinks press the Up or Down button to select the current mi...

Page 14: ...feature reminds the user when to perform a test There are 8 sets of alarm available per day The meter will beep when the alarm is triggered and it will be triggered up to 3 times Insert the test stri...

Page 15: ...rip as the picture shown 3 Insert RIGHTEST Blood Glucose Test Strip into test strip port until it clicks and firmly stops Turning On Off the Meter 1 How to turn on RIGHTEST Blood Glucose Meter Press t...

Page 16: ...e Sterile lancet Alcohol swab optional Plunger Hub Lancet carrier Release button Depth adjustable cap Removing RIGHTEST Blood Glucose Test Strip 1 Hold RIGHTEST Blood Glucose Test Strip as shown 2 Rot...

Page 17: ...able lancet 6 Replace the depth adjustable cap 1 3 4 5 6 2 7 The adjustable cap with 7 depth levels allows you to select the depth of penetration by rotating the cap until the preferable depth display...

Page 18: ...finishing the test 19 15 16 17 18 Performing a Blood Glucose Test 14c 14b 13 12b 12a 33 32 12 After inserting a test strip the icon will flash on the screen Pressing the Up or Down button to choose b...

Page 19: ...ning Always keep the metal contacts of the test strip port clean If any dust or dirt is present please clean with a small soft brush All parts of this kit are considered biohazards and can potentially...

Page 20: ...ease the button to stop at any particular test result The RIGHTEST Max Blood Glucose Meter is able to automatically store a maximum of 500 test results with time and date If your meter has stored 500...

Page 21: ...hable in the Memory Mode The CS test result will show with a blinking icon in the Memory Mode The Lo Hi results control solution test results and test results under abnormal temperature 6 C 43 F 44 C...

Page 22: ...se the clear cap provided with RIGHTEST Lancing Device when testing sites other than fingertip The normal lancing device cap for your palm or forearm the blood sample may not be sufficient for meter o...

Page 23: ...ips and lancets View Window Appearance Make sure your blood sample covers the whole area of the view window to get an accurate test result An insufficient blood sample will result in an error message...

Page 24: ...r RIGHTEST Blood Glucose Monitoring System is working properly The meter displays results between 10 and 600 mg dL 0 6 and 33 3 mmol L If the test result is below 10 mg dL 0 6 mmol L will appear on th...

Page 25: ...12 About Quality Control Testing When should a Quality Control Test Be Performed To ensure that your RIGHTEST Blood Glucose Meter and RIGHTEST Blood Glucose Test Strip are working properly To confirm...

Page 26: ...ht leak into the bottle of control solution and may cause the degeneration of the control solution This could contaminate the meter via the test strip port Keep the test strip port clean and dry Clean...

Page 27: ...disinfecting wipe has been tested and may be used to clean and disinfect the meter and lancing device Maintain the Products Understanding Control Test Results Your control solution test results should...

Page 28: ...ll blood and body fluids should be cleaned from surface before performing the disinfecting procedure 3 Allow the surface to remain wet for 2 minute 4 Allow to air dry Maintain the Products Maintain th...

Page 29: ...2 min Cleaning and Disinfecting frequency at least once a week To clean the lancing device 1 Thoroughly wipe the entire surface of the lancing device with disinfecting wipes listed above to clean any...

Page 30: ...u are using RIGHTEST Blood Glucose Test Strip Sampling Error Please do not apply the blood to the sample port of the test strip before the meter displays Discard the test strip If the meter shows Temp...

Page 31: ...p Er2 The meter has malfunctioned Do a Quality Control Test or reinstall the battery to check if the meter works properly Er3 The signal transmission is disrupted Repeat the test using a new test stri...

Page 32: ...40 2 mm 2 3 10 60 C 14 140 F Refer to RIGHTEST Max test strip insert Specification Dehydrogenase Electrochemical Sensor 10 600 mg dL 0 6 33 3 mmol L 5 seconds 500 blood glucose test results with date...

Page 33: ...n materials and workmanship for five years from the date of purchase This warranty does not apply to the performance of a RIGHTES Max Blood Glucose Meter that has been altered misused tampered with or...

Page 34: ...Medical Device Directive 93 42 EEC EC Rep Bionime GmbH Tramstrasse 16 9442 Berneck Switzerland Disposable Sterile Lancets Manufacture information is as package printed Expected Glucose Values Referen...

Reviews: