22
Disconnect all SCSI devices and connect them one by one, beginning with the
Densitometer, to identify the device that causes the problem.
The Quantity One software returns a "Calibration error " or similar message when
attempting to calibrate.
1.
Check if the OD values for the Transparency target in the EDIT CALIBRATION
window are entered properly.
2.
Make sure the calibration windows are clean and free of dust, dirt, fluid, and other
contaminants that can obstruct the path of light.
3.
Check for correct offset value. For the GS-800 Calibrated Imaging Densitometer the
correct offset value is 00 for transmissive scanning and 0.05 for reflectance scanning.
4.
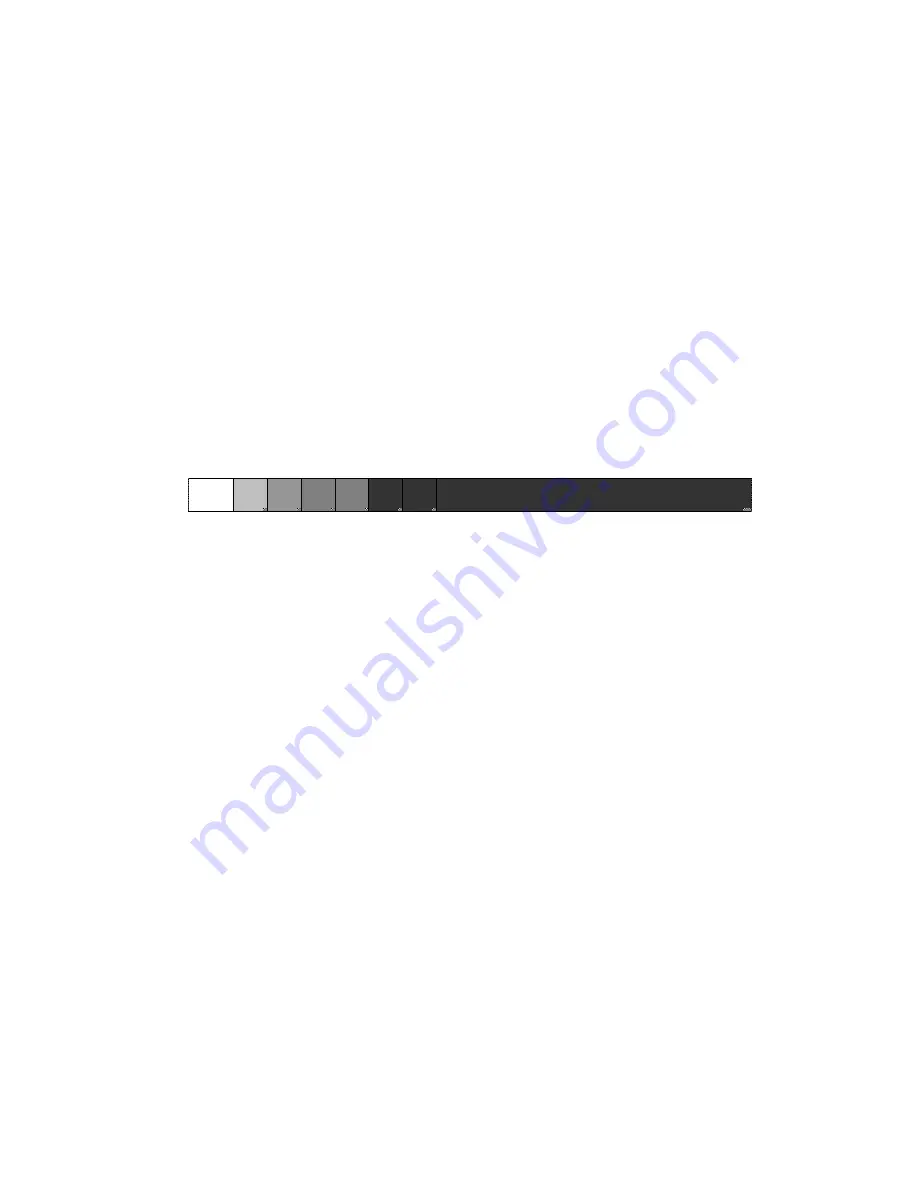
Make sure that the transparency scan image shows up correctly at the bottom of the
Quantity One acquisition window and that during the calibration the software
identifies each step wedge with a number inside a yellow rectangle in the sequence
shown in the photo below:
1 2 3 4 5 6 ……………and so on.
The Quantity One software returns a "Densitometer not ready" or similar message.
1.
Verify the power connection to the Densitometer.
2.
Check that the power switch is turned on.
3.
Check the Installation procedure (Section 3), to see if you followed the instructions.
Pay special attention to the setting of the SCSI ID number.
4.
Verify the integrity of the terminators and the cables. If there is a problem with a
cable or with the SCSI board of the Densitometer, contact Bio-Rad Technical Service.
5.
Disconnect all SCSI devices and connect them one by one, beginning with the
Densitometer, to identify the device that causes the problem.
6.
Verify that the Densitometer imaging device is selected in the FILE menu of the
Quantity One software.
ASPI error message appears.
Call Bio-Rad Technical Service for assistance.


