30 Menu
operation
Network
Settings
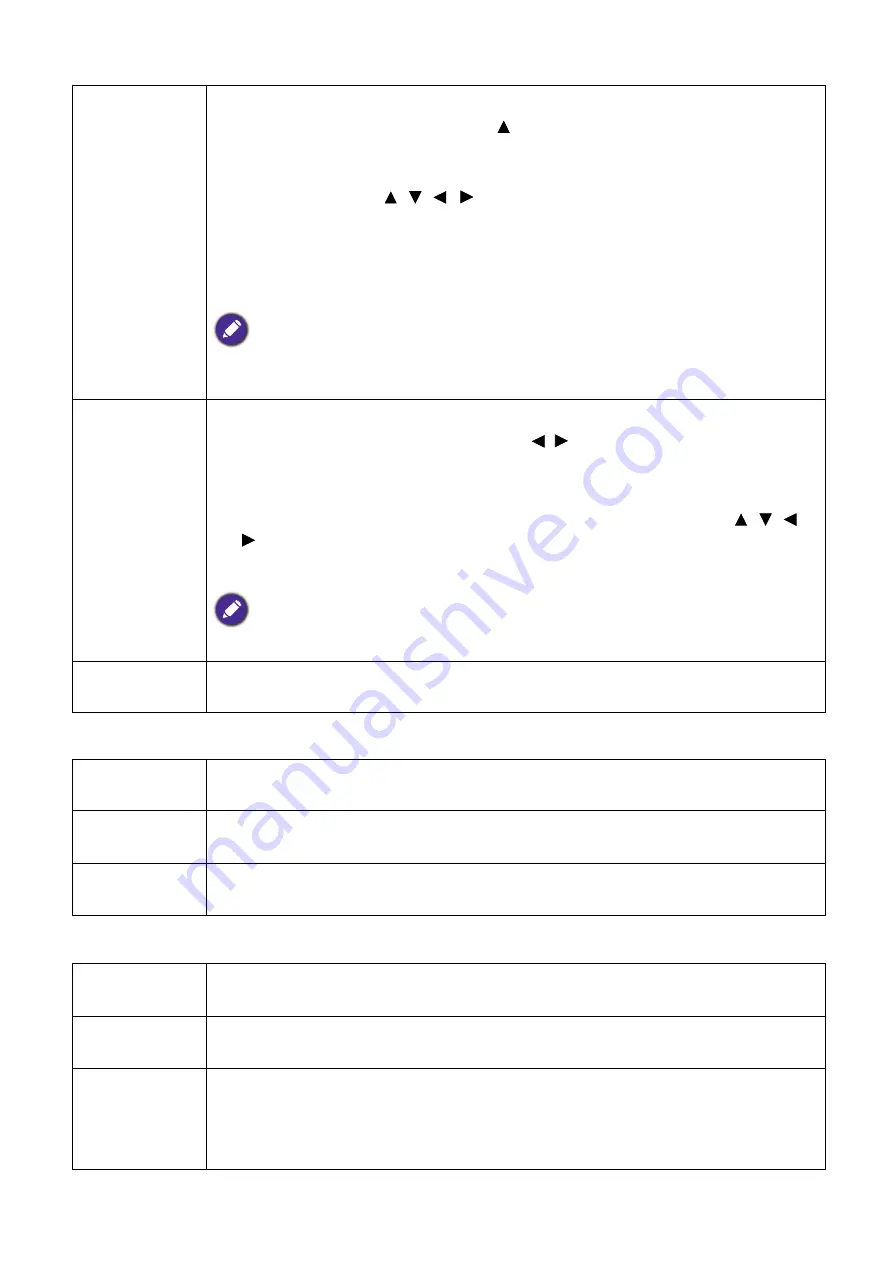
Digital Zoom
Magnifies or reduces the projected image.
1. After the Zoom bar displays, press repeatedly to magnify the picture to a
desired size.
2. To navigate the picture, press
OK
to switch to the panning mode and press the
directional arrows ( , , , ) on the projector or remote control to
navigate the picture.
3. To reduce size of the picture, press
OK
to switch back to the zoom in/out
function, and press
AUTO
to restore the picture to its original size. You can
also press repeatedly until it is restored to the original size.
The picture can only be navigated after it is magnified. You can further magnify the picture while
searching for details.
Digital Shrink
& Shift
Shrinks and/or shifts the projected image.
1. After the adjustment bar displays, press / repeatedly to shrink or magnify
the picture to a desired size.
2. Press
OK
to activate digital shift function.
3. After digital shift function is activated, press the directional arrows ( , , ,
) to shift the image.
4. Press
AUTO
to restore the picture to its original size.
The picture can only be shifted after it shrank.
Reset Display
Returns all of the adjustments you’ve made for the
Display
menu to the factory
preset values.
Wired LAN
See
BenQ Network Projector Operation Guide
, which can be downloaded from
BenQ product webpage.
AMX Device
Discovery
When this function is
On
, the projector can be detected by AMX controller.
MAC Address
(Wired)
Displays the mac address for this projector.
Projector
Installation
See
Choosing a location on page 12
Auto Source
Search
Allows the projector to automatically search for a signal.
Auto Signal
Adjustment
•
On
: Allows the projector to automatically determines the best picture timings for
the displayed image when PC signal (analog RGB) is selected and
AUTO
is
pressed.
•
Off
: The projector will not respond when
AUTO
is pressed.


