


Step 4: The LED taillight will turn off when charging is complete.
Step 5: It will take about 2.5-3 hours for 1300 mAh AA-size NiMH rechargeable
batteries or 3-3.5 hours for 1600 mAh AA-size HiMH rechargeable batteries
to be fully recharged.
5. Software Installation (for Hot Key Functions)
Step1: Insert the supplied Q-Point™ software CD into your computers CD-ROM or
DVD-ROM drive.
Step 2: The installation program should run automatically. If not, go to “My
Computer”, double click on your CD-ROM or DVD-ROM drive, and then
double click “setup.exe”.
Step 3: The onscreen setup program will appear and guide you through rest of the
installation process.
[Suggest to put Welcome Page of Q-Point if available.]
6. Mouse Hot Keys
Function
Description
Function
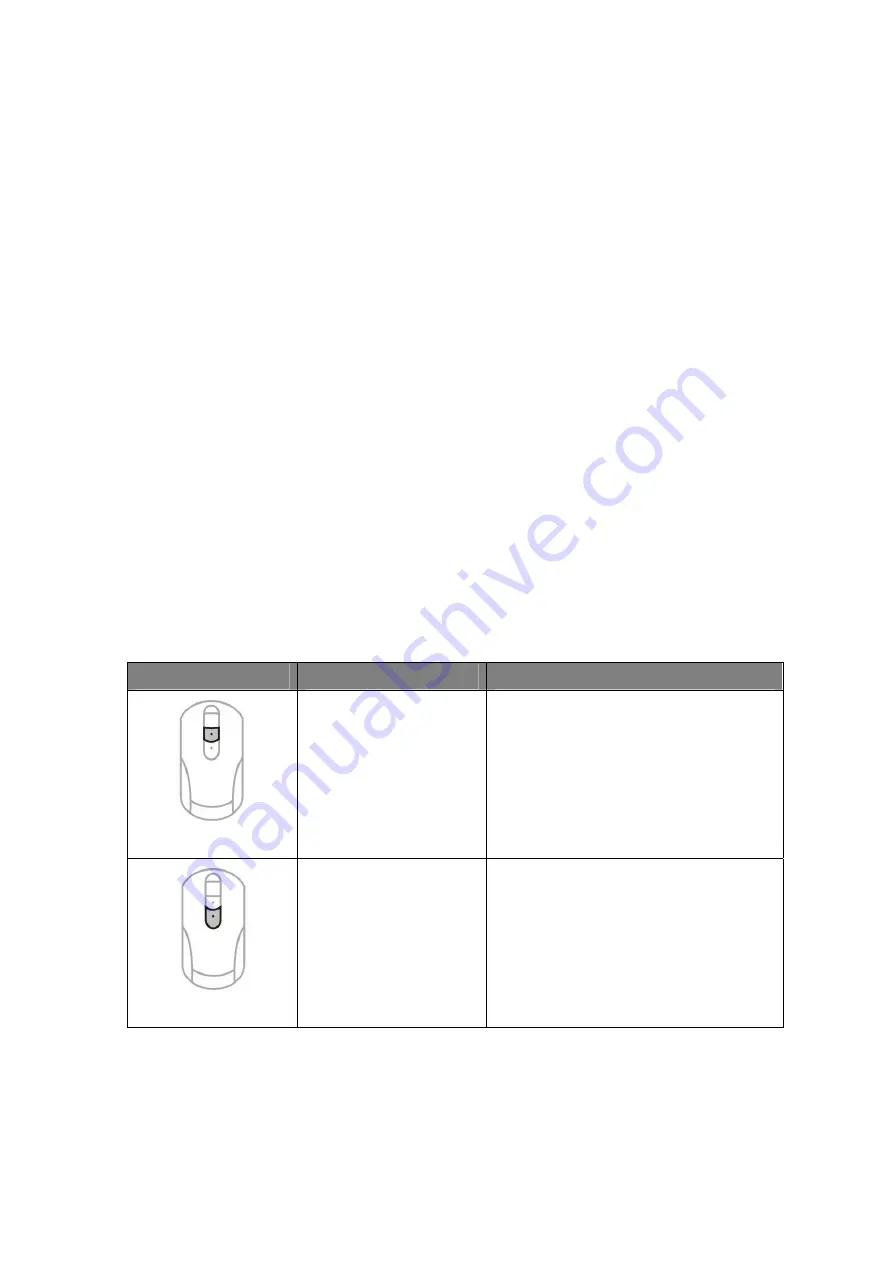
Hot Key Number
1
The default setting for this hot
key is “Forward” between
documents or web pages.
This key can also be reassigned
to a different function. Refer to
Online Help
in the Q-Point™
software for further details.
Hot Key Number
2
The default setting for this hot
key is “Back” between
documents or web pages.
This key can also be reassigned
to a different function. Refer to
Online Help
in the Q-Point™
software for further details.
7. Customizing the Mouse Settings (Optional)
You are able to customize your mouse by using the Q-Point™ software. To start
6