


Touring Your Joybook
1
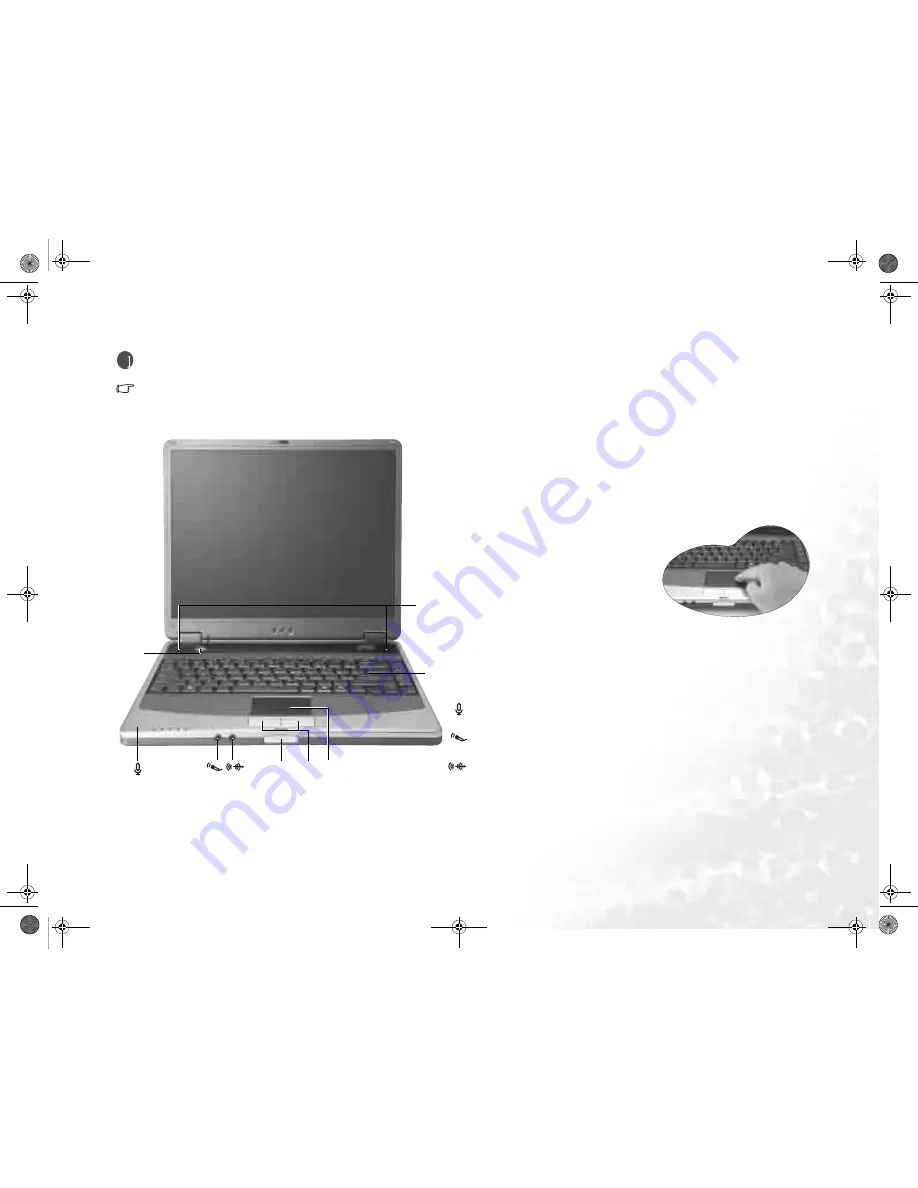
Touring Your Joybook
Depending on the model of your Joybook, the appearance may be different from those shown in this manual.
j
Speakers
Generates sounds from Joybook.
k
Power Button
Turns Joybook on or off.
l
Keyboard
Allows you to input data as well as access various special functions.
m
Touch Pad
You can use the touch pad to conveniently con-
trol the cursor on the screen.
•
To move the cursor, gently move your finger
on the touch pad. The cursor will move
accordingly.
•
Tap on the touch pad once to execute the
same action as clicking on the left button of a
mouse.
•
Tap twice to execute the same action as dou-
ble-clicking.
n
Left and Right Selection Buttons
Equivalent to the left and right buttons on a mouse.
o
Top Cover Switch
Locks the top cover and keeps it closed.
Built-in Microphone
Receives sounds and voices for recording.
External Microphone Connector
Connects to a microphone for recording sounds and voices.
Audio Output Connector
Connects to various audio devices, such as earphones or external speakers for output-
ting sounds and voices from Joybook.
j
k
l
m
n
o
JBR22.fm Page 1 Friday, April 15, 2005 9:59 PM


