


19
Operation
4. If you are prompted for a password, press the arrow keys to enter a 6-digit password. See
the password function on page 20
.
5. Switch all of the connected equipment on.
6. The projector will search for input signals. The current input signal being scanned appears. If the
projector does not detect a valid signal, the message “No Signal” will continue displaying until an
input signal is found.
You can also press
SOURCE
to select your desired input signal. See
Switching input signal on page
Using the menus
The projector is equipped with On-Screen Display (OSD) menus for making various adjustments and
settings.
Below is the overview of the OSD menu.
To access the OSD menu, press
MENU
on the projector or remote control.
• Use the arrow keys ( / / / ) on the projector or remote control to move through the menu items.
• Use
OK
on the projector or remote control to confirm the selected menu item.
• Please use the original accessories (e.g. power cord) to avoid possible dangers such as electric shock and fire.
• The Setup Wizard screenshots are for reference only and may differ from the actual design.
• If the frequency/resolution of the input signal exceeds the projector's operating range, you will see the message
“Out of Range”
displayed on the background screen. Please change to an input signal which is compatible with
the projector's resolution or set the input signal to a lower setting. See
.
• If no signal is detected for 3 minutes, the projector automatically enters saving mode.
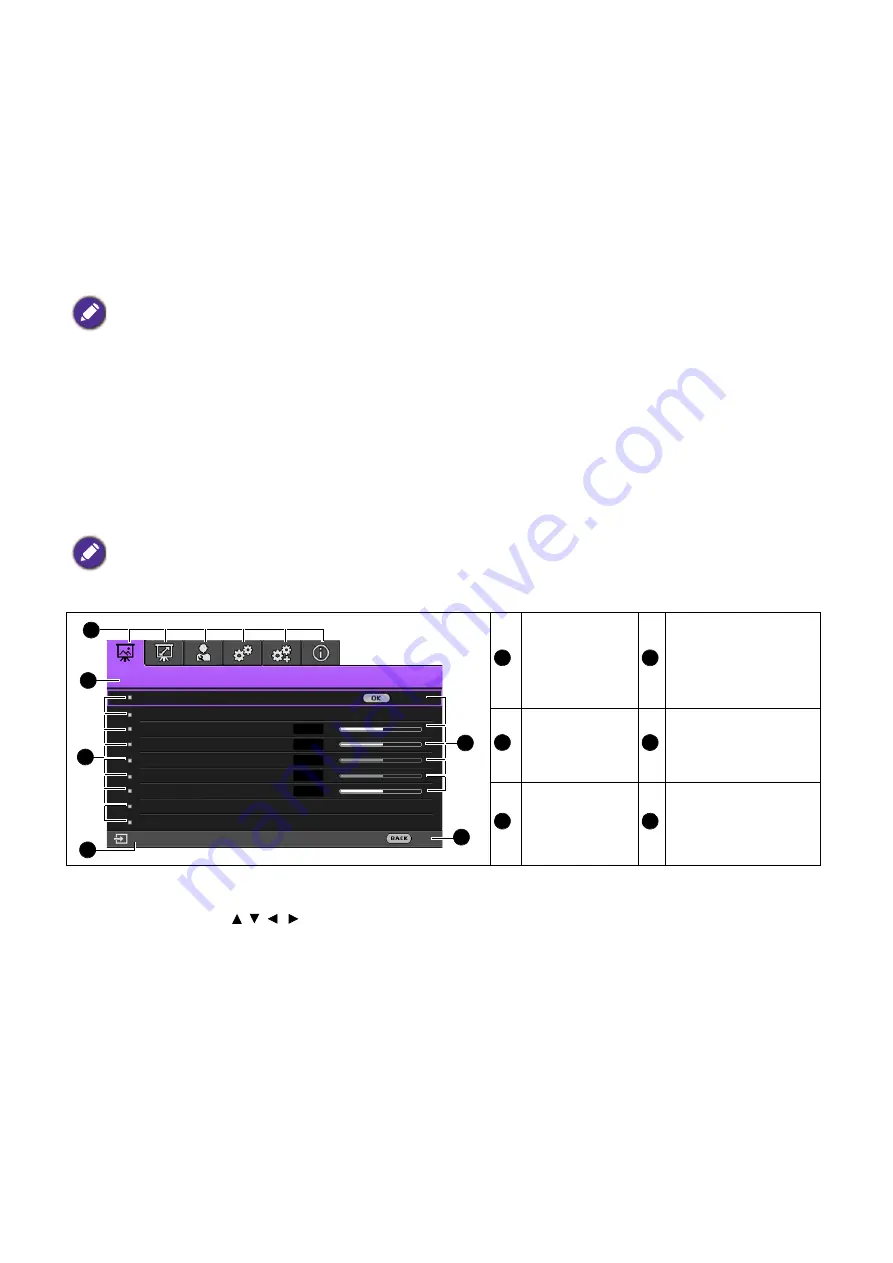
The OSD screenshots below are for reference only, and may differ from the actual design.
Main menu
icon
Current input signal
Main menu
Status
Sub-menu
Press
BACK
to go
to the previous page
or to exit.
PICTURE
Picture Mode
User Mode Management
Contrast
Tint
Sharpness
Advanced
Reset Current Picture Mode
50
50
Exit
PC
Color
Brightness
2
3
1
5
6
50
50
5
4
1
4
2
5
3
6


