background image

  21

  Operation

Securing the projector

Using a security cable lock

The projector has to be installed in a safe place to prevent theft. Otherwise, purchase a lock, such as 
the Kensington lock, to secure the projector. You can locate a Kensington lock slot on the rear side of 
the projector. See item 22 on 

page 8

.

A Kensington security cable lock is usually a combination of key(s) and the lock. Refer to the lock’s 
documentation for finding out how to use it.

Utilizing the password function

Setting a password

1.  Go to 

SYSTEM SETUP: ADVANCED

 > 

Password

. Press 

OK

. The 

Password

 page appears.

2.  Highlight 

Change Password

 and press 

OK

.

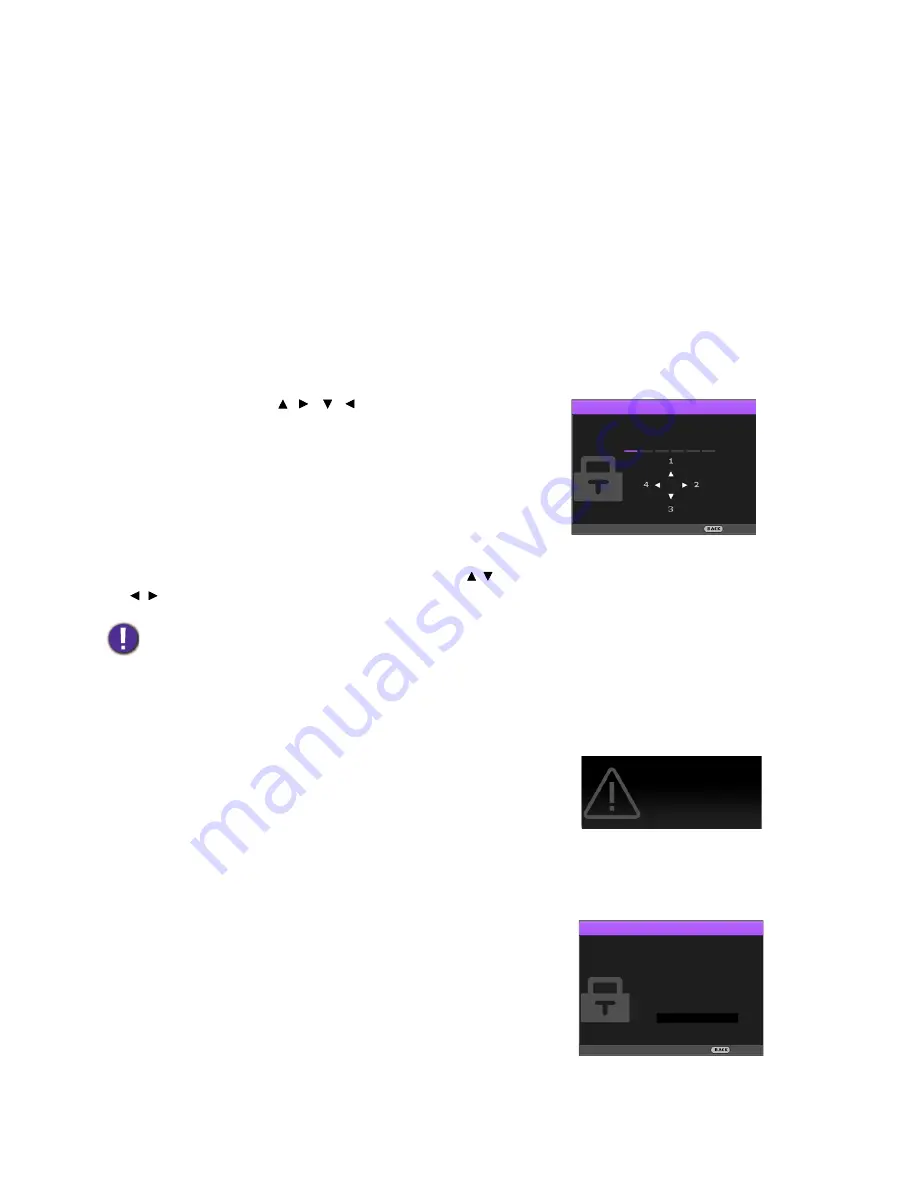
3.  The four arrow keys ( , 

,


) respectively represent 

4 digits (1, 2, 3, 4). According to the password you desire 
to set, press the arrow keys to enter six digits for the 
password.

4.  Confirm the new password by re-entering the new 

password.
Once the password is set, the OSD menu returns to the 

Password

 page.

5.  To activate the 

Power On Lock

 function, press  /  to highlight 

Power On Lock

 and press 

/   to  select 

On

. Input the password again.

If you forget the password

If you enter the wrong password, the password error 
message will appear, and the 

Input Current Password


message follows. If you absolutely do not remember the 
password, you can use the password recall procedure. See 

Entering the password recall procedure on page 21

.

If you enter an incorrect password 5 times in succession, the 
projector will automatically shut down in a short time.

Entering the password recall procedure

1.  Press and hold 

OK

 for 3 seconds. The projector will 

display a coded number on the screen.

2.  Write down the number and turn off your projector.
3.  Seek help from the local BenQ service center to decode 

the number. You may be required to provide proof of 
purchase documentation to verify that you are an 
authorized user of the projector.

• The digits being input will display as asterisks on-screen. Make a note of your selected password and keep it in a 

safe place in advance or right after the password is entered so that it is available to you should you ever forget it.

• Once a password has been set and the power on lock is activated, the projector cannot be used unless the 

correct password is entered every time the projector is started.

Input New Password

Back

Password Error

Please try again.

Please write down the recall code,
and contact BenQ
Customer Center.

Recall Code:

255    255    255    255

Recall Password

Exit

Summary of Contents for HT8050

Page 1: ...HT8050 Digital Projector User Manual V 1 01...

Page 2: ...ave other rights which vary from country to country For other information please visit www BenQ com Copyright Copyright 2016 by BenQ Corporation All rights reserved No part of this publication may be...

Page 3: ...ojector position 14 Adjusting the projected image 15 Connection 16 Operation 18 Starting up the projector 18 Using the menus 20 Securing the projector 21 Switching input signal 22 Shutting down the pr...

Page 4: ...t during operation Allow the projector to cool for approximately 45 minutes prior to removing the lamp assembly for replacement 6 In some countries the line voltage is NOT stable This projector is des...

Page 5: ...ector with a cloth or any other item Do not place inflammables near the projector If the ventilation holes are seriously obstructed overheating inside the projector may result in a fire 13 Always plac...

Page 6: ...pace that is poorly ventilated or confined Allow at least 50 cm clearance from walls and free flow of air around the projector Locations where temperatures may become excessively high such as the insi...

Page 7: ...for your region and may differ from those illustrated The warranty card is only supplied in some specific regions Please consult your dealer for detailed information 1 Spare lamp kit 2 Ceiling mount k...

Page 8: ...l input jack 14 HDMI input port Version 2 0 and its cable tie hole 15 HDMI input port Version 1 4a and its cable tie hole 16 USB Mini B port 17 12 VDC output terminals Trigger external devices such as...

Page 9: ...u 7 I POWER Toggles the projector between standby mode and on 8 AUTO Automatically determines the best picture timings for the displayed image 9 ASPECT Selects the display aspect ratio 10 TEST PATTERN...

Page 10: ...adjustment keys BRIGHT CONTRAST DYNAMIC IRIS COLOR TEMP COLOR MANAGE GAMMA SHARP Displays the setting bars for adjustments of the appropriate picture quality values 16 LIGHT MODE Selects a suitable l...

Page 11: ...d on the table in front of the screen This is the most common way to position the projector for quick setup and portability 2 Front Ceiling Select this location with the projector suspended upside dow...

Page 12: ...8 100 2540 1245 2214 3000 3750 4500 187 110 2794 1370 2435 3300 4125 4950 205 120 3048 1494 2657 3600 4500 5400 224 130 3302 1619 2878 3900 4875 5850 243 140 3556 1743 3099 4200 5250 6300 262 150 3810...

Page 13: ...ector should its attachment to the mounting bracket become loose Ask your dealer to install the projector for you Installing the projector on your own may cause it to fall and result in injury Take ne...

Page 14: ...ercentage of the projected image height or width You can turn the knobs on the projector to shift the projection lens in any direction within the allowable range depending on your desired image positi...

Page 15: ...o optimize the picture quality To do this press AUTO Within 3 seconds the built in Intelligent Auto Adjustment function will re adjust the values of Frequency and Clock to provide the best picture qua...

Page 16: ...each projector model Many notebooks do not turn on their external video ports when connected to a projector Usually a key combo like FN function key with a monitor symbol turns the external display o...

Page 17: ...ht above the connecting port Note that the cable tie cannot be removed from the hole once it is inserted 3 Insert the end of the cable tie to the cable tie ratchet as illustrated 4 Close the cable tie...

Page 18: ...ring to adjust the image clearness 3 If this is the first time you turn on the projector the setup wizard appears to guide you through setting up the projector If you have already done this skip this...

Page 19: ...original accessories e g power cord to avoid possible dangers such as electric shock and fire If the projector is still hot from previous activity it will run the cooling fan for approximately 90 seco...

Page 20: ...e control to move through the menu items Use OK on the projector or remote control to confirm the selected menu item The OSD screenshots below are for reference only and may differ from the actual des...

Page 21: ...e password error message will appear and the Input Current Password message follows If you absolutely do not remember the password you can use the password recall procedure See Entering the password r...

Page 22: ...signal The projector can be connected to multiple devices at the same time However it can only display one full screen at a time When starting up the projector automatically searches for the available...

Page 23: ...ord can be pulled out right after the projector is turned off To protect the lamp wait about 10 minutes before re starting the projector If you attempt to re start the projector the fans may run for a...

Page 24: ...color mode and image quality certified by THX Ltd Silence Minimizes the acoustic noise It is suitable for the need of watching movies that requires an ultra quiet environment so that you won t be dis...

Page 25: ...to set the peak white level after you have previously adjusted the Brightness setting to suit your selected input and viewing environment Color Lower setting produces less saturated colors If the sett...

Page 26: ...to your preference Primary Color Selects a color from among Red Yellow Green Cyan Blue or Magenta Hue Increase in the range will include colors consisted of more proportions of its two adjacent colors...

Page 27: ...ise from fast switching of varied luminance to optimized brightness and contrast The result is picture quality with the utmost picture depth and color performance Noise Reduction Reduces electrical im...

Page 28: ...nly available when the PC signal is selected Projector Position The projector can be installed on a ceiling or behind a screen or with one or more mirrors See Choosing a location on page 11 Test Patte...

Page 29: ...nd you use the High Altitude Mode when your environment is between 1500 m 3000 m above sea level and ambient temperature is between 0 C 30 C Operation under High Altitude Mode may cause a higher decib...

Page 30: ...GB 0 255 Limited Range Utilizes the Limited range RGB 16 235 CEC When you connect an HDMI CEC compatible device to your projector with an HDMI cable turning on the HDMI CEC compatible device automatic...

Page 31: ...ll Settings Returns all settings to the factory preset values The following settings will still remain Picture Mode User Mode Management Brightness Contrast Color Tint Sharpness Advanced Projector Pos...

Page 32: ...stains moisten a soft cloth with water and a neutral pH detergent Then wipe the case Storing the projector If you need to store the projector for an extended time please follow the instructions below...

Page 33: ...life and decreases the fan noise SmartEco Adjusts the lamp power automatically depending on the content brightness level The apparent brightness of the projected image will vary depending on the ambi...

Page 34: ...has shattered into sharp pieces To reduce the risk of injuries to fingers and or compromising image quality by touching the lens do not touch the empty lamp compartment when the lamp is removed This l...

Page 35: ...ector 13 Slide it back into position 14 Connect the power and restart the projector Pulling it too quickly may cause the lamp to break and scatter broken glass in the projector Do not place the lamp i...

Page 36: ...P ADVANCED Lamp Settings and press OK The Lamp Settings page appears Highlight Reset Lamp Timer and press OK A warning message is displayed asking if you want to reset the lamp timer Highlight Reset a...

Page 37: ...ide the desired speed Fan 2 error the actual fan speed is 25 outside the desired speed Fan 3 error the actual fan speed is 25 outside the desired speed Fan 4 error the actual fan speed is 25 outside t...

Page 38: ...ce Temperature 2 error over limited temperature Thermal Sensor 2 open error Thermal Sensor 2 short error Thermal IC 2 I2C connection error Off Orange On Green On Red On Orange Flashing Green Flashing...

Page 39: ...l has not been correctly selected Select the correct input signal with the SOURCE key The lens cover is still closed Open the lens cover Blurred image Cause Remedy The projection lens is not correctly...

Page 40: ...consumption 384 W Max 0 5 W Standby Mechanical Weight 14 8 Kg 32 6 lbs Output terminals 12V DC x 2 Control RS 232 serial control 9 pin x 1 IR receiver x 2 Input terminals Computer input RGB input D S...

Page 41: ...64 995 41 467 51 419 1280 x 720 1280 x 720_60 60 45 000 74 250 1280 x 768 1280 x 768_60 59 870 47 776 79 5 1280 x 800 WXGA_60 59 810 49 702 83 500 WXGA_75 74 934 62 795 106 500 WXGA_85 84 880 71 554...

Page 42: ...000 74 250 1280 x 768 1280 x 768_60 59 870 47 776 79 5 1280 x 800 WXGA_60 59 810 49 702 83 500 WXGA_75 74 934 62 795 106 500 WXGA_85 84 880 71 554 122 500 WXGA_120 Reduce Blanking 119 909 101 563 146...

Page 43: ...50 37 5 74 25 720 60p 1280 x 720 60 45 00 74 25 1080 24P 1920 x 1080 24 27 74 25 1080 25P 1920 x 1080 25 28 13 74 25 1080 30P 1920 x 1080 30 33 75 74 25 1080 50i 1920 x 1080 50 28 13 74 25 1080 60i 19...

Reviews: