On-Screen Display (OSD) Menu
28
En
gli
sh
Picture Mode Settings
1. Press the MENU button on your remote control or the MENU button on the display to
display the OSD menu.
2. Press the or button to select Picture and press the OK button to enter the submenu.
3. Select an option (Contrast, Brightness, Color, Tint...) from the Picture menu to adjust your
favorite image quality.
4. Press the or button to select Advanced Picture Settings, and press the OK button to
enter the submenu.
5. Press the or button to select Save Settings and press the OK button.
6. Press the or button to select To Personal 1 or To Personal 2 and then press the OK
button to confirm.
Selecting a Picture Mode
1. Press the MENU button on your remote control or the MENU button on the display to
display the OSD menu.
2. Press the or button to select Picture and press the OK button to enter the submenu.
3. Press the or button to select Advanced Picture Settings, and press the OK button to
enter the submenu.
4. Press the or button to select Picture Mode, and press the or button to select a
picture mode you desire.
5. Press the MENU button to close the menu.
You can also press the
(Picture mode) button on the remote control to switch to the picture
mode you want directly.
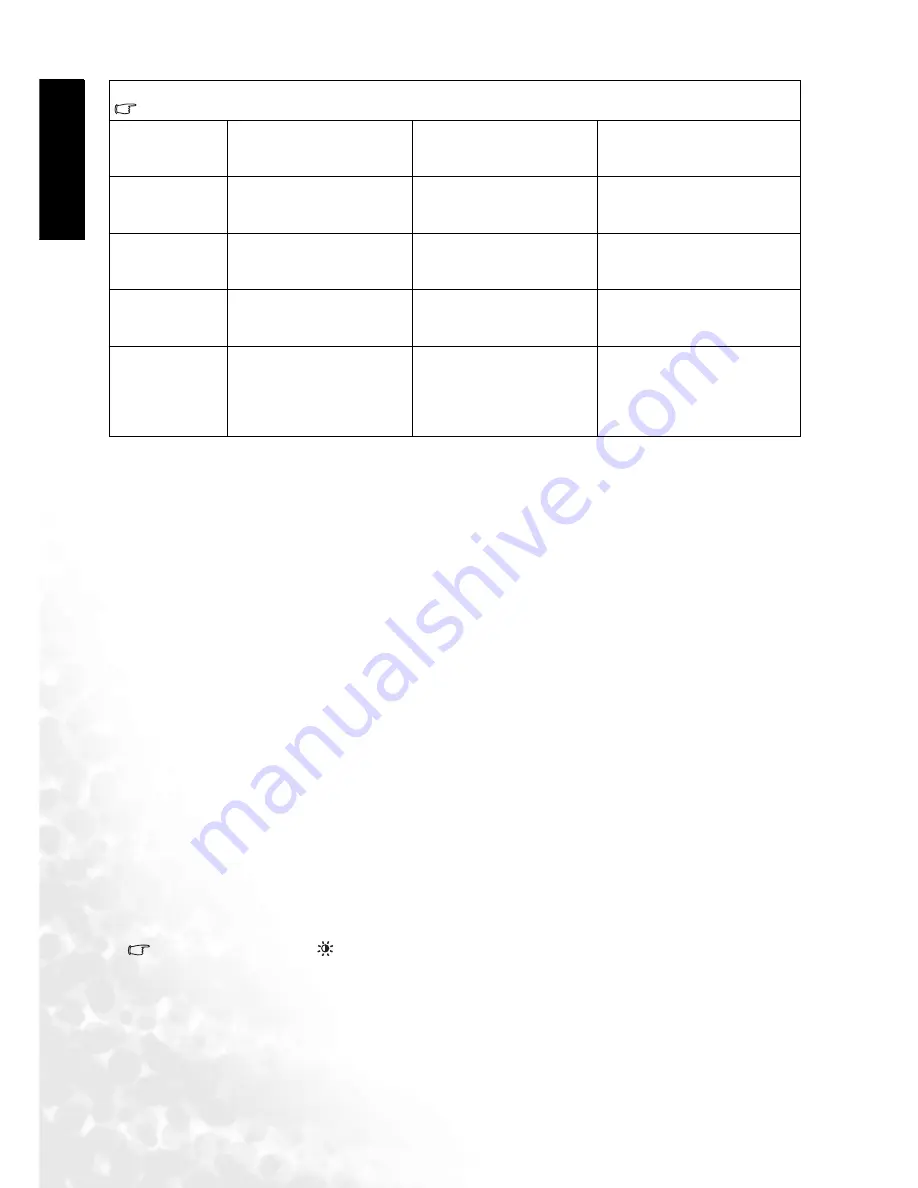
Color Enhancement - Press OK to enter.
This option will become unavailable if the ACE option is set to High, Middle or Low.
Red
Adjust red in image.
for more red concen-
tration, for less red
concentration.
0 to 30
Green
Adjust green in image.
for more green concen-
tration, for less green
concentration.
0 to 30
Blue
Adjust blue in image.
for more blue concen-
tration, for less blue
concentration.
0 to 30
Yellow
Adjust yellow in image.
for more yellow con-
centration, for less yel-
low concentration.
0 to 30
Save Settings Two different user profiles
can be set.
Press or buttons to
select the user situation
preset Personal 1 or Per-
sonal 2. Then press OK to
save your current settings.
• To Personal 1
• To Personal 2


