Using the Camera
9
En
gl
is
h
3.1.8 Using the self-timer
The self-timer can be used in situations such as group shots. When using this option, you
should either mount the camera on a tripod (recommended) or rest it on a flat surface.
The self-timer duration can be set as 2 , 10 seconds or 10+2 seconds. After the self-timer is
set, the shutter automatically releases after 2 , 10 seconds or 10+2 seconds.
1. Secure the camera to a tripod or place it on a stable surface.
2. Slide the lens cover to turn on the camera.
3. Set the [Scene] mode in the [Capture] menu based on the desired scenery.
(Auto / Sports / Night Scene / Portrait / Landscape / Backlight)
4. Toggle the [
] button until the desired self-timer mode appears on the LCD monitor.
5. Compose your image.
6. Press the shutter button.
•
To cancel the self-timer photography at any time, press the [
] button to disrupt the
sequence.
•
After one shot is taken, the self-timer will be turned to OFF.
3.1.9 Using the digital zoom function
Using the digital zoom, images appear closer. Whereas digital zoom is a compelling feature,
the more an image is enlarged (zoomed), the more pixelated (grainier) the image will appear.
1. Set the [Scene] mode in the [Capture] menu based on the desired scenery.
(Auto / Sports / Night Scene / Portrait / Landscape / Backlight)
2. Press the [
] button to activate the zoom function.
•
The digital magnification ranges from 1X to 2X to 4X.
•
To exit the digital zoom, press the [
] button again and return to the capture sta-
tus.
3. Press the shutter button to capture a zoomed image.
•
The digital zoom cannot be used in Video mode [
].
3.1.10 Capture mode menu settings
3.1.10.1
Capture menu
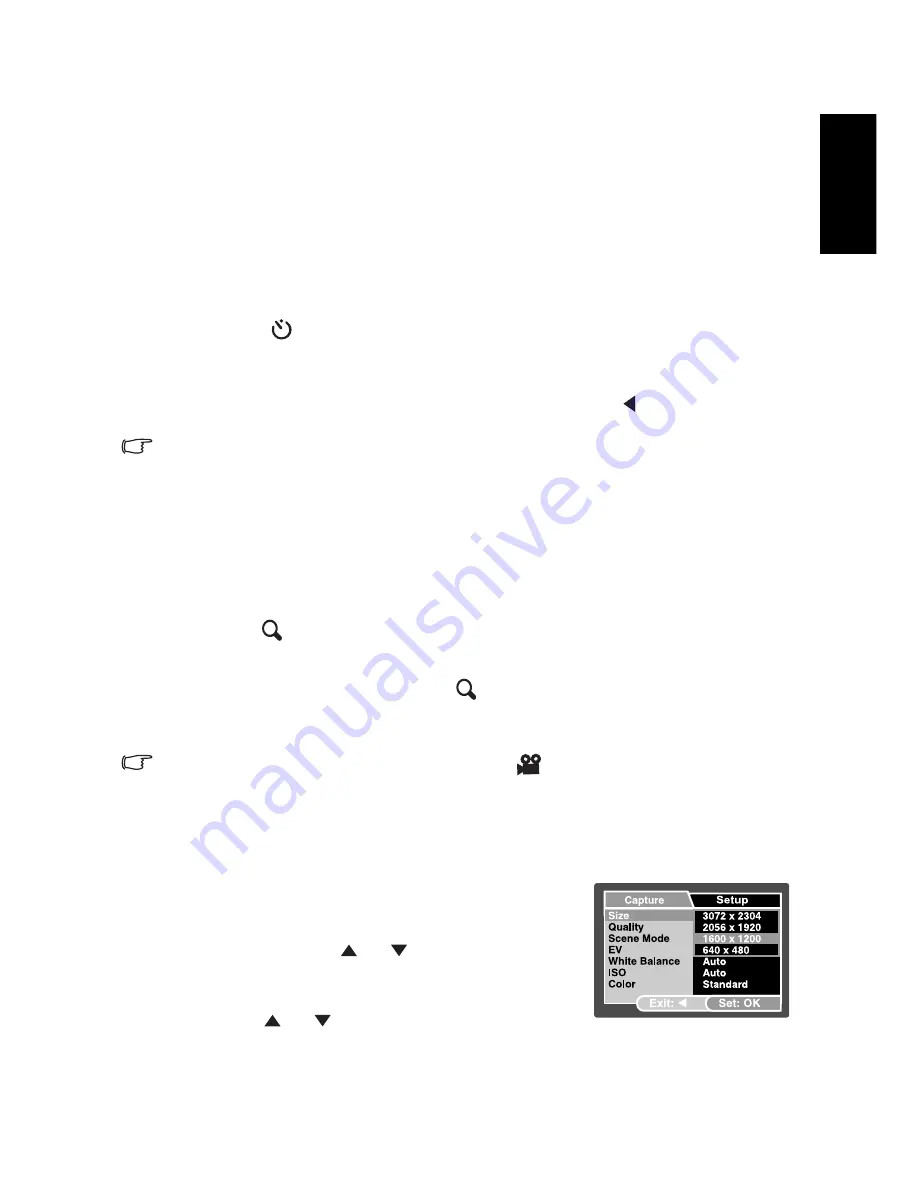
This menu is for the basic settings to be used when taking
still images.
1. Press the
MENU
button and then scroll through the
options by using the [
] / [
] button.
2. Press the
OK
button to enter the sub-menu.
3. After entering the sub-menu, select your option by
using the [
] / [
] button.
4. Press the
OK
button to confirm the setting.


