14
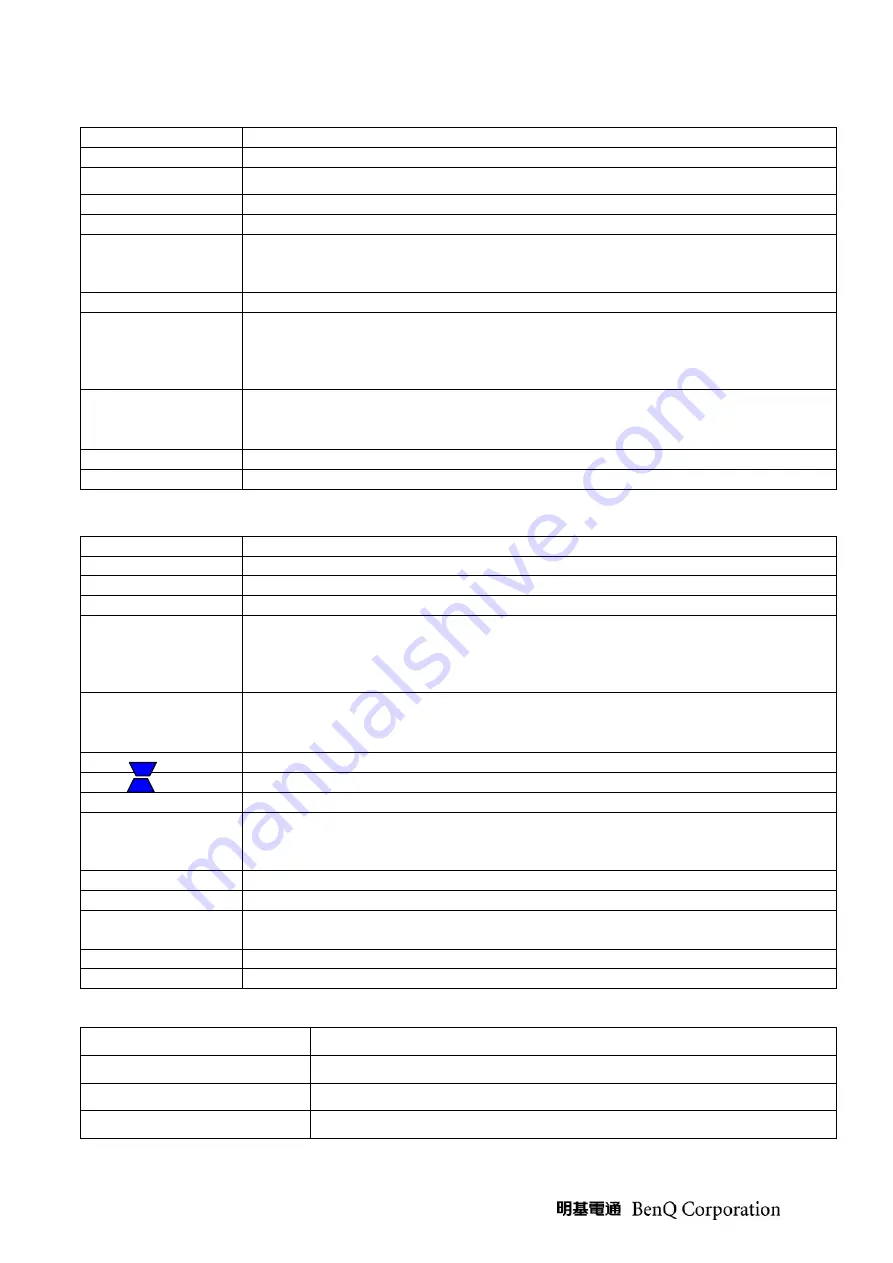
Local Keyboard Description (Detailed description refer to SW Specification)
Key Name
Detailed Description
Power
Use this button to turn your Data Projector on and off (standby mode).
Source
To select input sources as Computer, Video, S-Video, YpbPr
Auto
Toggle auto-tracking image function
Blank
Press “Blank” key first to blank the screen
Mode/Enter
(1) When there is no OSD menu, this bottom is Mode hot key; user would press
this bottom to choose one of preset modes
(2) When there is confirm message, user could press this key to confirm
Menu/Exit
Press this key to open/exit the OSD menu
Right/Panel Key
Lock
(1) When user press the bottom once, it will enter “Panel Key Lock” setting
(2) When panel key is locked, user could press this key for 3 seconds to release
Panel Key Lock
(3) When there is OSD menu, user can press this key to move to right item
Left/Q?
(1) When user presses the bottom once, it would show main "Information"
menu; and then user could press
▲▼
to choose questions group.
(2) If there is OSD menu, user can press this key to move to the left item
Up
(1) Move item bar. (2) Move to page level. (3) K.
Down
(1) Move item bar. (2) Move to page level. (3) Keystone-.
Remote Control Keys Description (Detailed description refer to SW Specification)
IR-Key Name
Detailed Description
Power
Use this button to turn your Data Projector on and off (standby mode).
Source
To select input sources as Computer, YPbPr , Video, S-Video
Menu/Exit (1)
OSD pop-up. (2) Move next item
4
/ Panel Key Lock
(1) When user press the bottom once, it will enter “Panel Key Lock” setting
(2) When panel key is locked, user could press this key for 3 seconds to release
Panel Key Lock
(3) When there is OSD menu, user can press this key to move to right item
3
/ Q?
(1) When user presses the bottom once, it would show main "Information"
menu; and then user could press
▲▼
to choose questions group.
(2) If there is OSD menu, user can press this key to move to the left item
5
(1) Move item bar. (2) Move to page level. (3) K.
6
(1) Move item bar. (2) Move to page level. (3) Keystone-.
Auto
Toggle auto-tracking image function
Mode/Enter
(1) When there is no OSD menu, this bottom is Mode hot key; user would press
this bottom to choose one of preset modes
(2) When there is confirm message, user could press this key to confirm
Freeze
This button will freeze a picture. Press again to resume motion.
Blank
Press “Blank” key first to blank the screen.
Timer
Call out the “Presentation Timer” setup OSD and user can set timer to remind
presenter.
Digital Zoom in
By press this key, the center of picture can be magnified gradually.
Digital Zoom out
By press this key, the size of the magnified image will be reduced.
External Status indicator
LED Name
Detailed Description
Power LED
Display the power on/off sequence status
Lamp Status LED
Display the Lamp status (Lamp fail, Lamp spoil etc.)
Temperature Status LED
Display the Thermal status (Fan Fail, Over Temperature, etc.)
Summary of Contents for 9H.Y1277.000
Page 18: ...18 CTN LBL PRINTING For BQA CTN LBL PRINTING For BQE...
Page 19: ...19 CTN LBL PRINTING For BQP...
Page 20: ...20 CTN LBL PRINTING For BQC...
Page 21: ...21 SPEC LBL PRINTING 1 SPEC LBL PRINTING For BQE BQA BQP 2 SPEC LBL PRINTING For BQC...
Page 22: ...22 LAMP LBL PRINTING For BQC...
Page 31: ...31...
Page 39: ...39 2 Overfill adjustment As the picture below adjust light pipe to keep overfill image center...
Page 44: ...44...
Page 45: ...45 Module 2 ASSY UPPER CASE...
Page 46: ...46 Module 3 ASSY LOWER CASE...
Page 47: ...47 Module 4 ASSY FRONT CASE...
Page 63: ...63 Fig 6 4 Fig 6 5 Fig 6 6 Fig 6 7 Clip UP CM Sponge...
Page 75: ...75 9 Bracket Power BD assemble concern 9 1 8F VG564 8R0 3 for BKT Power BD and Lower Case 8 3...
Page 86: ...86 Chapter 3 Power Trouble Shooting Guide...
Page 87: ...87...
Page 91: ...91...


