6
2. Additional Features
2.1 Write/Delete Switch
On the side of the USB Flash Drive is a small dipswitch, which allows you to protect data from accidental erasure. Use a
small paper clip or similar object to slide the switch from the left (unlocked) position to the right (locked) position. When in
the locked position, the drive will not allow copying to or erasing of the contents on the drive. For additional protection, see
the Password Protection Feature below.
2.2 Password Protection Feature:
The Password Protection Feature allows you to select a one to four-digit password which must be used before the USB
Flash Drive will function. If this capability is installed, you must enter the correct password each time the drive is accessed.
Before you install the password protection feature, make sure you have a back up of any data on the drive.
2.3 Enabling Password Protection
1. Plug-in USB Flash Drive into any available USB port.
2. Insert the Installation Disk into the CD Drive. If it doesn’t open automatically, go to the desktop and double click “My
Computer” then double click your CD drive.
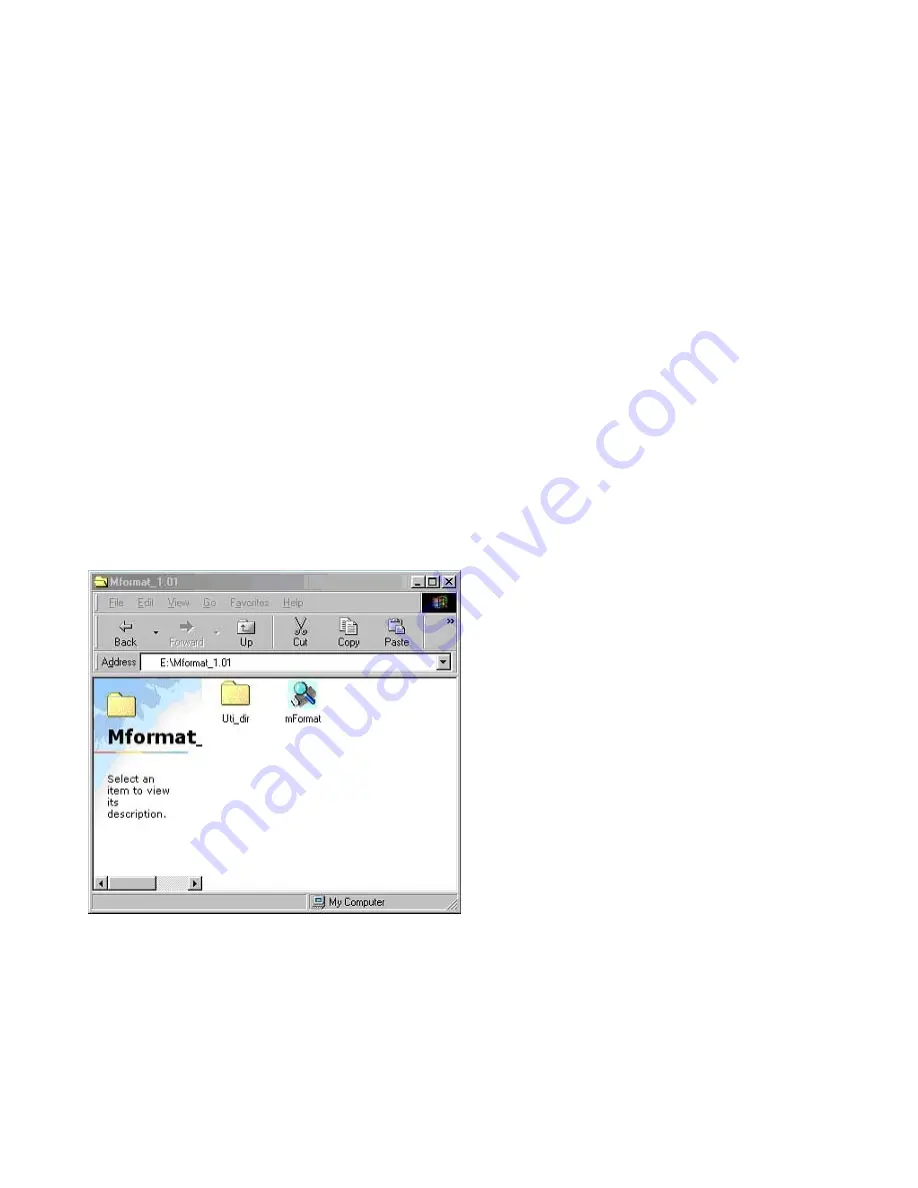
3. Double click on the folder “Mformat_1.01.”
4. Double click on the icon “mFormat” as shown below.


