Installation MACH4002
Release 16 03/2021
45
2.6
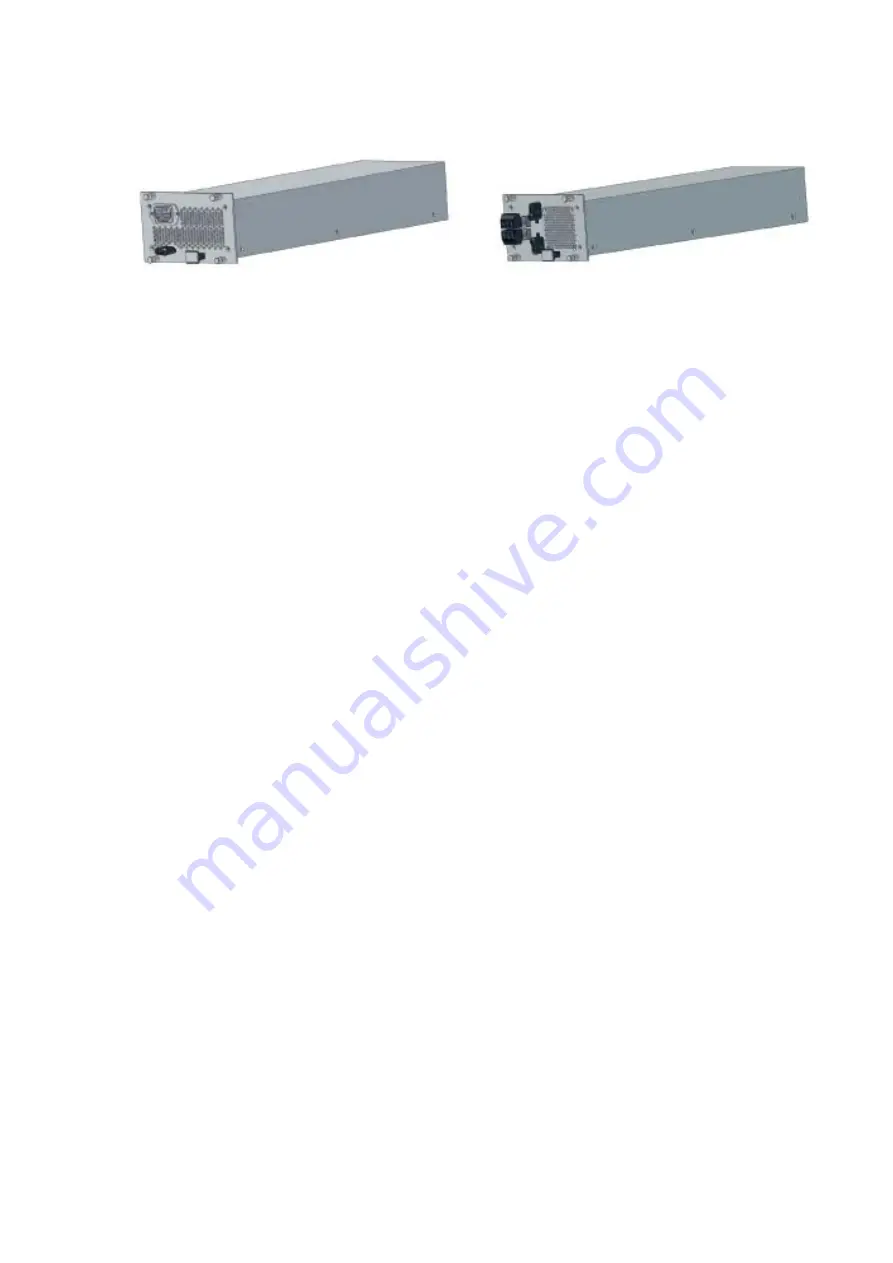
Installing the plug-in power units in the
M4-POWER power unit chassis
When replacing a defective plug-in power unit, only use a plug-in power unit
of the M4-P-... 300W type
(see on page 65 “Order numbers/product
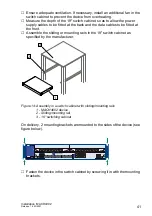
Remove the power supply cables.
Loosen the four screws used to fasten the plug-in power unit in the basic
device and pull the unit out of the basic device, or remove the cover plate
of the power unit slot.
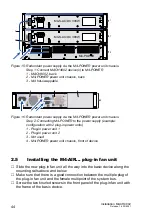
Slide the new plug-in power unit all the way into the basic device along
the mounting rails above and below.
Make sure that there is a good connection between the multiple plug of
the plug-in power unit and the female multipoint of the system bus.
Screw the slotted-head screws in the front panel of the plug-in power unit
flush with the frame of the basic device.
Connect the power supply cables.
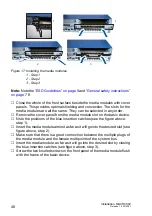
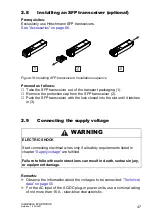
Note:
The tightening torque:
0.79 Nm (7 lb-in) for input connections.
1.24 Nm (11 lb-in) for input connections.
2.7
Installing media modules
The switch has 4 inputs for connecting media modules.
The number of connectible network segments depends on the number of
media modules installed. If the full 4 media modules with 8 ports each are
connected, then in addition to the ports of the basic board, you get a further
32 ports for connecting network segments.
The modular design of the device allows you to easily expand the network
yourself by installing the desired media modules.
The media modules can be installed in the devices, or de-installed, while the
network is operating (hot-swappable).
Summary of Contents for Hirschmann MACH4002 Series
Page 71: ...Installation MACH4002 Release 16 03 2021 71 ...
Page 72: ......

