background image

waiting could affect viability counts.  However, as sensitivity to temperature and pH will vary
for each cell line you may want to run controls before making a large number of samples.

The Vi-Cell user manual will be located on the shelf above the instrument at all times.  Please
consult the manual or the software help function if you have any questions.  If these sources do
not provide the info you need, then please contact Catherine ([email protected] or 8-9488).

This is a very expensive instrument and it will be heavily used by many different lab members so
please take good care of the Vi-Cell and follow all of the operating procedures

The Software

Click on the Vi-Cell icon on the desktop to begin the software.

You will then need to login to the program with your user ID and password provided by the
system administrator.

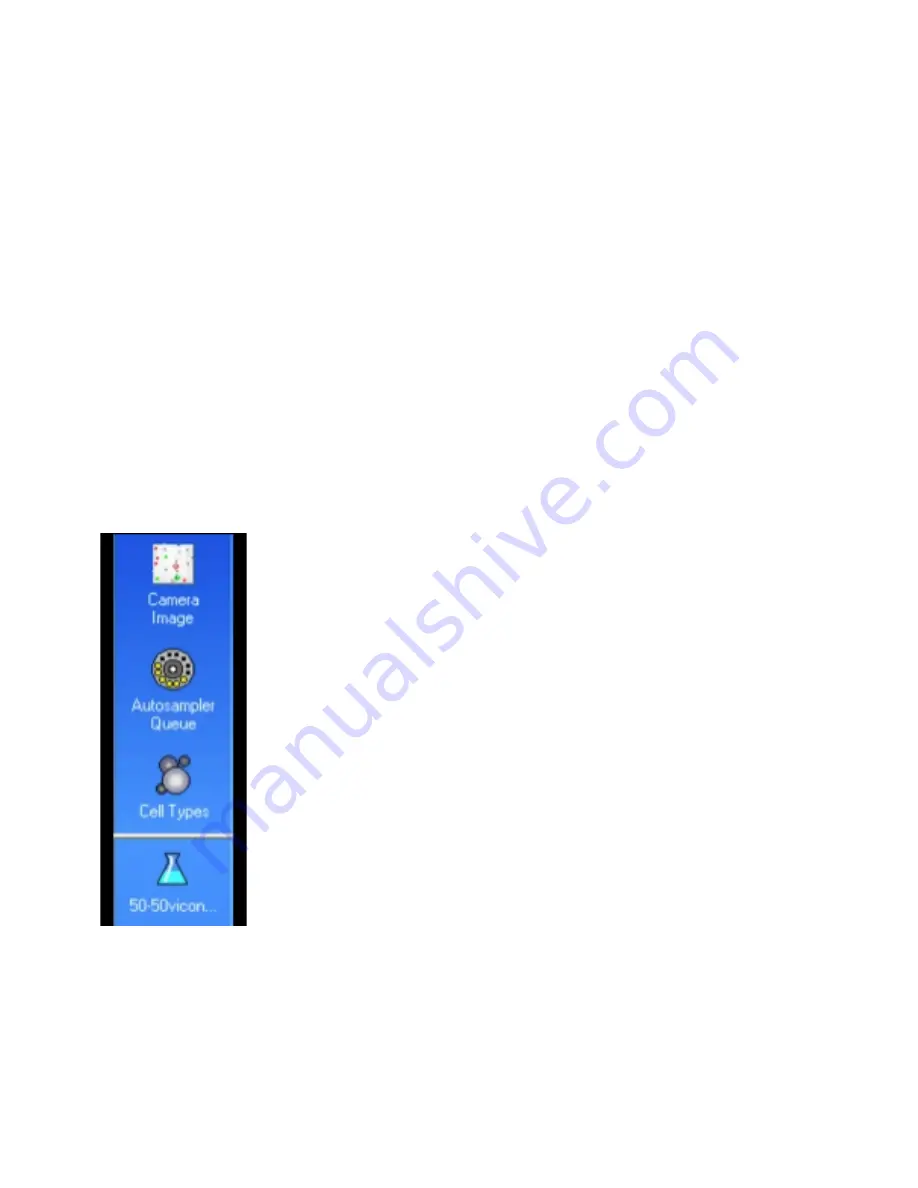
Use the

 Navigation Bar

 on the left side to determine what is displayed in the main window.

Camera Image

 – allows for the viewing of sample images during and after

a run

Autosampler Queue

 – shows the completed samples along with the list of

samples in the queue, this is where you can modify/remove samples that are
already in the queue

Cell Types

 – displays windows with the information for each specific cell

type; this is where you create or remove new cell types

Bioprocess

 – the last icon represents a bioprocess; there can be many of

these icons that each represents an ongoing experiment in which data is
collected over days or months  (for more details of setting up bioprocesses
see pg. 49 in the user manual.

Running a Sample

All reagents including the trypan blue are internal to the instrument so all you need is your cell
solution to get started.  Sample cups are located on the shelf above the instrument.

Cell samples can be suspended in any of the following solutions: PBS, isoton (liquid used
with old cell counter), or media (even if it contains phenol red).

  See system specs to ensure

you will be within the necessary volume and cell concentration ranges.

Summary of Contents for Vi-Cell XR

Page 1: ...tem administrator In addition everyone will be given a user account and password to log on to the instrument There will be a main system log in which user activity will be recorded So if you allow someone else to use your account then you will be the responsibility party in the use log if something happens to the instrument UROPs will not be given user accounts and will be the responsibility of th...

Page 2: ...isplayed in the main window Camera Image allows for the viewing of sample images during and after a run Autosampler Queue shows the completed samples along with the list of samples in the queue this is where you can modify remove samples that are already in the queue Cell Types displays windows with the information for each specific cell type this is where you create or remove new cell types Biopr...

Page 3: ...ue to enter samples so it saves time to start the queue first 5 From the navigation menu choose Autosampler queue to see your samples in the queue From this screen you can also edit remove samples in the queue while a run is in progress 6 Click on Start queue to begin sample analysis Once the run begins your sample will disappear from the queue and you will only see it on the main screen The botto...

Page 4: ...roll down to click on reanalyze At this point the default cell type window will open up and you can adjust the necessary parameters and click ok The cell images will then be analyzed using the new parameter values and the data will be displayed on the right side of the screen Reanalyzing a sample does not overwrite the original data and the new data is not automatically saved So you need to choose...

Page 5: ...spending your cells in a solution that is also hazardous you need to write that information on the waste card as well every time you use the cell counter As for the instrument reagents these will be ordered from Beckman Coulter by the lab manager and stocked near the instrument Only the Beckman Coulter reagents are compatible with this instrument Do NOT use any other brand of trypan blue If we are...

Page 6: ...ed on spot brightness spot area Live Cell Reject Non Circular Objects Separate Cells from Background Based on brightness sharpness Vi CellXR Cell Image Analysis Scheme Not Viable Debris Meets Min Circularity Viable Decluster Cells Dead Cell ...

Page 7: ...delete a cell type 2 choose File from toolbar then click on Image Reanalyze and you will be given the option to add modify or delete a cell type 3 choose Instrument Reanalyze from toolbar then you will be given the option to add modify or delete a cell type Sample Prep Options Parameter Range Default Details Aspiration Cycles 1 to 7 3 of times sample is mixed in syringe set according to cell sensi...

Page 8: ...o include more objects Increase to include less objects Spot Brightness 75 Determines cell viability Increase value more cells counted as dead Decrease value more cells counted as live Spot Area 1 20 5 Ratio of the bright spot to total area Determines cell viability Increase value more cells counted as dead Decrease value more cells counted as live Minimum Circularity 0 0 5 0 Excludes dead cells s...

Reviews: