BDS AirMAB 5000 Operating Instructions Manual Download Page 8

7

Safety

AirMAB 5000

GB

 WARNING

Do not put your hand into the ma-


chine while it is in operation. Remove 
swarf only when the machine is at 
a standstill. Wear protective gloves 
when removing swarf.

When working on scaffolding, the op-


erator must be secured with a safety 
belt as the machine can oscillate 
dangerously in the event of failure of 
the compressed air supply.

Check for secure clamping of the 


magnets on the substrate before 
every use (see 

Preparation

 section).

Secure the machine with the safety 


chain (D) supplied when working in 
an inclined or vertical position and 
during overhead work. The machine 
could fall down when the magnet is 
released.

Check that the tool is tightened 


securely before using (see 

Inserting 

the tool

 section).

Do not allow the compressed air line 


to hang over edges (trip wire effect).

Preventing damage

 CAUTION

Potential damage to property if the 
machine is improperly used!

Observe the following instructions to 
avoid property to damage:

Only use the prescribed air quality, air 


quantity and operating pressures for 
compressed air supply (see section 

Preparing).

Always carry the machine by the 


handle.

 CAUTION

Do not crush the compressed air line.


Do not expose the compressed air 


line to heat or chemical liquids.

Do not pull the compressed air line 


across sharp edges or hot surfaces.

Lay the compressed air line in such 


a way that it cannot be caught and 
wound up in the rotating part of the 
machine.

Safety appliances

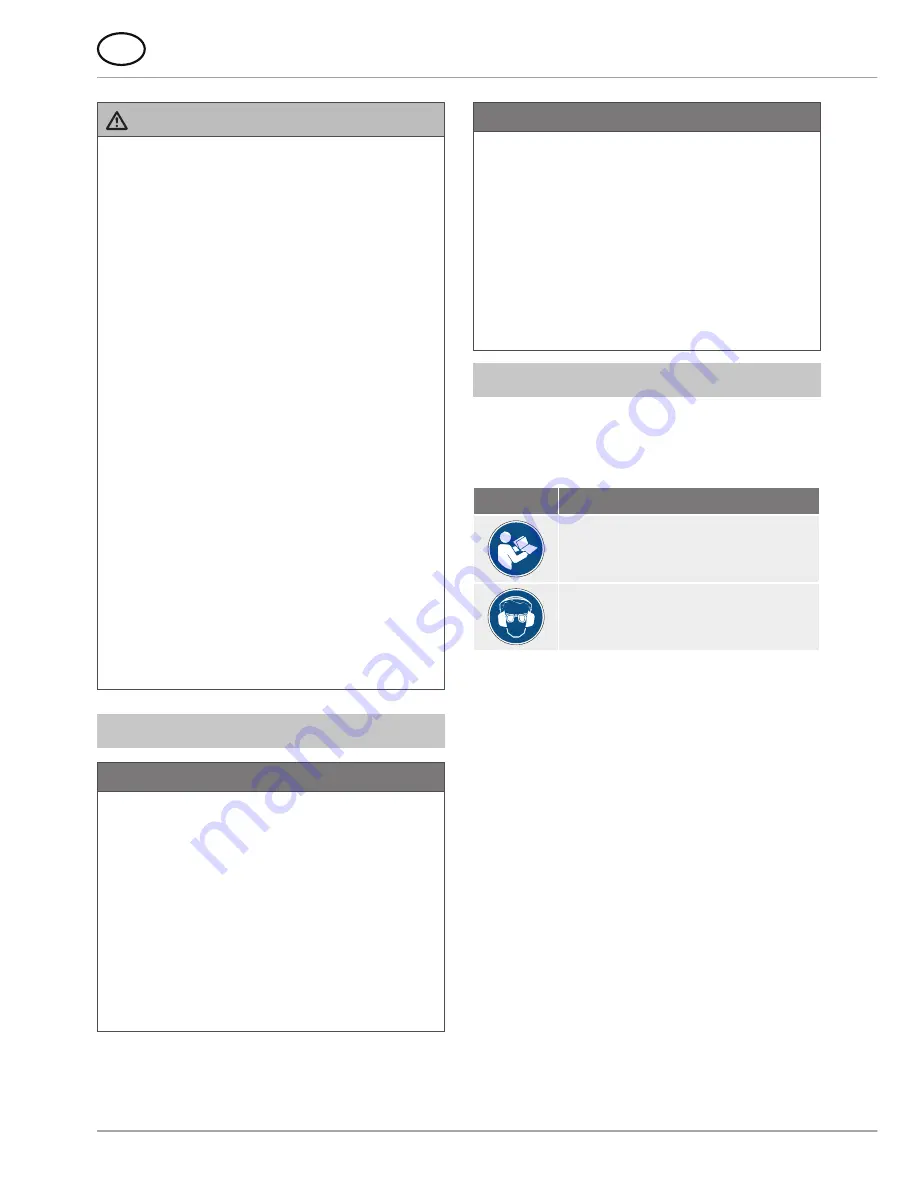
Symbols on the machine

The symbols on the machine have the fol-
lowing meaning:

Symbol

Meaning

Read the operating instructions 
before beginning work!

Wear protective goggles and 
ear protection!

Summary of Contents for AirMAB 5000

Page 1: ...AirMAB 5000 Original Operating Instructions GB...

Page 2: ...8 5 4 2 1 6 3 7 9 10 11 12...

Page 3: ...21 A B C 20 22 23...

Page 4: ...nting in whole or in part and the reproduction of the illustrations even in modified form is only permitted with the written approval of the manufacturer Liability disclaimer All technical information...

Page 5: ...on that simplifies the use of the machine Intended use The machine is intended solely for drilling operations in magnetic and non magnetic metals within the limits specified in the technical data Any...

Page 6: ...in and the function of the operating elements of the machine Only allow repairs to the machine to be carried out by an authorised workshop or customer service Unqualified repairs can lead to considera...

Page 7: ...NG Risk of injury from motor starting unintentionally Pay attention to the following safety notes to avoid danger from motor starting unintentionally To completely stop the motor Move the motor switch...

Page 8: ...ng the tool section Do not allow the compressed air line to hang over edges trip wire effect Preventing damage CAUTION Potential damage to property if the machine is improperly used Observe the follow...

Page 9: ...r head against falling objects Wear a harness where there is a danger of falling Gloves for protection against injuries Components delivery contents Machine overview 1 Core drill not supplied as stand...

Page 10: ...e machine must be secured to prevent it from falling using the safety chain B supplied Check the safety chain for proper function before every use A dam aged safety chain must not be used Replace a da...

Page 11: ...kness steel an additional steel plate minimum dimensions 100 x 200 x 20 mm must be placed under the workpiece Secure the steel plate to prevent it from falling NF metals or workpieces with an uneven s...

Page 12: ...g the tool Insert the ejector pin C into the ejector pin holder of the spindle taper MK2 3 Lever out the tool with the ejector pin C or loosen the tool by tapping against the ejector pin Using the dri...

Page 13: ...outside sleeve and pull the tool down out of the chuck Compressed air supply Perfect function and performance of the drive unit depends on the air quality and the quantity of air supplied The followin...

Page 14: ...n Disconnect the compressed air sup ply Drilling with the machine Drilling with core drills When drilling with core drills proceed as follows Mount the KEYLESS quick change drill chuck system A Instal...

Page 15: ...tool parts or swarf Put protective gloves on before start ing work Blockages caused by a broken tool Switch the machine off using the mo tor switch Leave the magnetic clamp switched on Disconnect the...

Page 16: ...chine Clean the guide of the machine slide Put the machine and accessories into the transport case Maintenance WARNING Danger caused by unqualified repairs Unqualified repairs can lead to consider abl...

Page 17: ...t connected Connect the compressed air supply Compressed air supply not switched on Switch on the compressed air supply Compressed air supply not sufficient Check the compressed air supply and set up...

Page 18: ...foot L x W x H 90 x 190 x 60 mm Approx net weight 17 5 kg Motor power 830 W Nominal torque 27 Nm Air consumption 1000 l min Noise emission 96 db A Vibration 1 55 m s Stroke 160 mm Core drill short max...

Page 19: ...ve 2006 42 EC on machinery The following harmonised standards were applied in whole or in part DIN EN ISO 12100 2010 DIN EN ISO 11148 3 2013 Responsible person for documentation according to EC Direct...

Reviews: