8. Electrical Installation
THE VECTOR PLASMA MUST BE INSTALLED BY QUALI-
FIED PERSONNEL ONLY. This equipment utilizes a stan-
dard 110-120 V 50/60 Hz electrical supply outlet with
grounding pin. The supply must be properly grounded. For
safe operation, it is recommended that the electrical outlet
be fused at 3 A. If in doubt, consult a qualified electrician to
verify the presence of ground. Reference the section titled
“Grounding Instructions.”
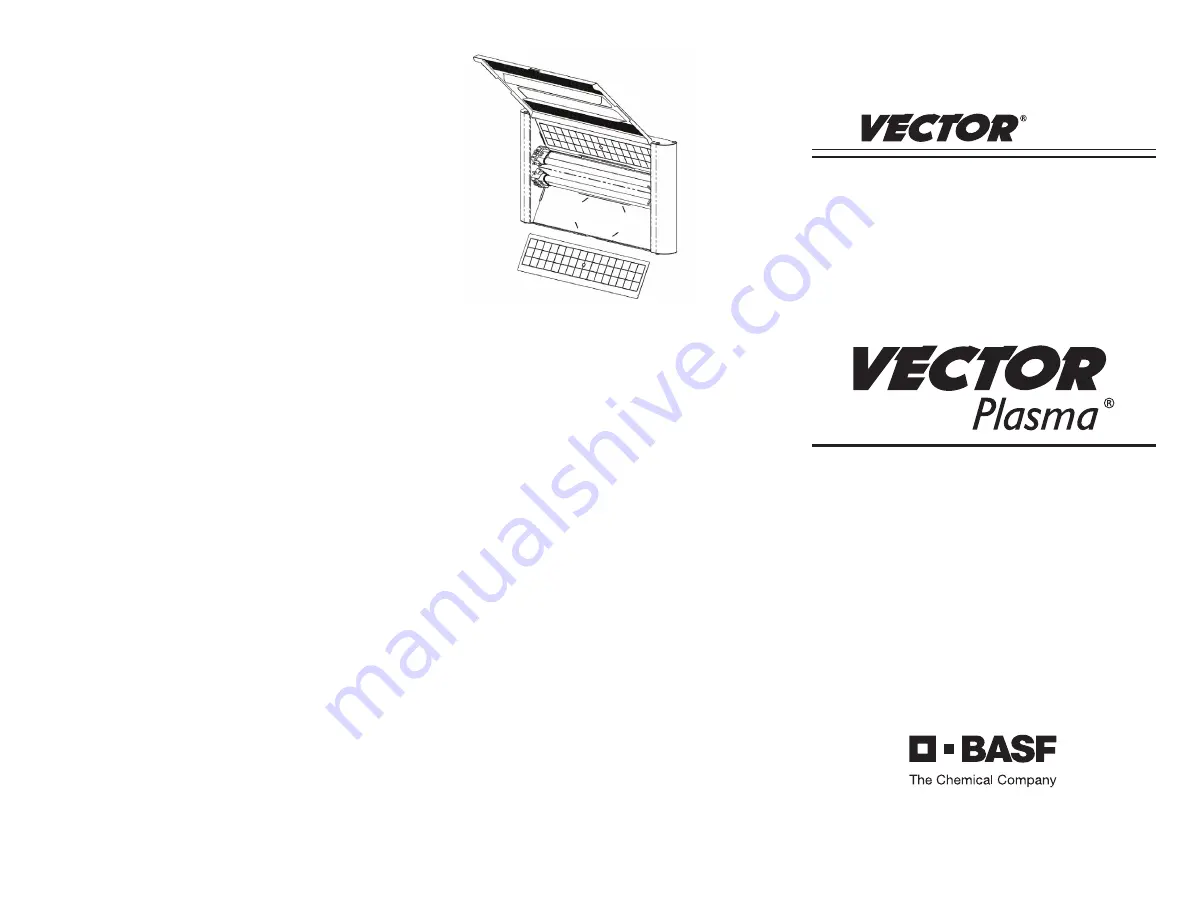
9. Bulb Replacement
Even though the amount of visible light emitted from the bulb
does not appear to change, the output of UV-A light diminish-
es over time. To maintain efficiency, bulbs must be replaced
annually. ON NO ACCOUNT USE UV-B or UV-C BULBS. The
correct Vector replacement bulb is available from your local
distributor. To replace the bulbs, follow the procedure below:
1. Disconnect the power source by unplugging the unit from
the outlet. Always unplug the unit before handling.
2. Fully open the front grill by lifting up and away.
3. Press the red quick release button on the bulb holder and
pull the bulb out and away, making sure to safely disen-
gage the bulb from the bulb clip on the opposite end.
4. To install the new bulb, align bulb base into the bulb holder
and snap into place. Make sure the bulb is fully inserted
into the bulb clip at opposite end.
5. Return the grill to its fully closed position.
10. Glueboard Replacement
The Vector Plasma utilizes the Vector Universal Glueboards,
one positioned above and one below each bulb. These
Glueboards are available from your local distributor. To re-
place the glueboards, follow the procedure below:
1. Disconnect the power source by unplugging the unit from
the outlet. Always unplug the unit before handling.
2. Fully open the front grill by lifting up and away.
3. Remove the old glueboards by grasping each at the glue
free portion along the bottom edge.
4. Remove the release paper from a new Vector glueboard
and slide it into position, making sure to position the
board beneath the glueboard retaining tab. Repeat for
the second glueboard. Take care not to touch the adhe-
sive to any part of the unit.
5. Return the grill to its fully closed position.
11. Maintenance and Troubleshooting
The only maintenance required is to keep the Vector unit clean:
1. Disconnect the power source by unplugging the unit from
the outlet. Always unplug the unit before handling.
2. Wipe the unit with glass cleaner and a cloth.
3. Change glueboards on a regular basis.
4. Change bulbs annually.
The electronic ballast in the Vector Plasma is equipped with a
safety circuit that shuts down the unit when an electrical surge
occurs. Units in shutdown phase may appear to be defective
or give the false impression that both bulbs have burned out.
If both bulbs are not lit, perform the following steps:
1. Unplug the unit from the electrical outlet.
2. Wait 15 seconds. A faint glimmer may appear in either or
both bulbs indicating the unit has reset.
3. Plug unit into electrical outlet.
4. If bulbs are still not lit, follow the procedure for replacing bulbs.
12. Warranty
BASF Corporation offers a three (3) year limited warranty on the
Vector Plasma insect light trap. This warranty assures the buyer
that the unit will conform to the standard specifications at the time of
manufacture and be free from defects in workmanship and materials
under normal conditions for three (3) years from the date the unit is
first placed into service. The warranty is subject to the terms out-
lined in the “Limited Warranty” card found in the Vector box. Failure
of the buyer to return the product registration card within 14 days
after installation of the unit voids the warranty. Please note that this
warranty does not include bulbs or glueboards.
120113-20
INSTRUCTION MANUAL
BASF Corporation
Pest Control Solutions
3568 Tree Court Industrial Blvd.
St. Louis, MO 63122
The
Fly System


