Pag. 29
be substituted with an appropriate nozzle for the type of gas used, shown in tables 2-8 (pag. 20 - 22) .
Assemble the new nozzle, replace the pipe and tighten the fitting fully.
INSTRUCTIONS FOR USE
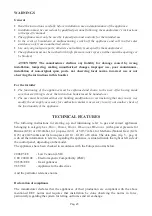
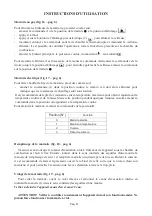
Gas Pasta Cooker (fig. 16 – pag. 6)
To light the burners of the pasta cooker, proceed in the following way:
-
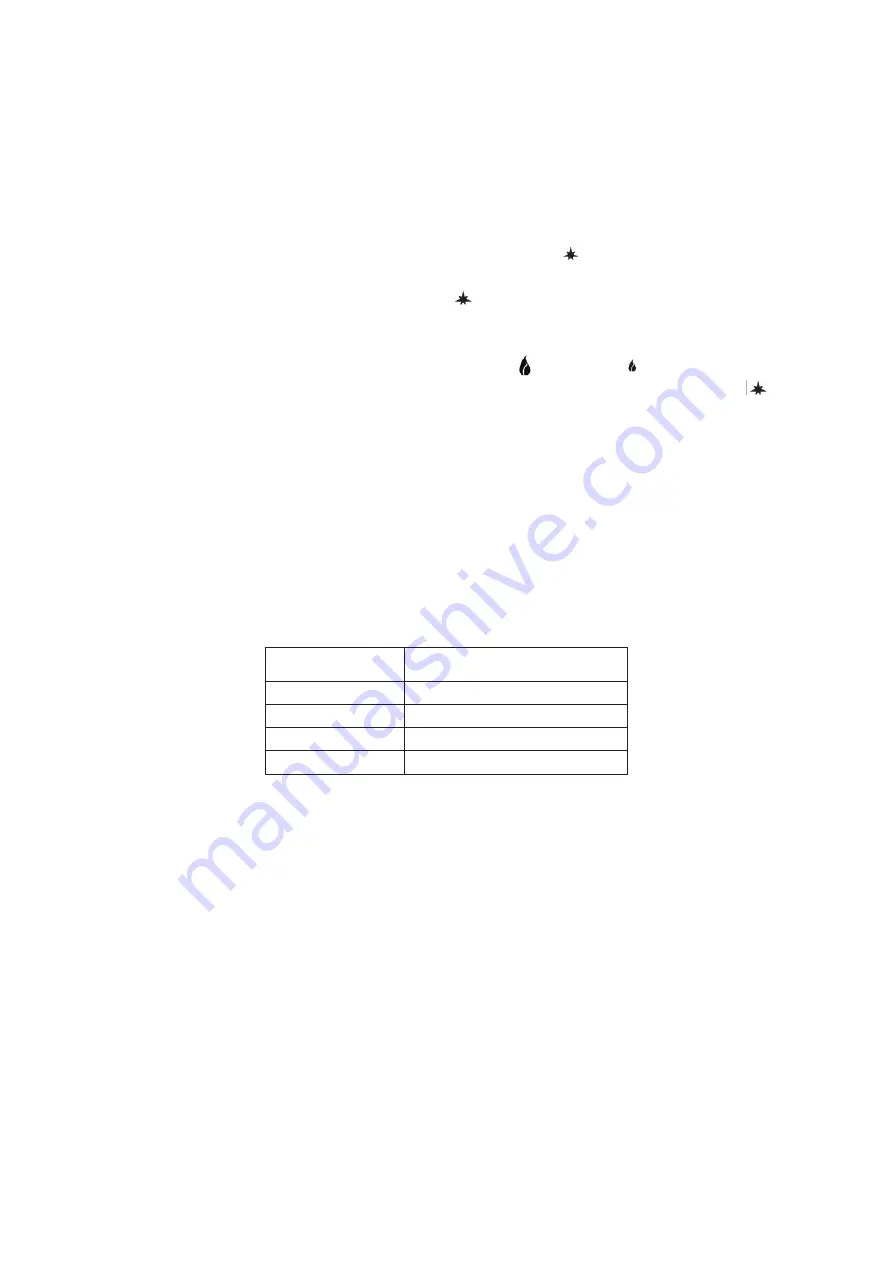
turn the knob (1) from the off position
Q
into the on position ;
-
press down fully;
-
push the button of the piezoelectric lighter (2) to light the pilot burner;
-
keep the knob pressed down until the thermocouple heats up, keeping the pilot lit; this can be
checked through the opening in the combustion chamber;
-
light the main burner as desired, going from maximum to minimum .
To put out the main burner, it is necessary to turn the knob to the right into the on position
, to
put out also the pilot, turn the knob again, into the off position
Q
.
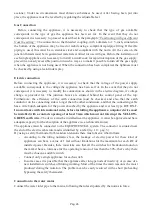
Electric pasta cooker (fig. 17 – pag. 6)
To heat a tub of the pasta cooker, proceed in the following way::
-
turn the knob (1) into the desired position. The green light will light up, showing that the
heating elements are on.
It is advisable to regulate the element to the maximum temperature in order to reach the desired
temperature right away, and to leave it in this position for a few minutes; then turn the knob into
the position desired.
To turn off the pasta cooker, turn the knob back into position
0
.
Position [N°]
Use
0
Pasta cooker off
1
Maintaining temperature
2
Cooking
3
Starting cooking
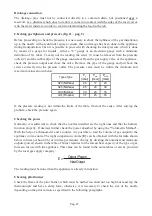
Filling the tub (fig. 18 – pag. 6)
First of all, check that the drainage tap, situated inside the appliance under the combustion
chamber, is closed tightly. After that, turn the water filling knob (1) in anti-clockwise direction; fill
the tub up to the level mark. During the cooking, it is advisable to leave the tap turned slightly on,
in order to keep the right water level and to allow the removal of excess starch through the overflow
device.
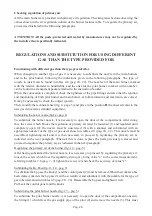
Emptying the tub (fig. 19 – pag. 6)
To empty the tub, it is necessary to open the door of the compartment and activate the outlet
valve situated inside by turning the lever (1) in anti-clockwise direction.
Make sure that the appliance is turned off before draining the water.
ATTENTION! Only use the appliance under surveillance. Never let the pasta cooker
function when empty.
Summary of Contents for 296.305
Page 44: ...CUOCIPASTA A GAS CUOCIPASTA ELETTRICI SERIE 900 MASTER INSTALLAZIONE USO E MANUTENZIONE I CH...
Page 57: ...57...
Page 58: ...58...
Page 59: ...59...
Page 60: ...60...
Page 61: ...61...
Page 64: ...Et E E KW d s d E E WW E W h s D D 64...
Page 65: ...Z s E s E WW Z d E Z s Z s sKKZ Z E s E E d d s s t dZ d Z dZ d s...
Page 66: ...s t s Z sh Z s E d s s Z s s Z t E...
Page 67: ...E d d s s ZE ZK E...
Page 68: ...s Yh WKd Ed t h t s s h K K W W WD y E...
Page 69: ...E D K KW d sKKZ E E D d E KKZd t d s E Z E d E t K E s...
Page 70: ...s 60 K E W 60 E s 60 K E s 60 K s s Zh Et E K...
Page 71: ...s W d W t s K KW d s Z KZ E E KE Z Kh s E d WW Z d Z KW d s Z D D K E...
Page 72: ...K KW d s s D K s Zs E E s E KE Z E KW d s s K E d K s s K D...
Page 75: ...75...
Page 76: ...76...
Page 77: ...77...
Page 78: ...78...
Page 79: ...79...
Page 82: ...t Mt W h h t E ht W h W h tB _ tK_ d E E W W d t t s D h Z...
Page 83: ...E KW hZ F K W K W WZ z KdKt E E d D h t W h s t dZ d Z dZ d Z W...
Page 84: ...s t D h t W t s t W sh E d t s W t W K W W E t K h h t t t t h W K W t W W...
Page 85: ...t t W E d W Z W t t W W W W t t W W W W E ZE MBdK KE K...
Page 86: ...D E K t W t W t W t d W W W W Z K W E K K t Z W W WD y W...
Page 87: ...t W W t t ht t h d t E tzD Ez t WZ zW h K D EE K ZK h h W t Z W W t D...
Page 88: ...t t W W Z W t W W W W W W t t W E dZh K Bh W W d...
Page 89: ...t t W W Z E E E K t W ht h W E KE Zt hZ E ht W W W E E d W...

