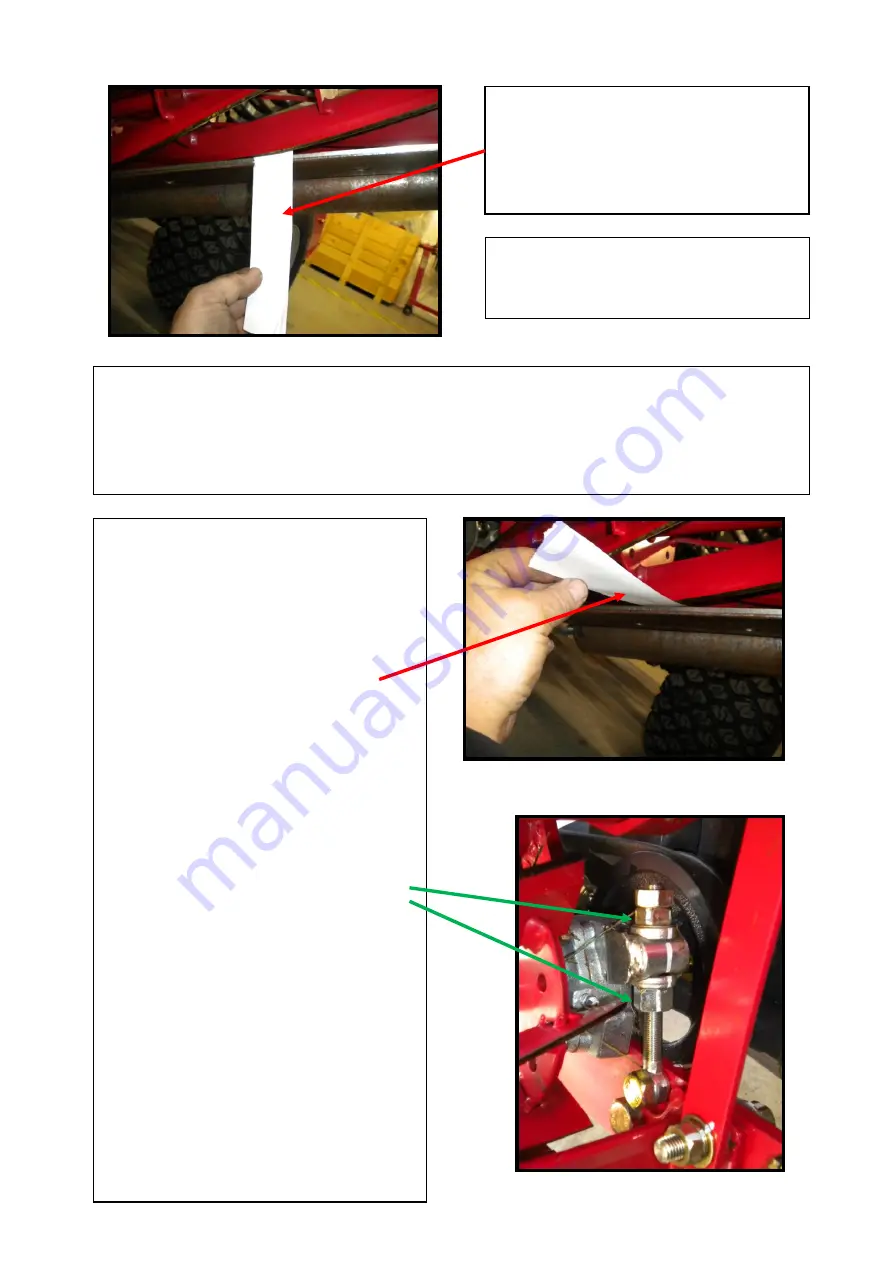
Check the cut again by using a strip of paper
as previously explained. Check both ends of
the blades and not just in the middle.
Once
again please remember to never put your
hand into the cutting cylinder.
If the paper is still not cut correctly, repeat
the blade lowering procedure as described
above.
If one end of the cutting cylinder cuts the paper but the other end does not, then only adjust the end
that is not cutting, but be aware that this could have an effect on the other end so always check both
ends with paper after making any adjustment.
Keep adjusting both ends until the paper is cut right across the length of the bottom blade.
Once the blades are cutting paper right across
the length of the bottom blade then you need
to check that you do not have excessive blade
contact.
To do this you need to use another strip of
paper but this time hold it flat along the
surface of the bottom blade.
When you rotate the cylinder the paper
should not be cut but should just leave an
indentation line. If it does this it is set ok. If it
cuts the paper then the contact is too great
and the blades will need adjusting to provide
slightly less contact. This is done by turning
the blade adjuster nuts anti-clockwise by a
very small amount in order to increase the
gap slightly.
Only adjust the side which is too tight. If both
sides are too tight then adjust them both but
remember to only use very small adjustments
and keep checking both sides.
The blades are correctly adjusted when both
sides cut paper when it is held square to the
bottom blade but only leaves an indentation
in the paper when it is held flat along the
bottom blade.


